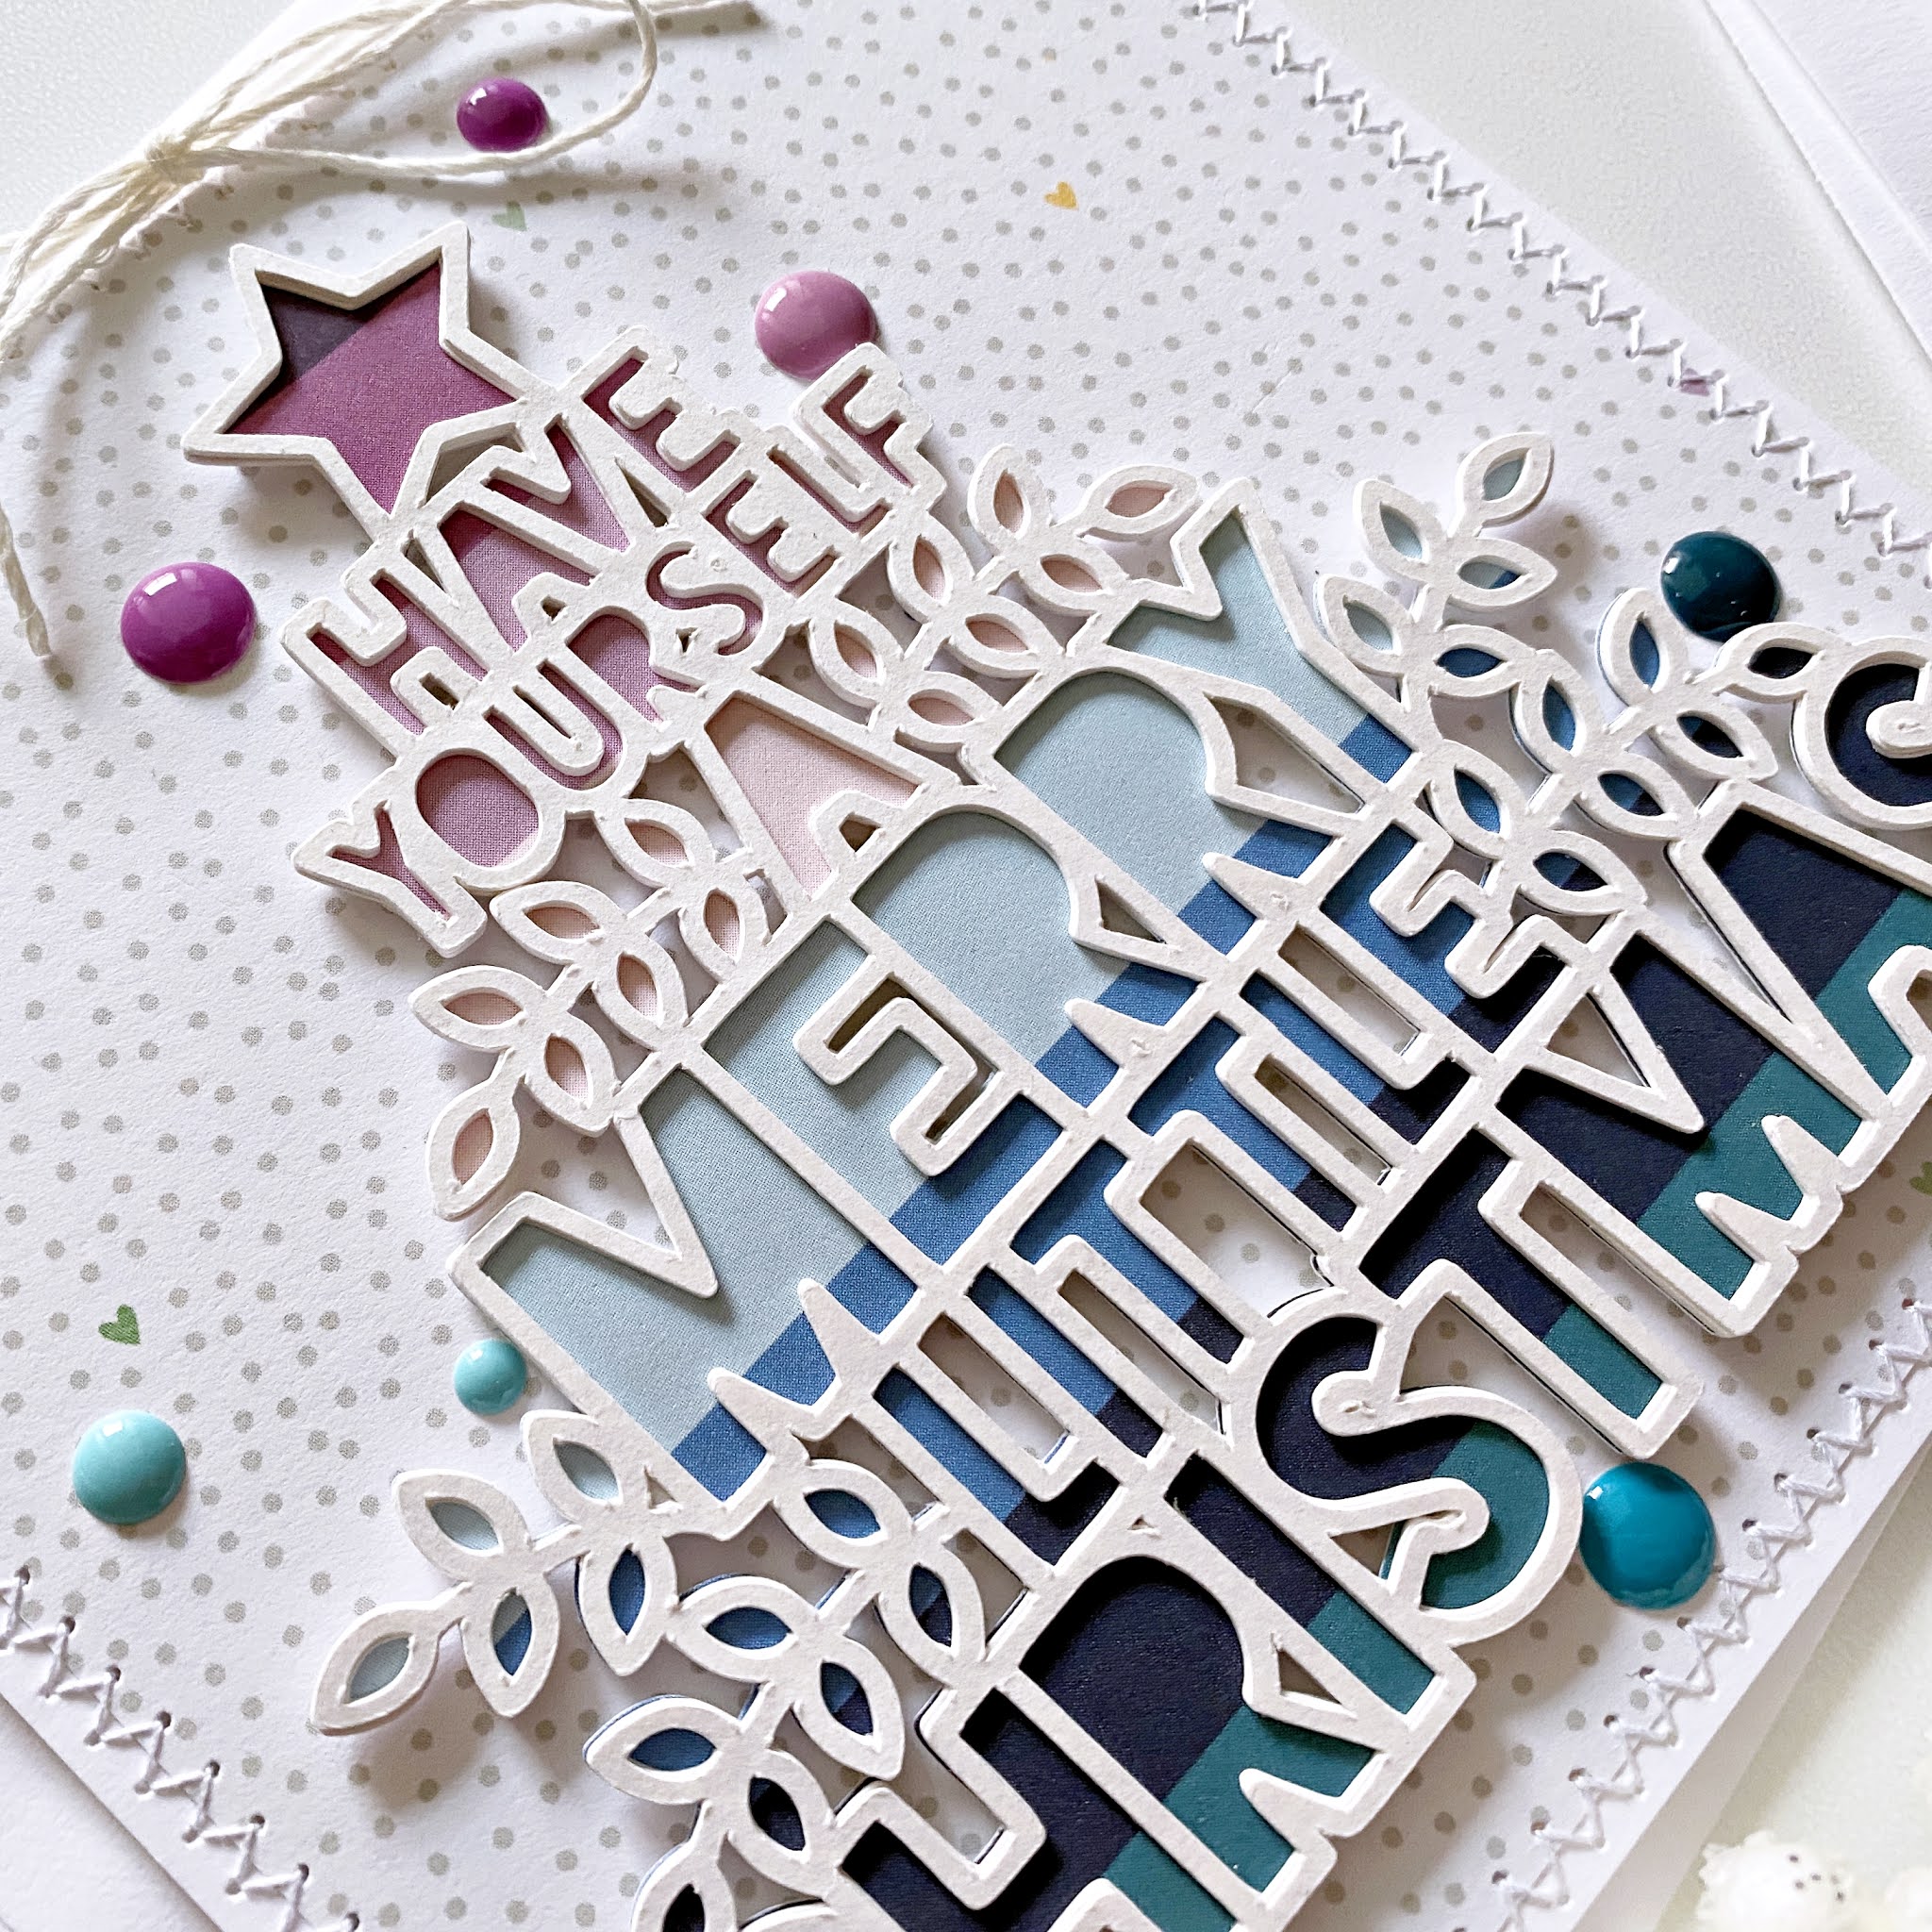
I'm stopping by to share a few projects I've created for the Paige Evans Design Team!
You probably know by now, that Paige is offering a bundle of cut files called "25 Days of Christmas Cut Files", where you get a Christmas themed cut file mailed to you every day until Dec 25th. Of course you can still purchase this bundle, should you have missed it! Today's cut file is this "Merry Little Christmas" tree, which I love so much, I had to use it on multiple things, cards, December Daily filler page and even a scrapbook layout!
I mostly used the Whimsical collection on these projects - it's my go to if I want to make rainbow projects! Of course, you can create rainbows with any of Paige's collections, but my most fave is Whimsical, it has the perfect shades of all the colors and the loveliest patterns!
I'll keep this post short because I'm in the middle of Christmas baking hehe, plus I have a process video for everything you see in this post, so no need to detail how I made them! I'll attach lots of photos though, in case you like to look at those.
You'll find the video at the end of this post!
Without further ado, the layout:
The December Daily page:
The cards:
You can watch the process video on my YouTube Channel:
I hope you like these projects which are in fact my last ones for 2020! I would like to thank you for your support throughout this harder-than-usual year and I wish you and your loved ones a very Merry Christmas and a wonderful, healthy and happy New Year!
I'll be back with lots of projects at the beginning of January!
Today I have some more Christmas cards to share with you! I was thinking, since this post is going up beginning of December, there's still time to create some last minute Christmas cards to send out to loved ones. These ones are really simple and don't take very long to create either. I mean, compared to most cards I make anyway.
I noticed that Paige has a bunch of cross stitch cut files for Christmas, and I was really in the mood to stitch, so that got me thinking, why not make cards instead of a layout for today's post? First, I selected the following cut files:
I then sized them to fit onto a 4x5.25" panel and die cut them out of white, heavy weight cardstock. I used these as templates to poke holes in the patterned papers. I recorded the process, so you can check how I did this, in the video at the bottom of this post. Basically, these cut files are not stitching cut files, but it's super easy to use them as templates to achieve the same result. Eventually, I didn't use the Snowflake because in the size I wanted it, it seemed a bit too small, with the holes being too close to each other.
I searched for some patterned papers, that I thought would work. I found the three I used in the Whimsical collection. I cut them down to 4x5.25" and started poking holes. Once done, I stitched them all with white/light blue/red/beige/brown embroidery floss.
Something I only noticed while editing the video (not even when I was editing these photos), is that I missed a stitch on this red poinsettia. I have no idea how I didn't notice earlier?! At this point I can't add it anymore, so I'll have to embrace imperfection once again :D
I added some adhesive foam sheet to each of the stitched panels and glued them onto 4.25x5.5" top folding card bases. The blue panels on white card bases, the beige ones onto kraft bases (well technically only the card front was kraft, the card base was still white - see video).
I was struggling with the sentiments because I'm not quite used to use Alpha Thickers for this purpose and also, I just couldn't find the right letters in the right colors in Paige's collections. There are actually 2 packs (Truly Grateful and Pick Me Up) that have the right color (red), but I didn't have the right letters anymore. Only the white foam mini alphas are Paige's, from the Pick Me Up collection. Otherwise, I had to resort to my stash of AC Thickers...Of course you could stamp your sentiments, but I only wanted to use scrapbooking supplies on these cards, if that makes sense? Anyway, since most of these are quite large, I opted for shorter sentiments. I would have loved to have Peace on Earth instead of Peace, but there just wasn't enough space.
Last but not least, I added enamel dots and some twine to my cards to finish them off.
As you see, you really don't need a lot of supplies or expensive supplies to make these cards. You can just use whatever you already have in your stash!
Here's the process video:
I hope I could give you some ideas with my projects today!
Thank you so much for stopping by! Have a wonderful day!
I'm stopping by today to share my latest projects I've created for the Paige Evans Design Team. This time I have cards for you with the Go the Scenic Route collection.
This year it's been even more important than before to tell our friends and family that they are loved, life is beautiful, and everything is going to be alright. What simpler way is there, than to create some handmade cards and mail it to them?
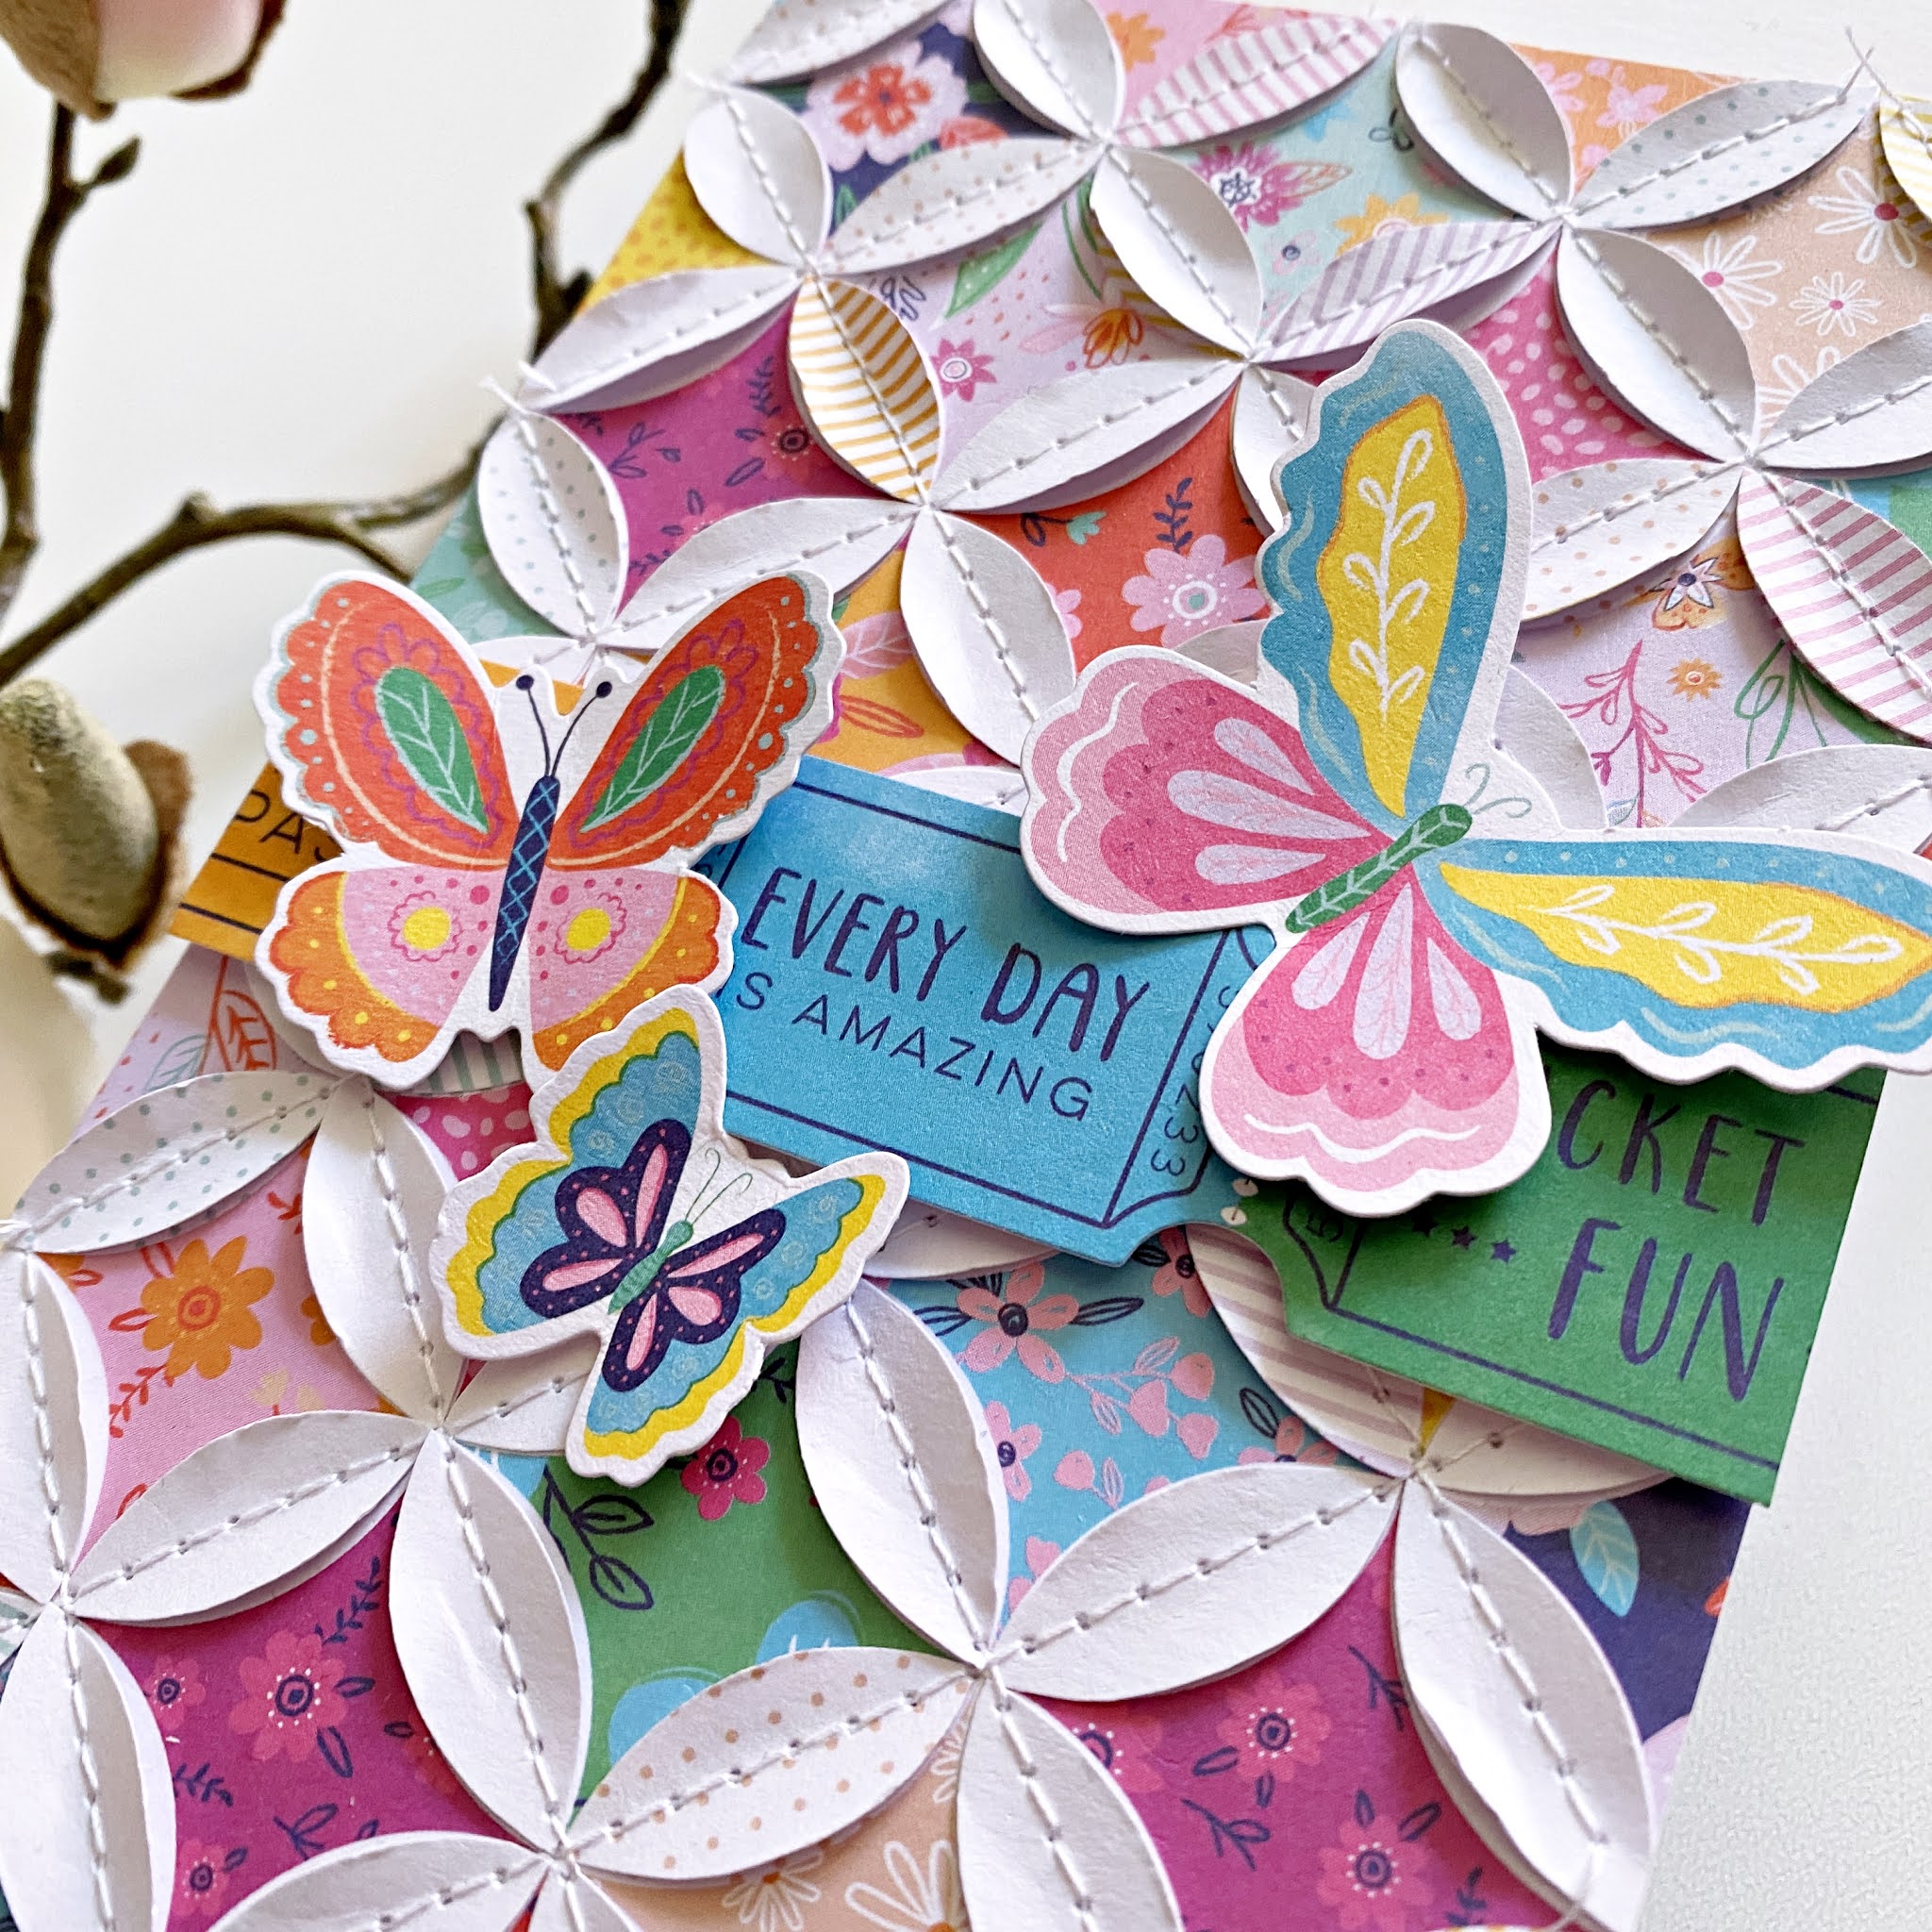
I decided to make some slimline cards that are all the rage now. Now, generally my slimline cards are about 3.5x8.5" but these three cards ended up being slightly wider, 4", because of the quilt patterned papers. I wanted to leave the circles complete, and luckily I got a full pattern with the 4" width. Does that make sense?!
For my first card, I chose a quilt patterned paper from the 6x8" paper pad. I cut it down to 4" wide, I'm not sure about the length, I just made sure that I have full circles - probably it's about 6.5"? There's two of this paper in the pad, and I fussy cut out the white shapes from the second paper. I then adhered these down, on top of the other paper, using only a tiny amount of glue in the middle of each shape, because I wanted to stitch them down and bend them up later. This creates such a wonderful texture and dimension!
I glued the patterned paper piece onto a white card stock, and then adhered these both to my card base. To finish off the card, I added a sentiment, for which I used some tickets from the ephemera pack, and I also placed some butterflies around it.
For my second card, I fussy cut a bunch of simple leaf shapes from a variety of patterned papers. I went with a blue-red-pink-orange color combo. To do this, I just drew a simple leaf shape onto a piece of heavy weight card stock and fussy cut it out. This served as a template for all the other leaves. Easy and quick, and one doesn't need any fancy tools!
I cut two layers for each leaf - sometimes when I do this design, I go with more layers, but 2 is perfectly enough. So I glued the two layers together, but only in the middle, because I wanted to stitch these down and bend up the sides as well.
Once I was done with all the stitching, I adhered the leaves to my card base. I added some gold splatter for interest. I trimmed down a die cut from the ephemera pack for sentiment and using foam tape, I added this to my card too.
The third card is very similar to the first one, the paper has the same pattern, only a different scale. But I did the same thing with it: that is, added a second layer of shapes, stitched them down in the middle, and bent up the sides.
I added three strands of twine above the patterned panel, as well as a bow. For my sentiment I used the lovely colorful alphas from this collection!
That wraps up today's post, I hope I could inspire you in some way!
I also have a process video, that you can watch here:
Thank you so much for stopping by! Have a wonderful day!