Tuesday, January 31, 2017

Wander often, wonder always - Guest DT layout for Clique Kits


Hi there scrappy friends,

I'm here with you today sharing my first projects as a guest designer for Clique Kits! I'm super excited and happy to have been asked to contribute this month! Thank you Clique Kits for the opportunity!

The February kit, Bee You, is stunning! I feel so lucky that I can guest this month! I love blue and the colors in the Hazelwood collection are just fab! All the love for this kit!

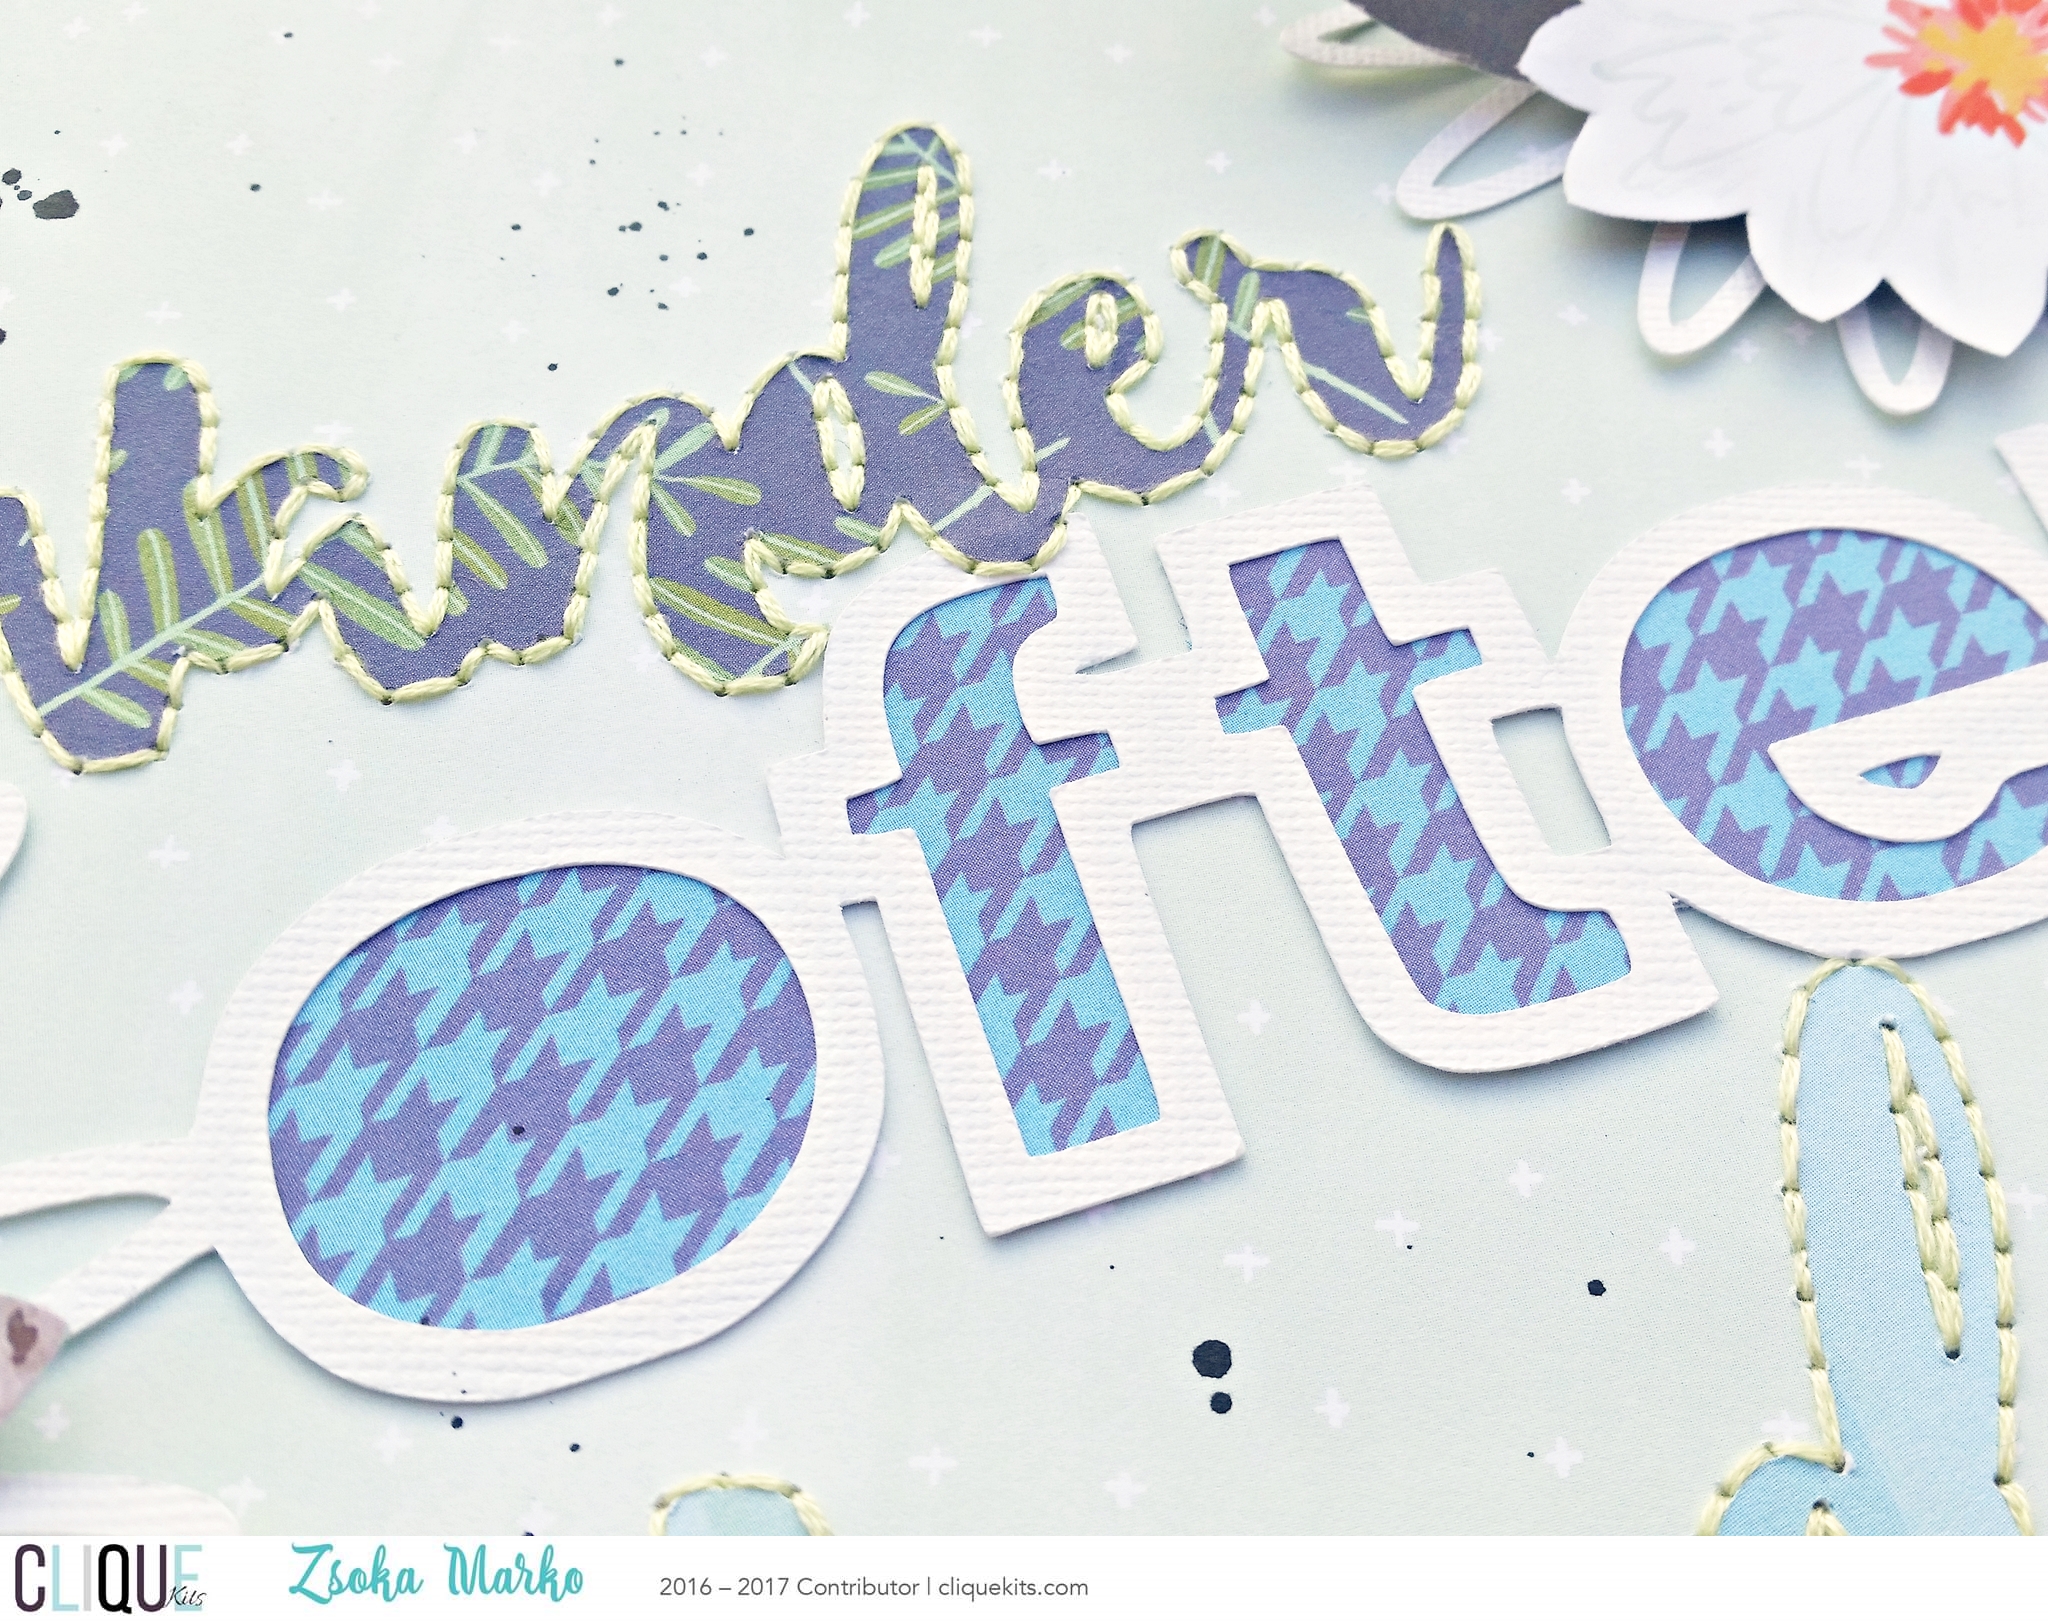
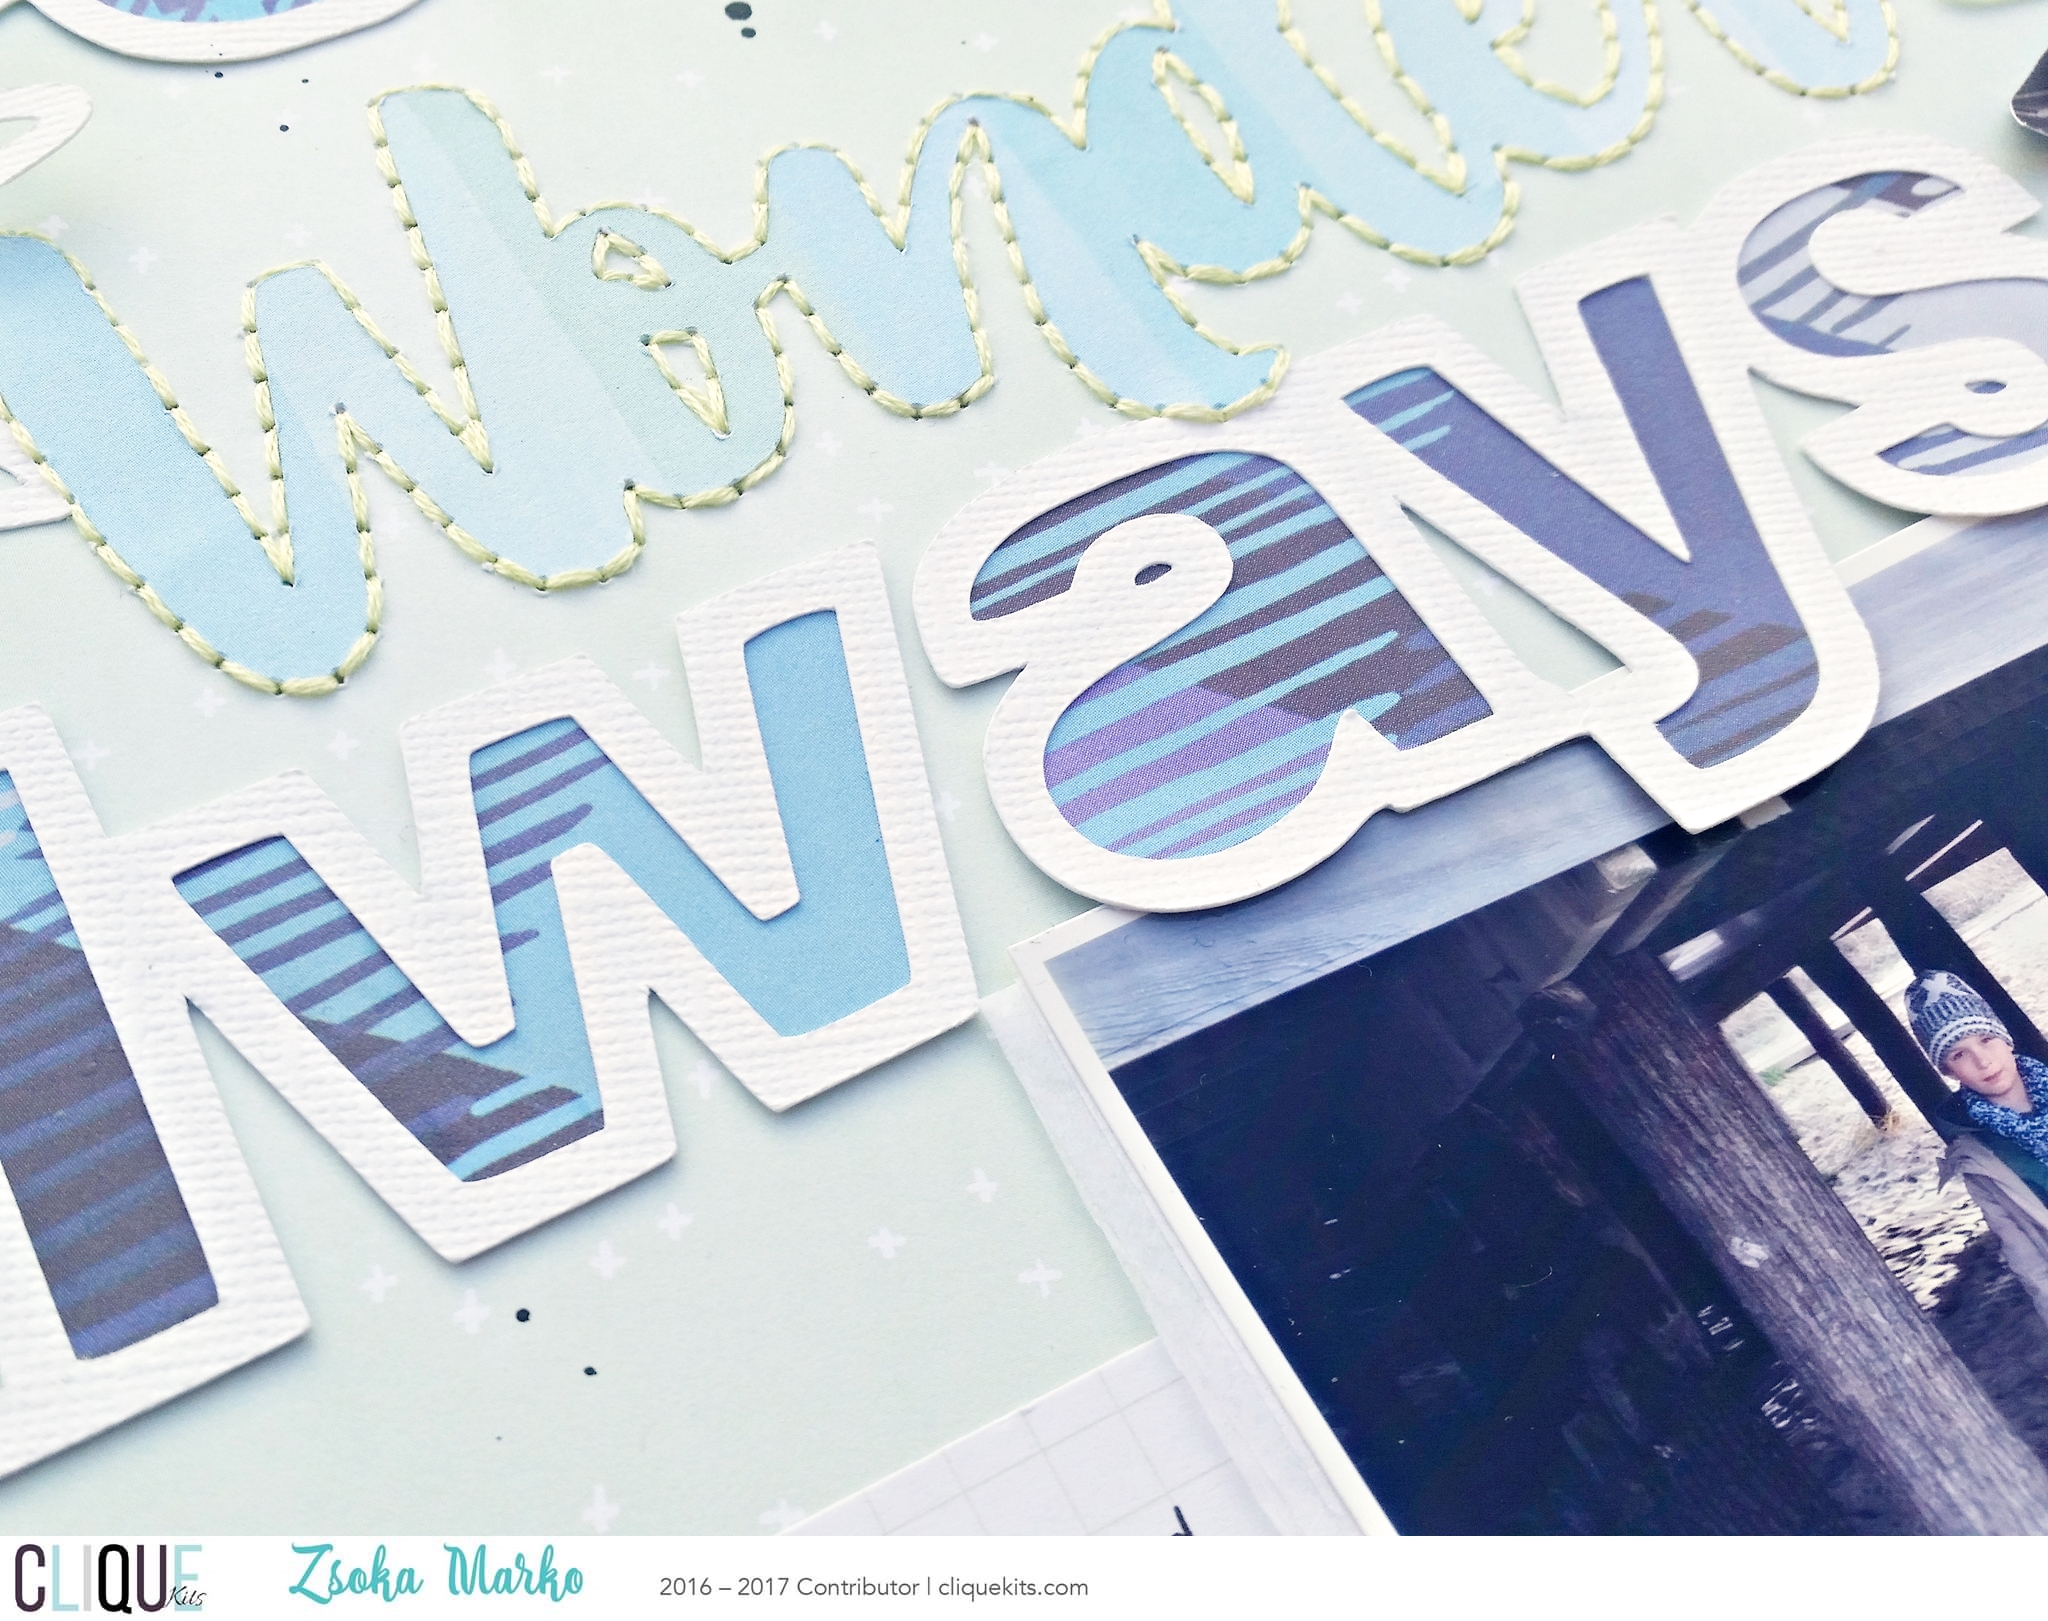
For my first projects I picked out some blue and mint papers. My main design element on the layout is the wonderful CK exclusive cut file. First I tilted and cropped the cut file. I wanted to use different papers for the different words, so I separated Wander and Wonder from the rest. I cut the bigger part from white card stock and backed the two words with different patterned papers. I then cut the remaining two words separately from patterned papers.

20170122_150540finalbanner

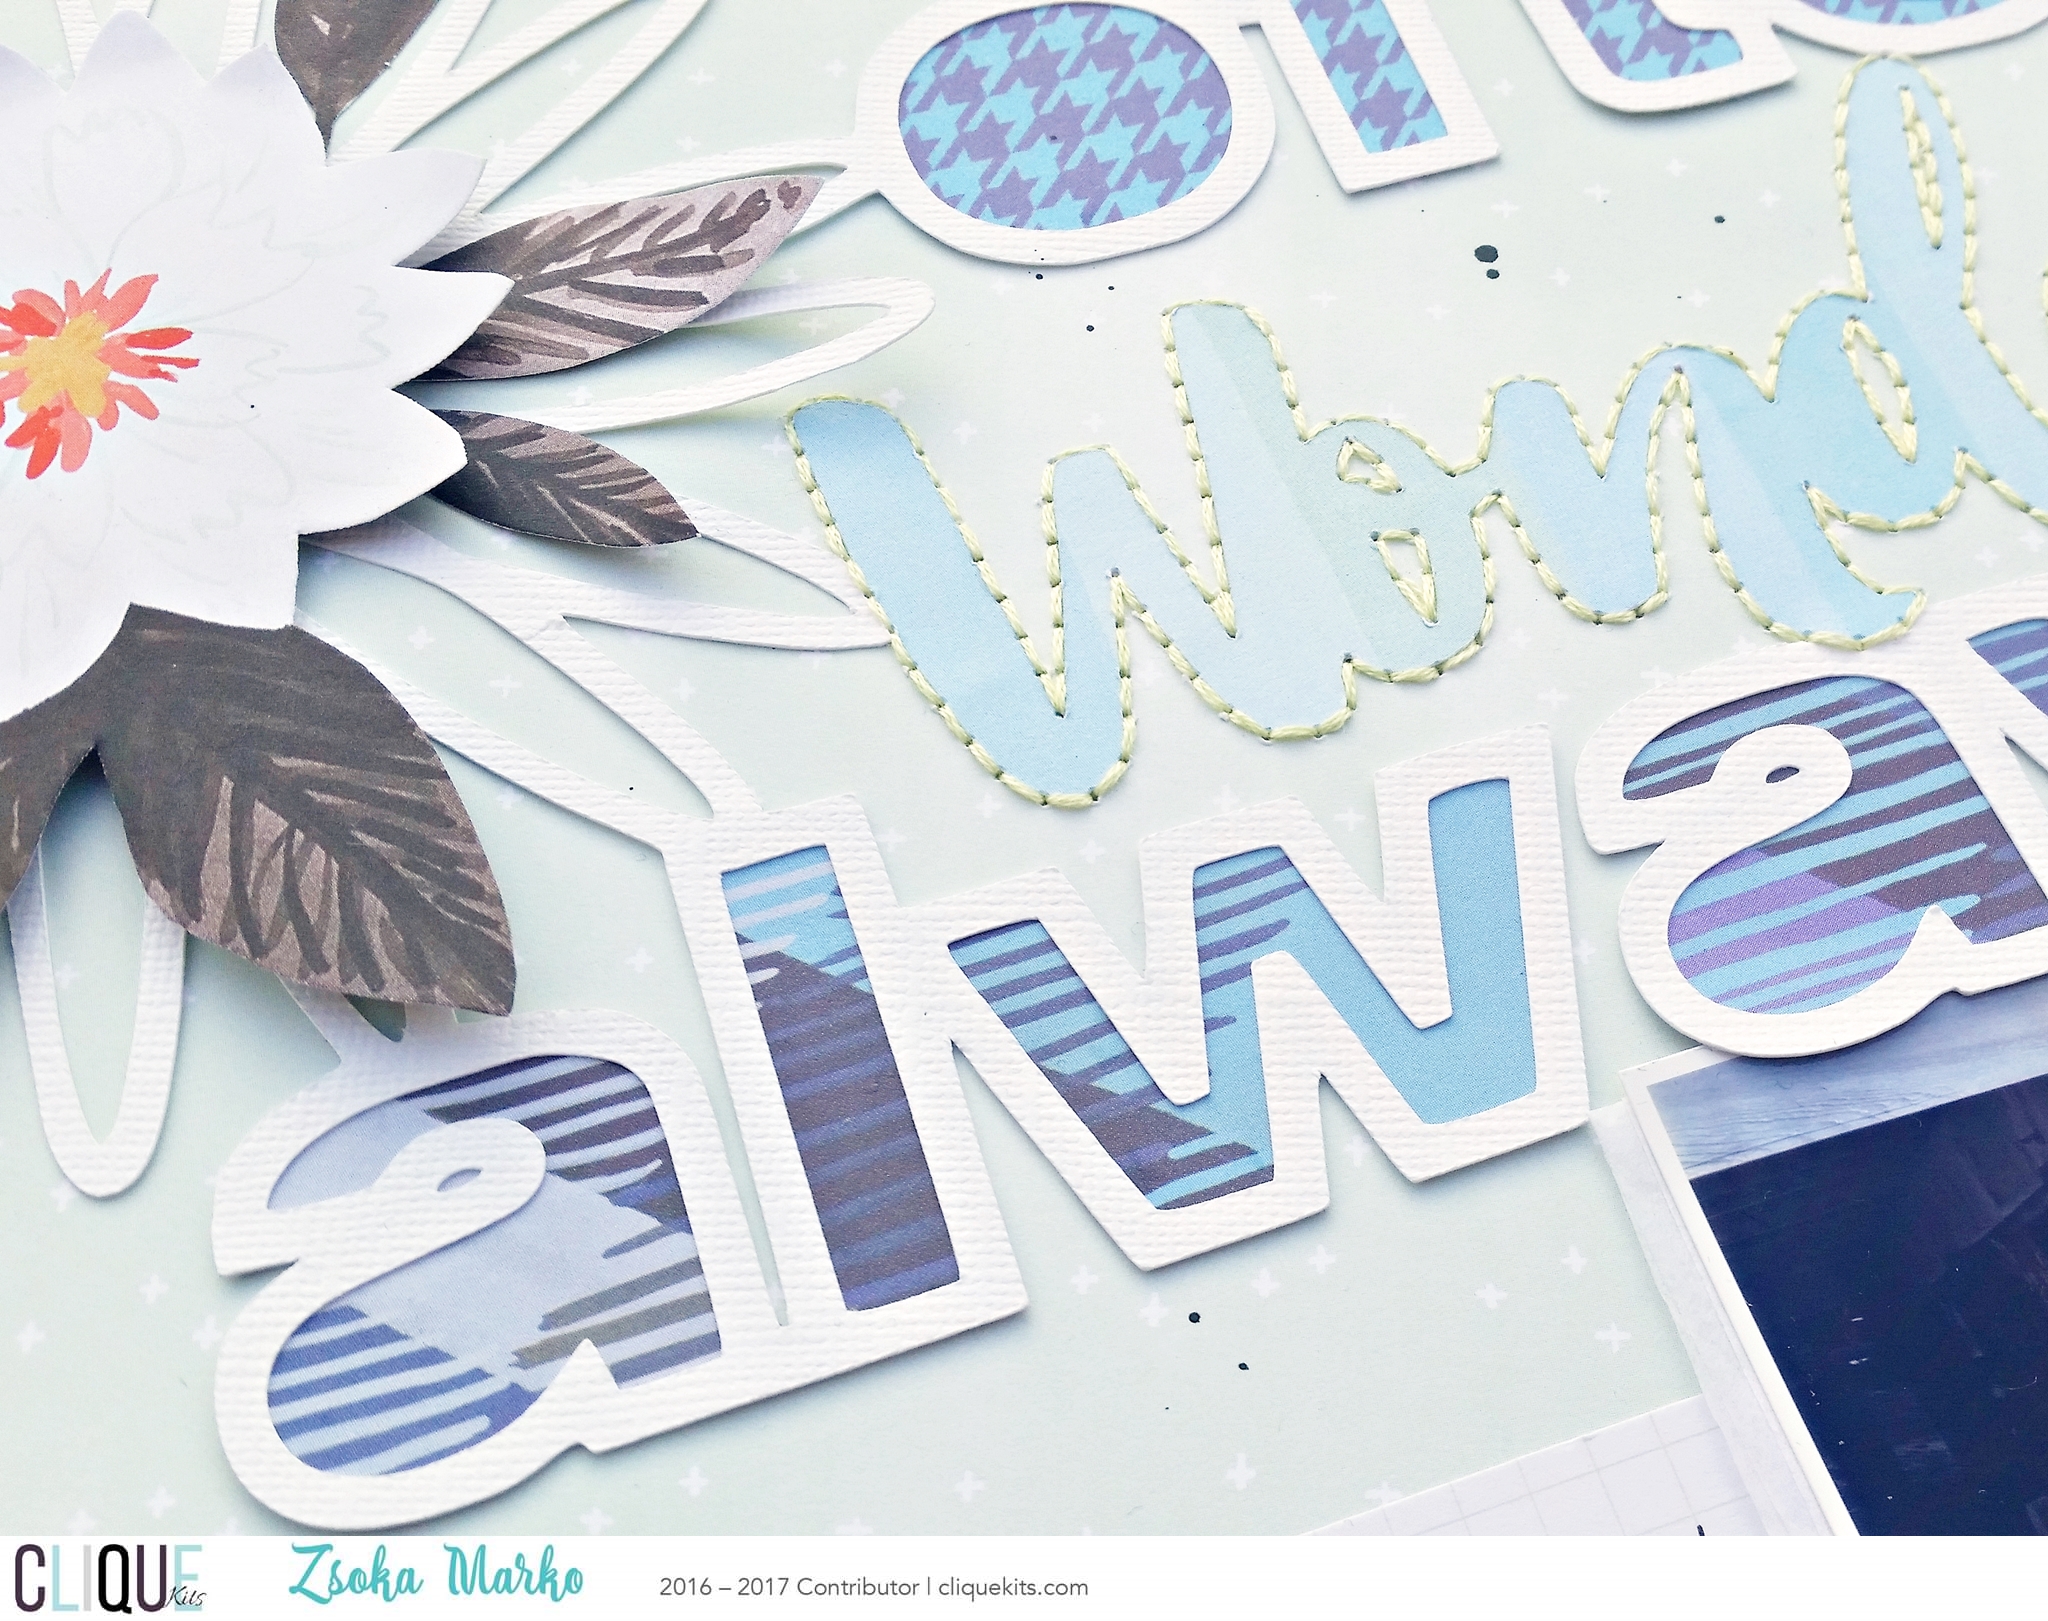
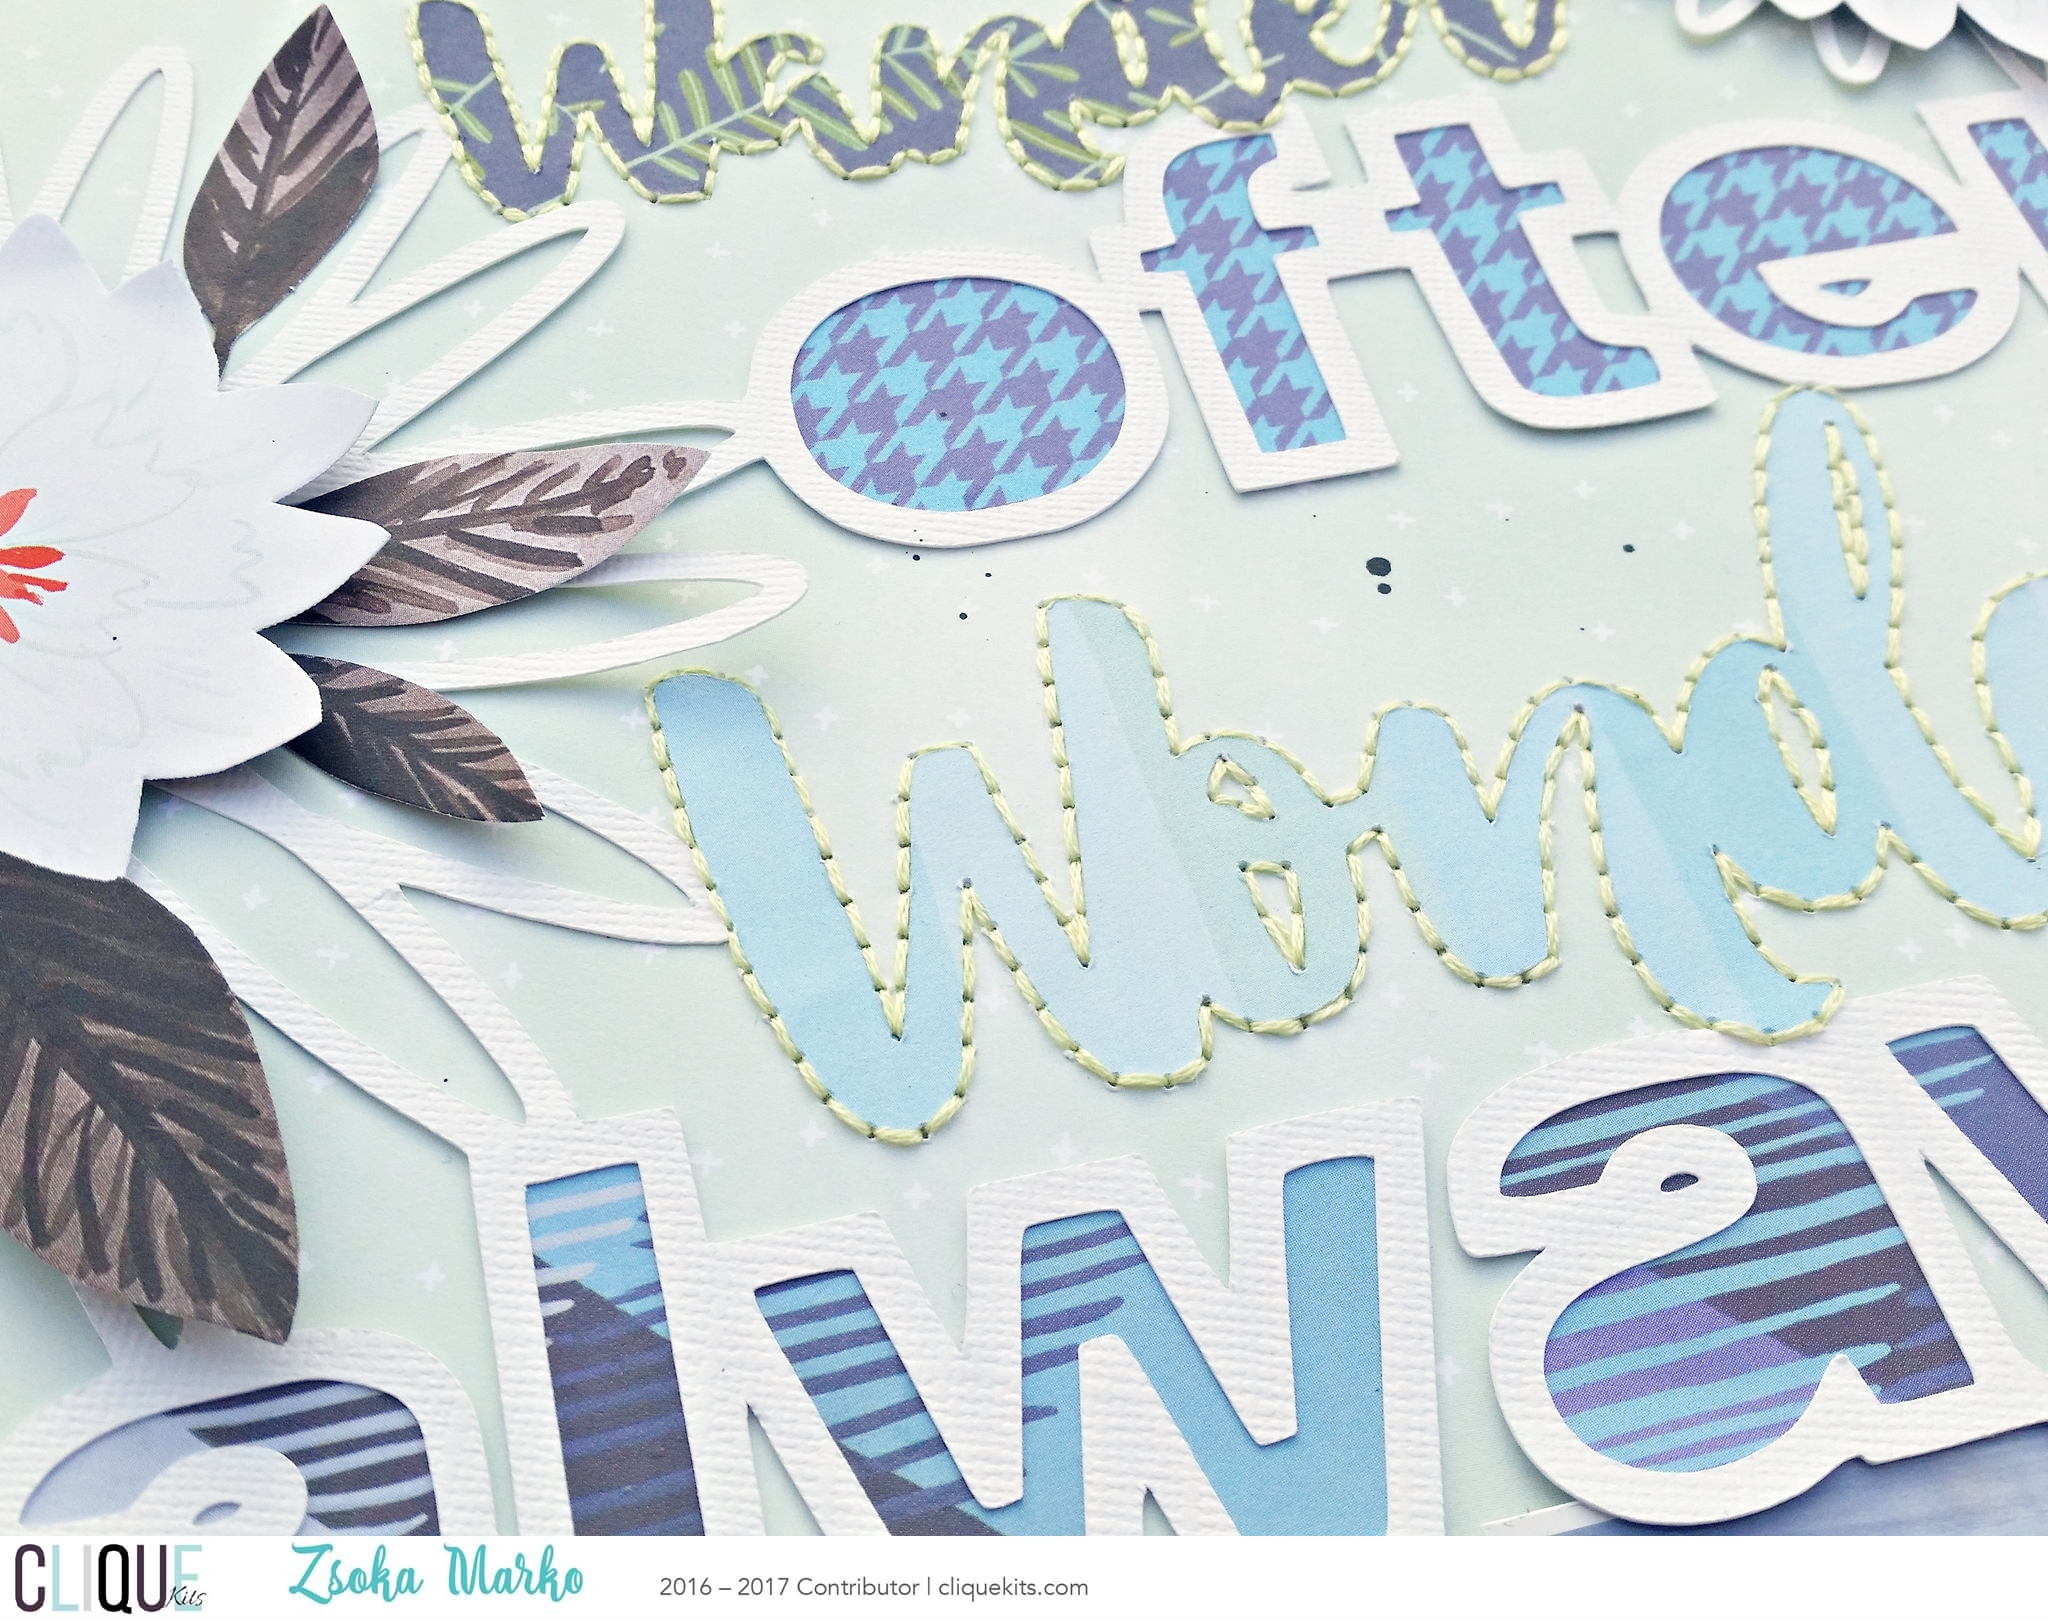
I adhered the cut file on my background paper, placing Wander and Wonder in their original position. I hand stitched around these two to add some texture and interest. The flowers I only adhered in the middle and on the edge of the page. I love the dimension this adds.

20170122_150559finalbanner

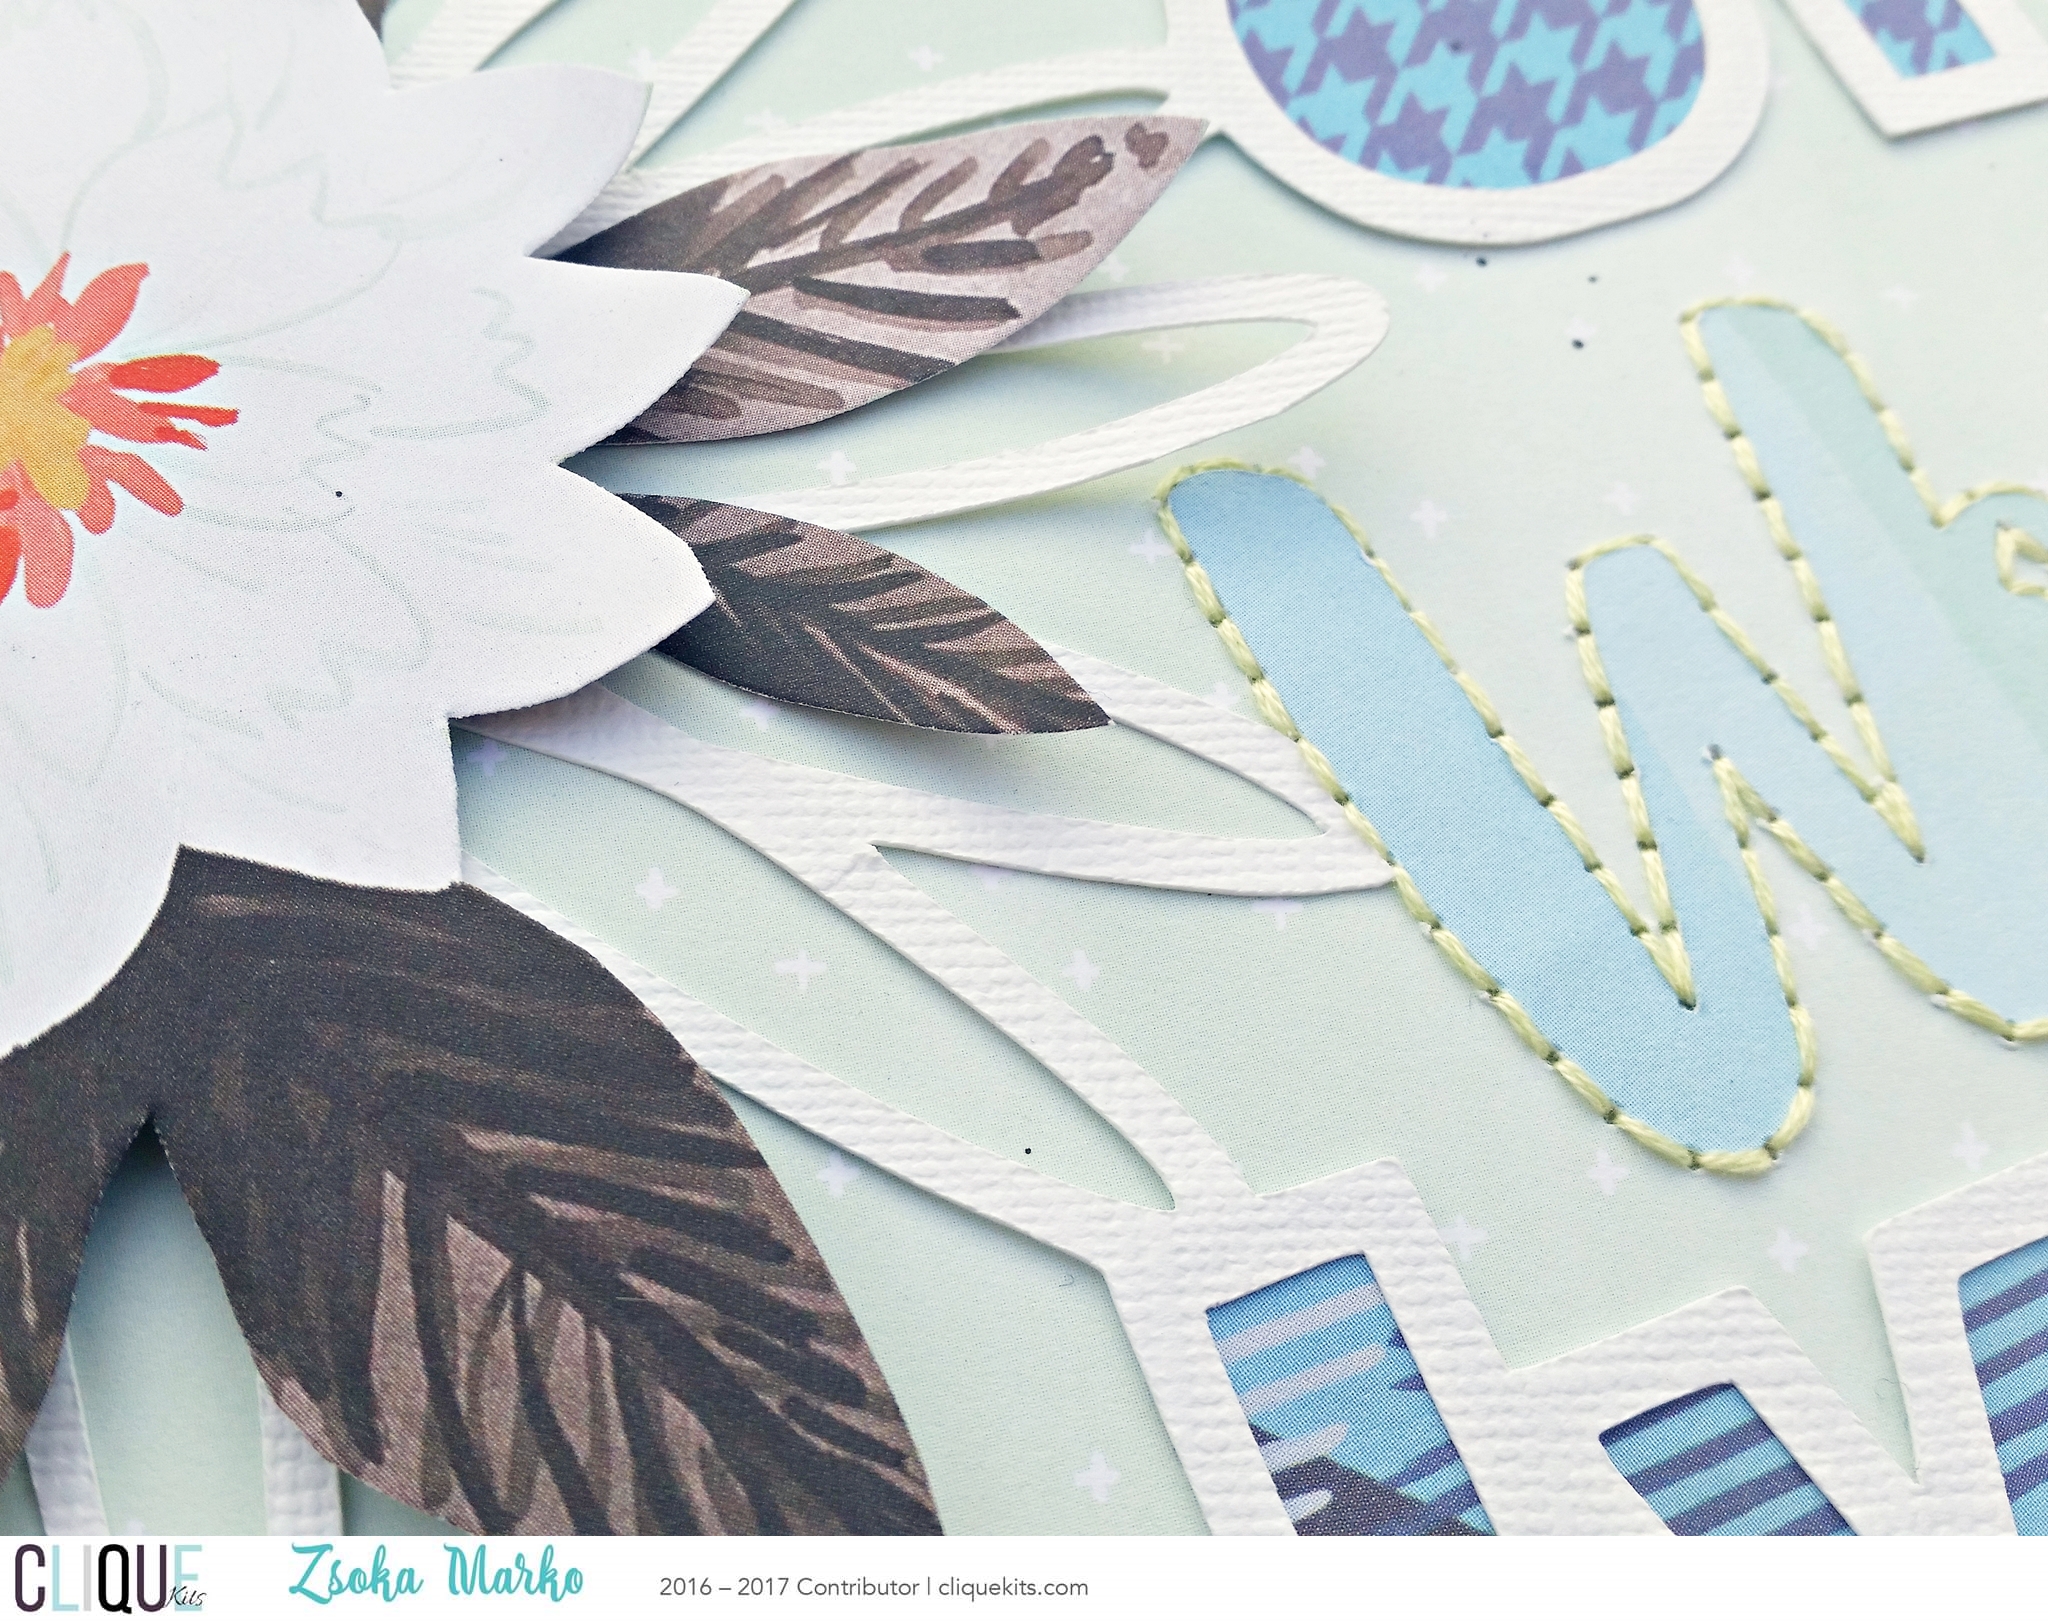
Then I fussy cut these gorgeous flowers from another patterned paper, with some additional leaves, and adhered them with pop dots on top of my die cut flowers. Some leaves I added under the cut file, just to have different layers and create a more dimensional look.

20170122_150603finalbanner

20170122_150606finalbanner

20170122_150609finalbanner 

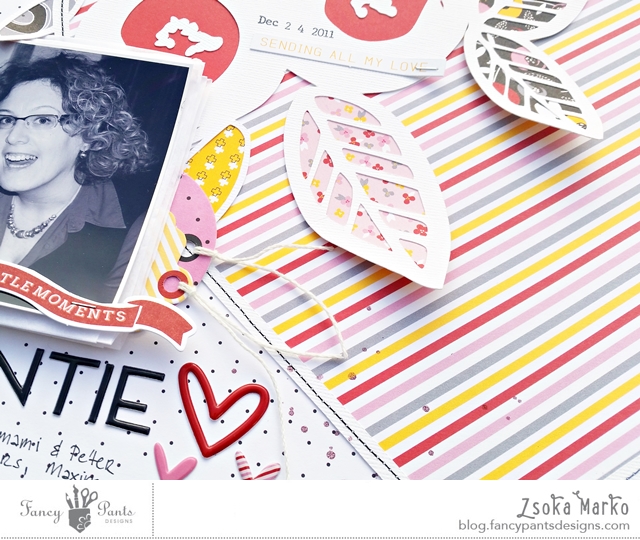
I added some layers of tissue paper behind my photo and also tucked a tag and another card behind it. I wrote my journaling on this card. To draw attention to the journaling, I added two enamel shapes. I stamped the date, added some black splatters and done!

20170122_150620finalbanner

20170122_150623finalbanner

20170122_150636finalbanner 

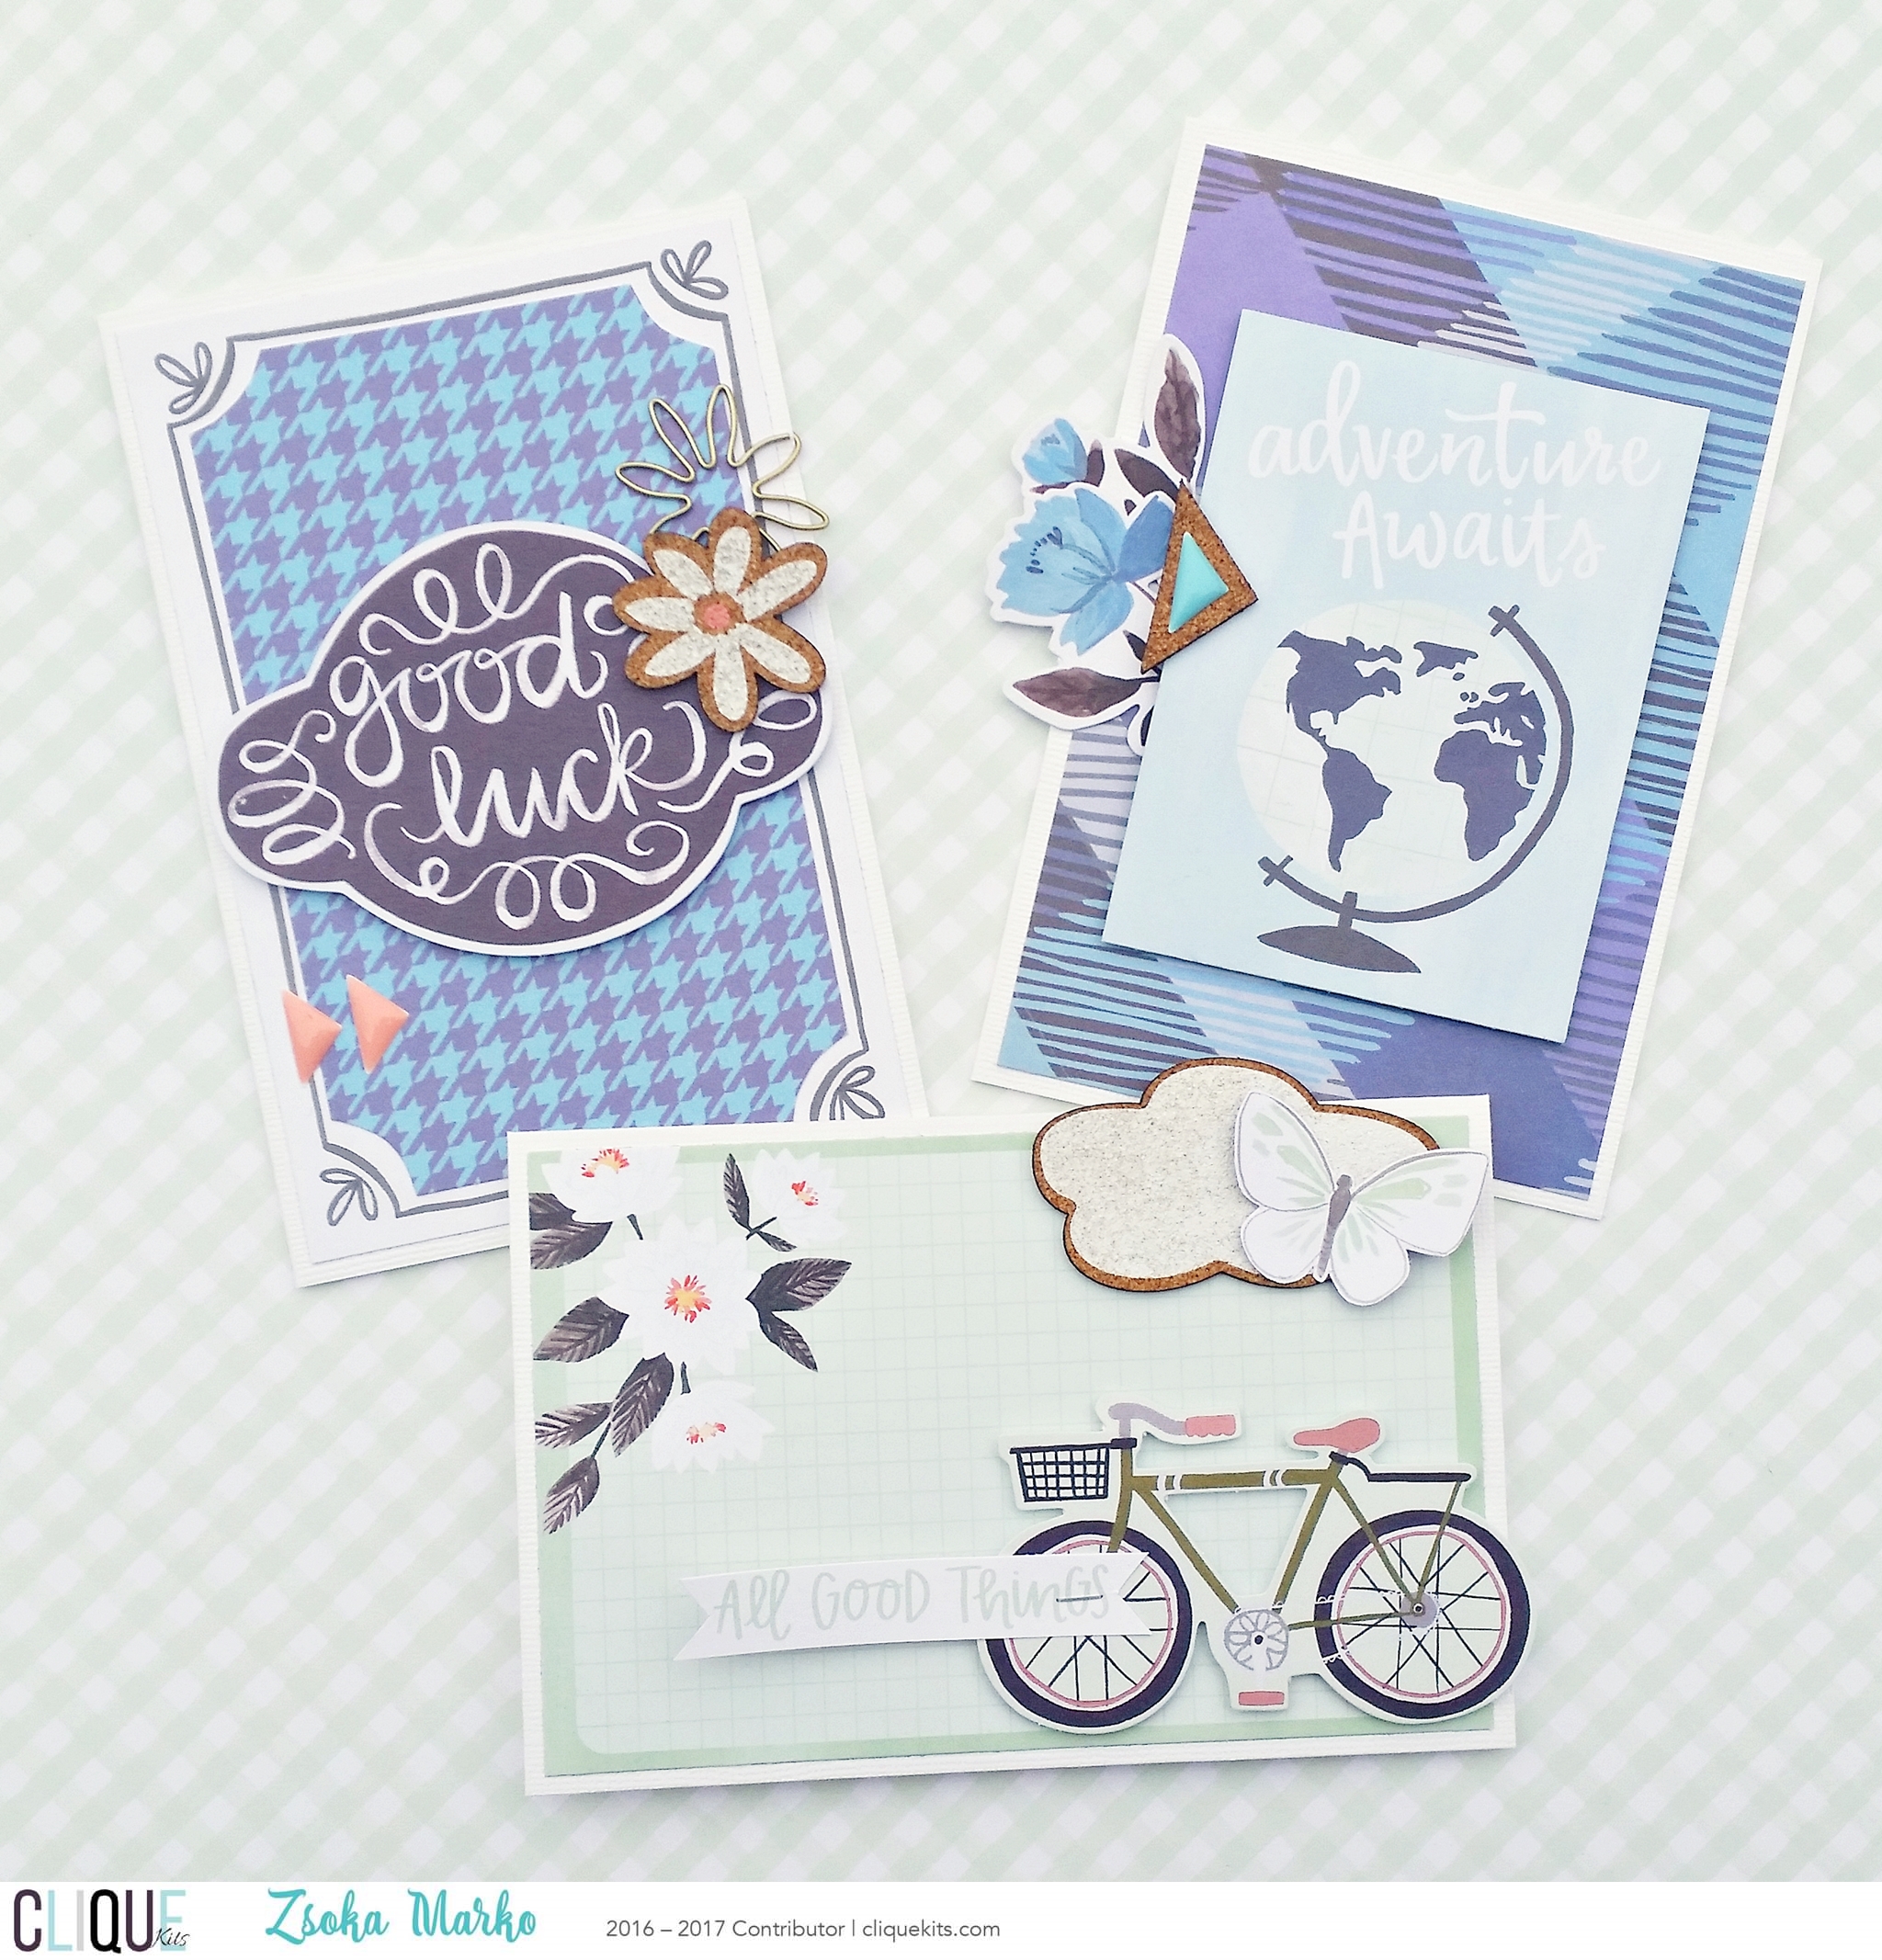
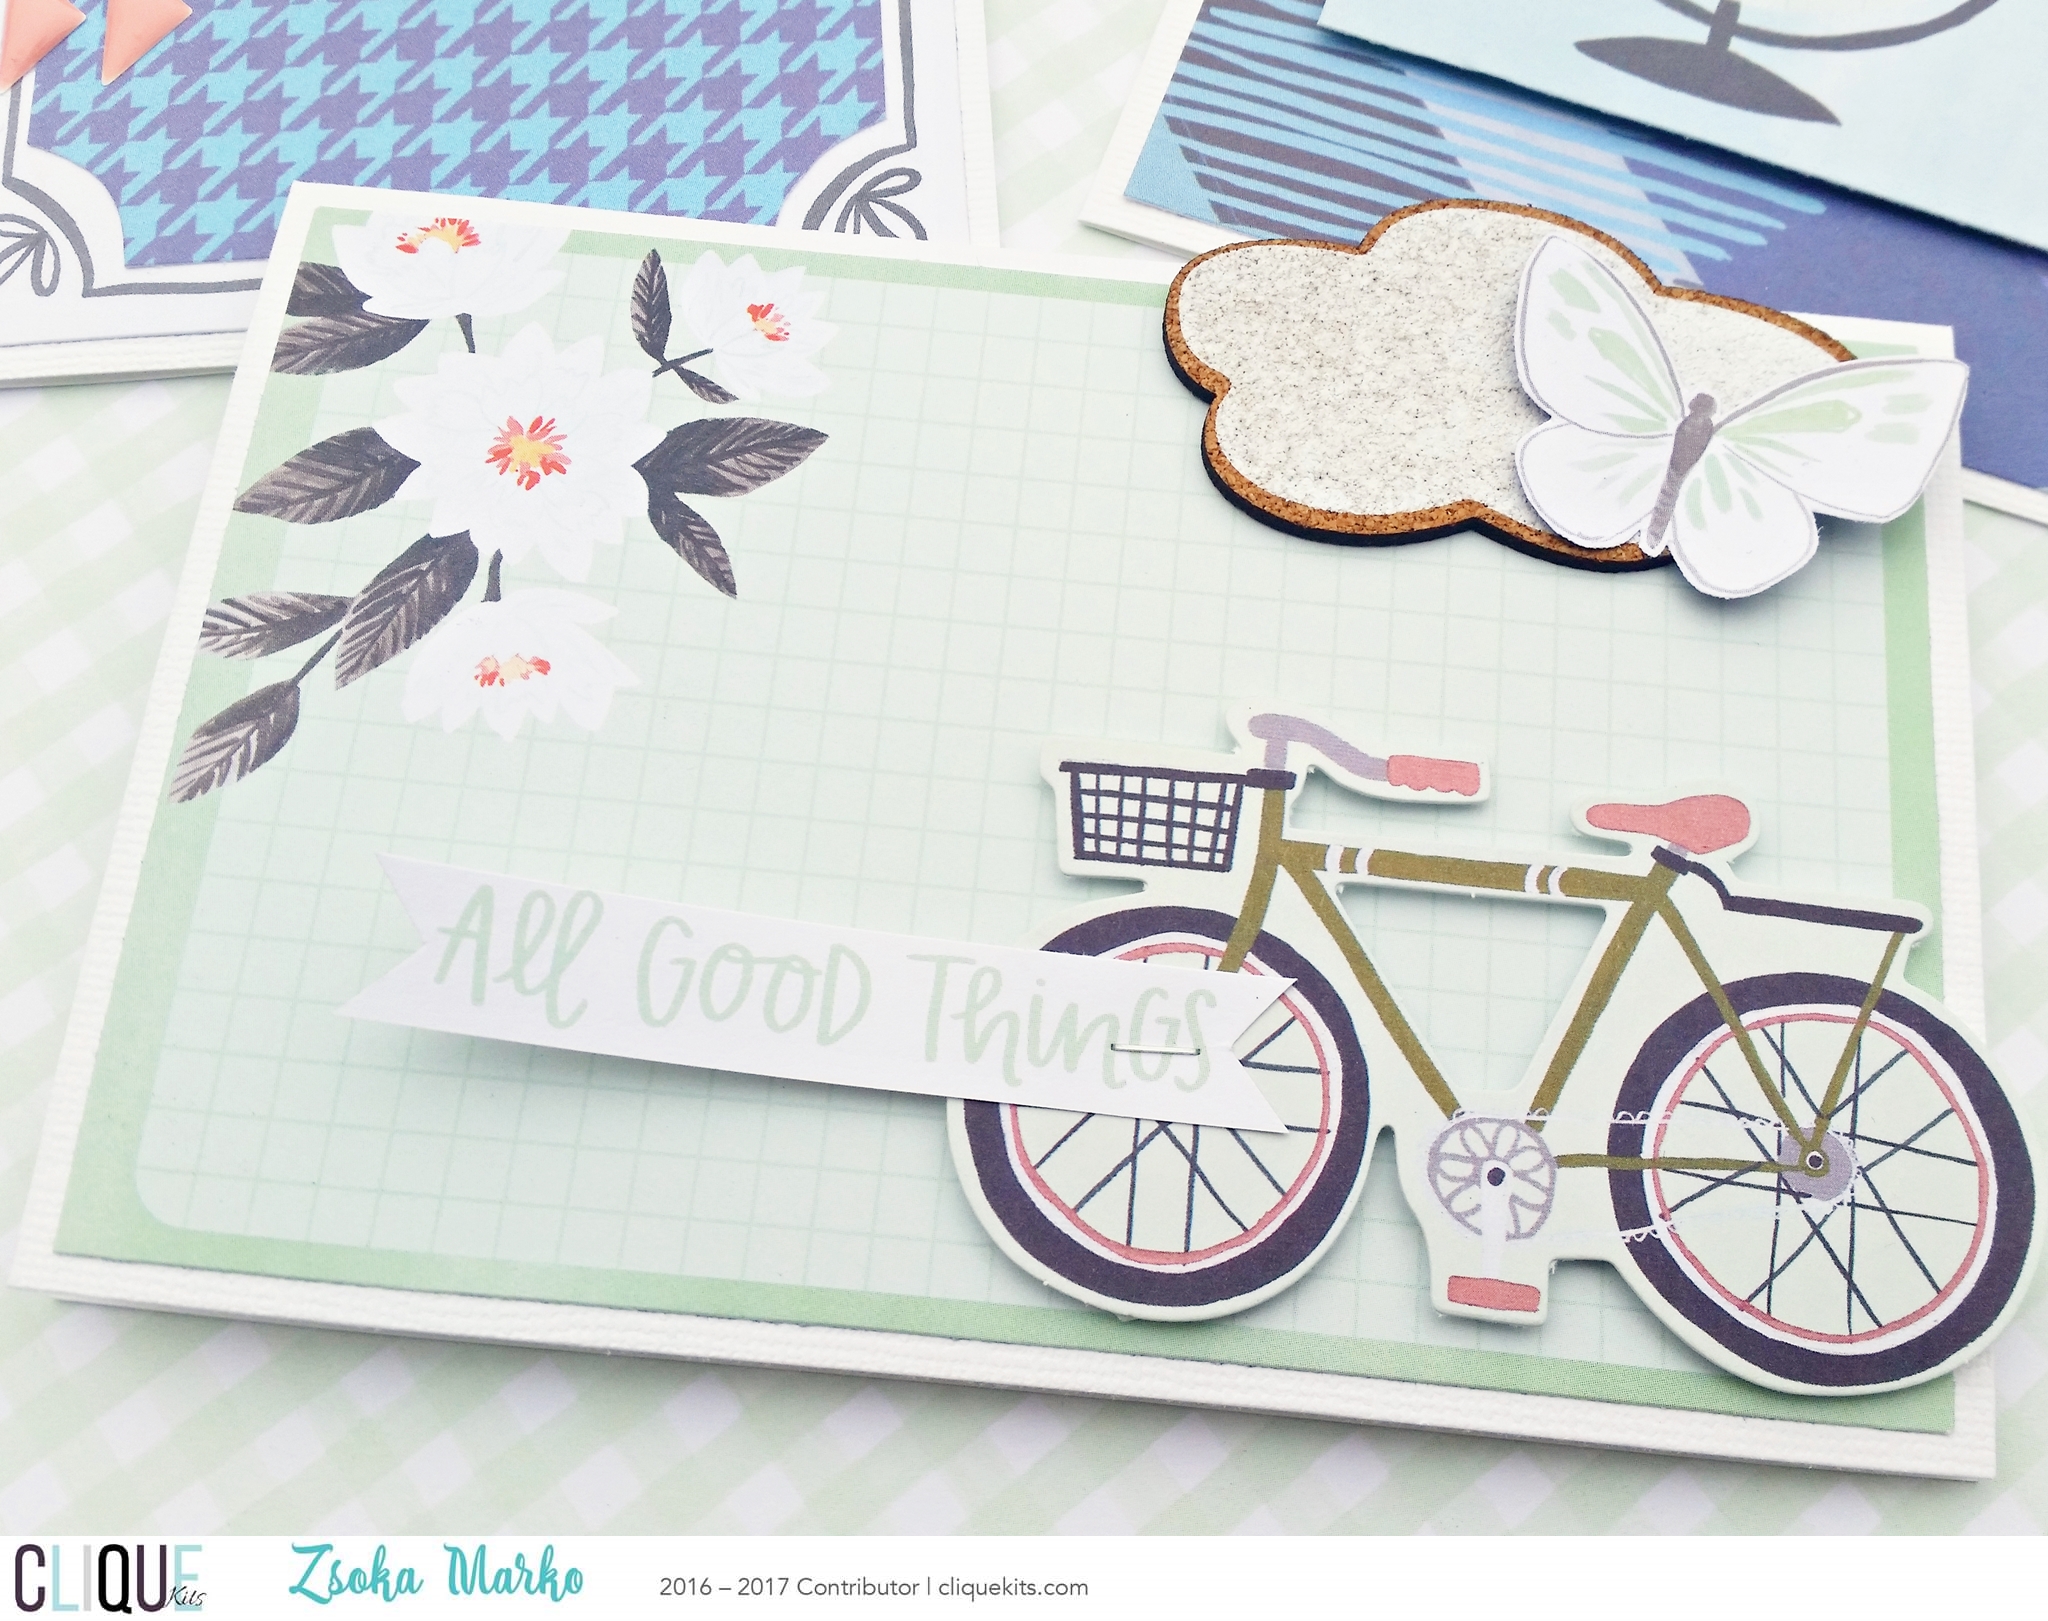
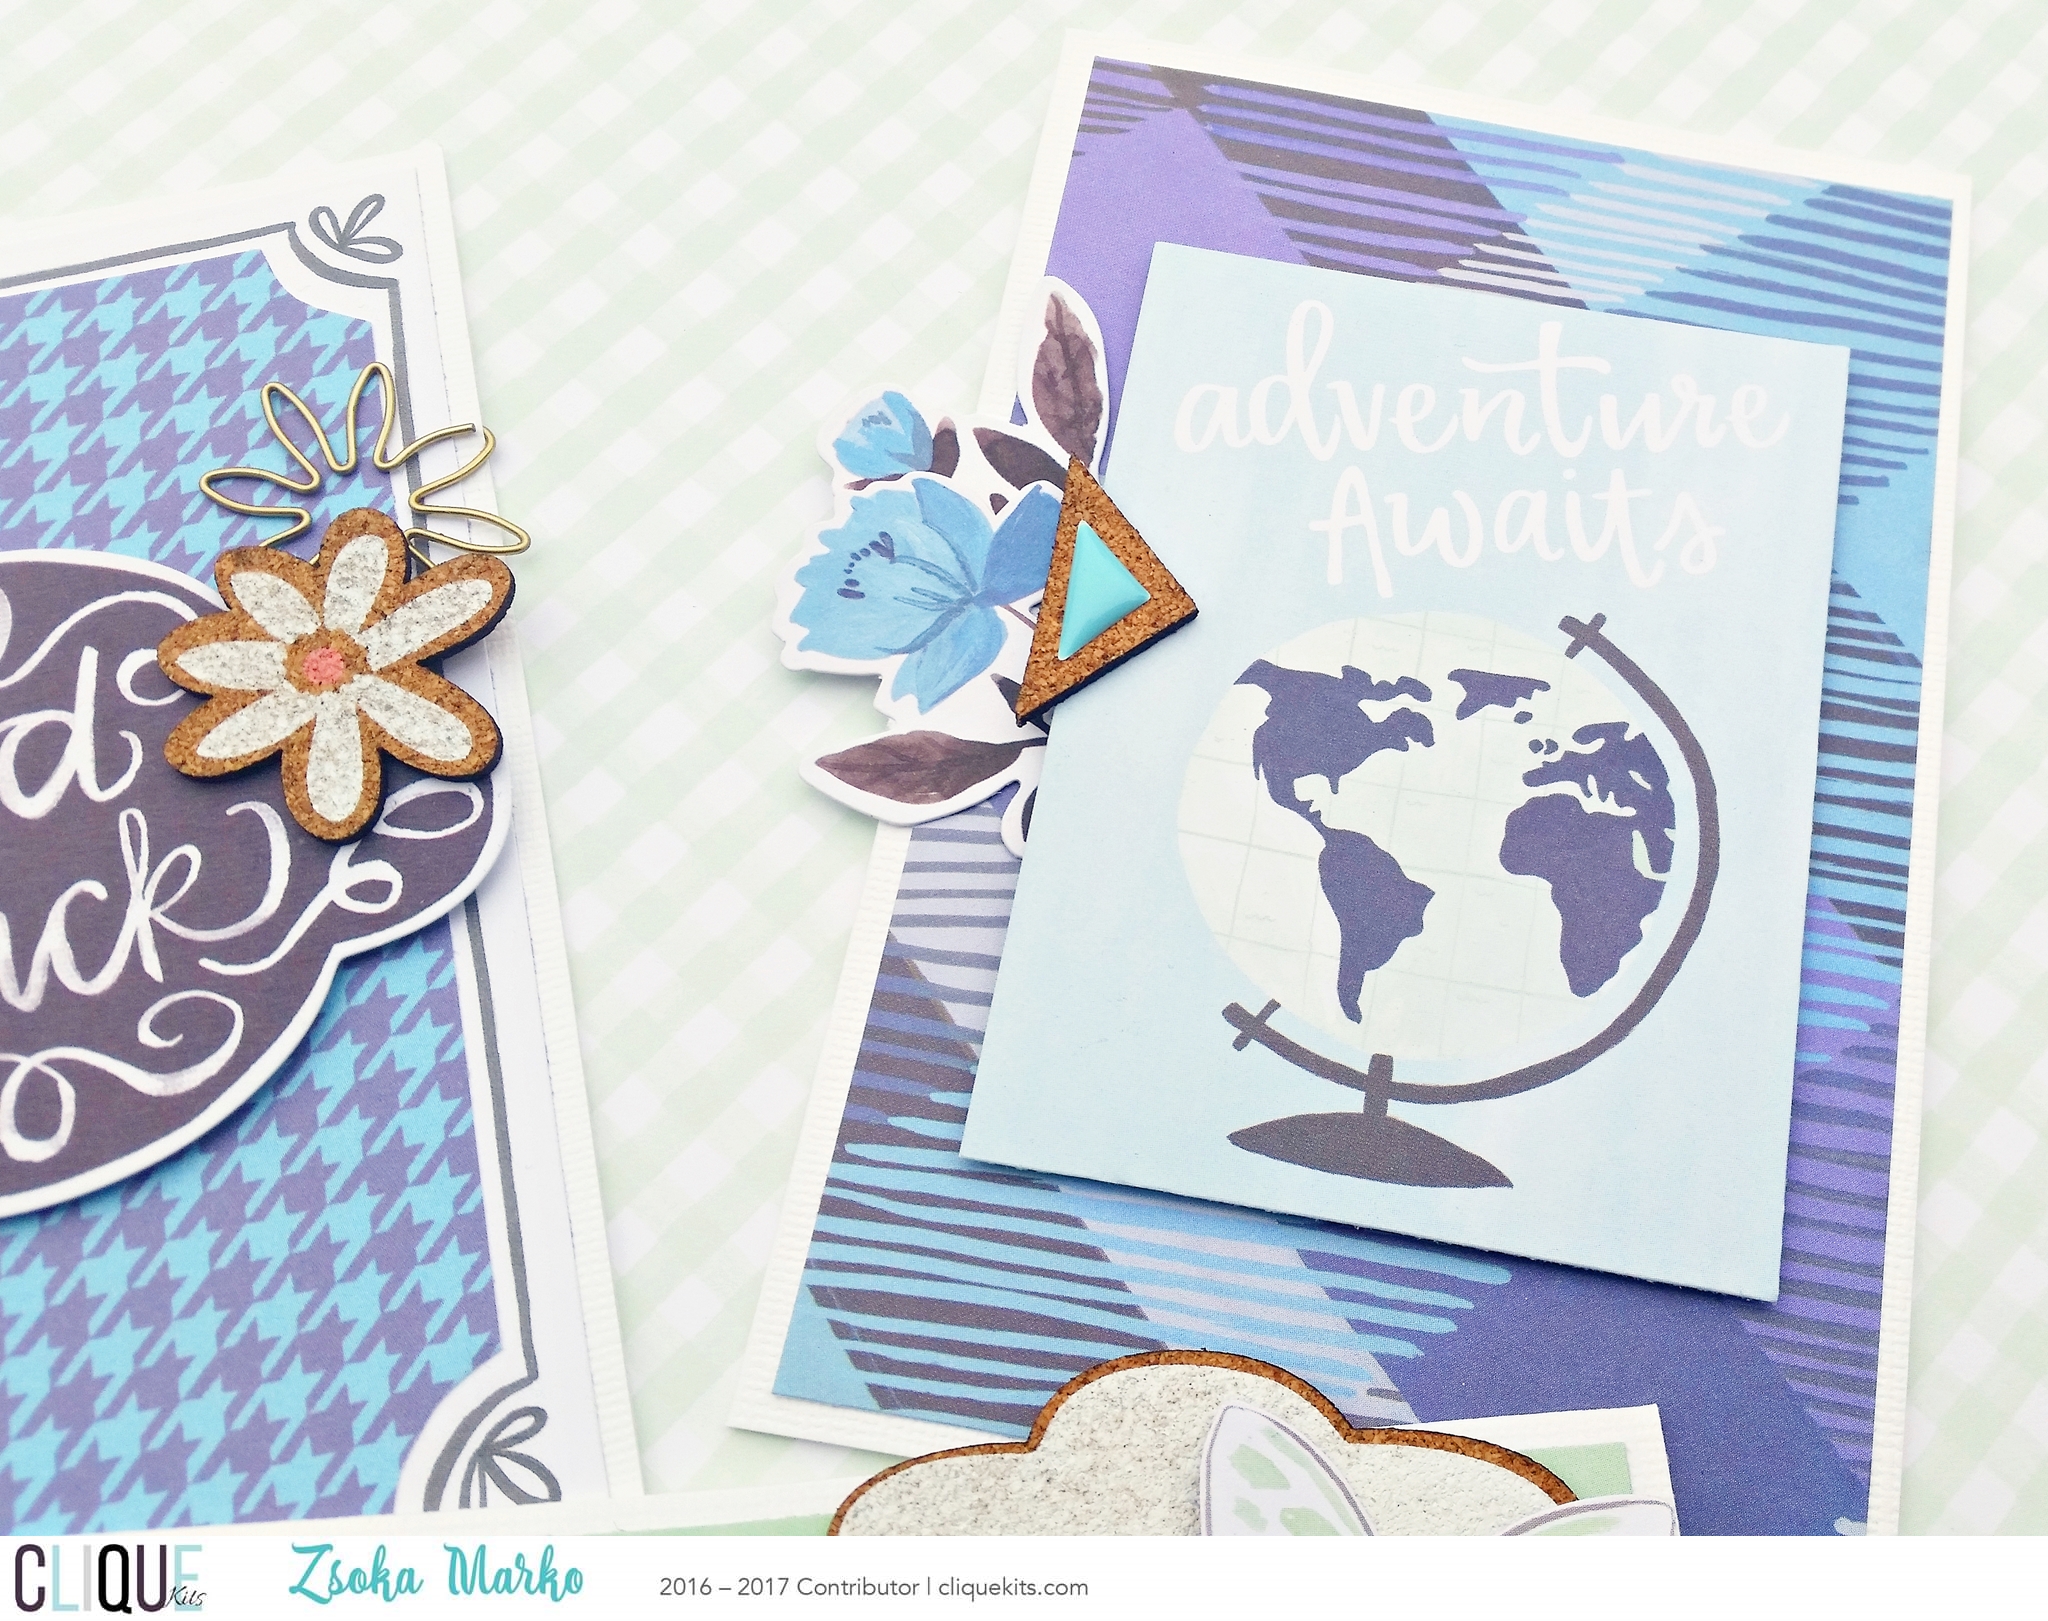
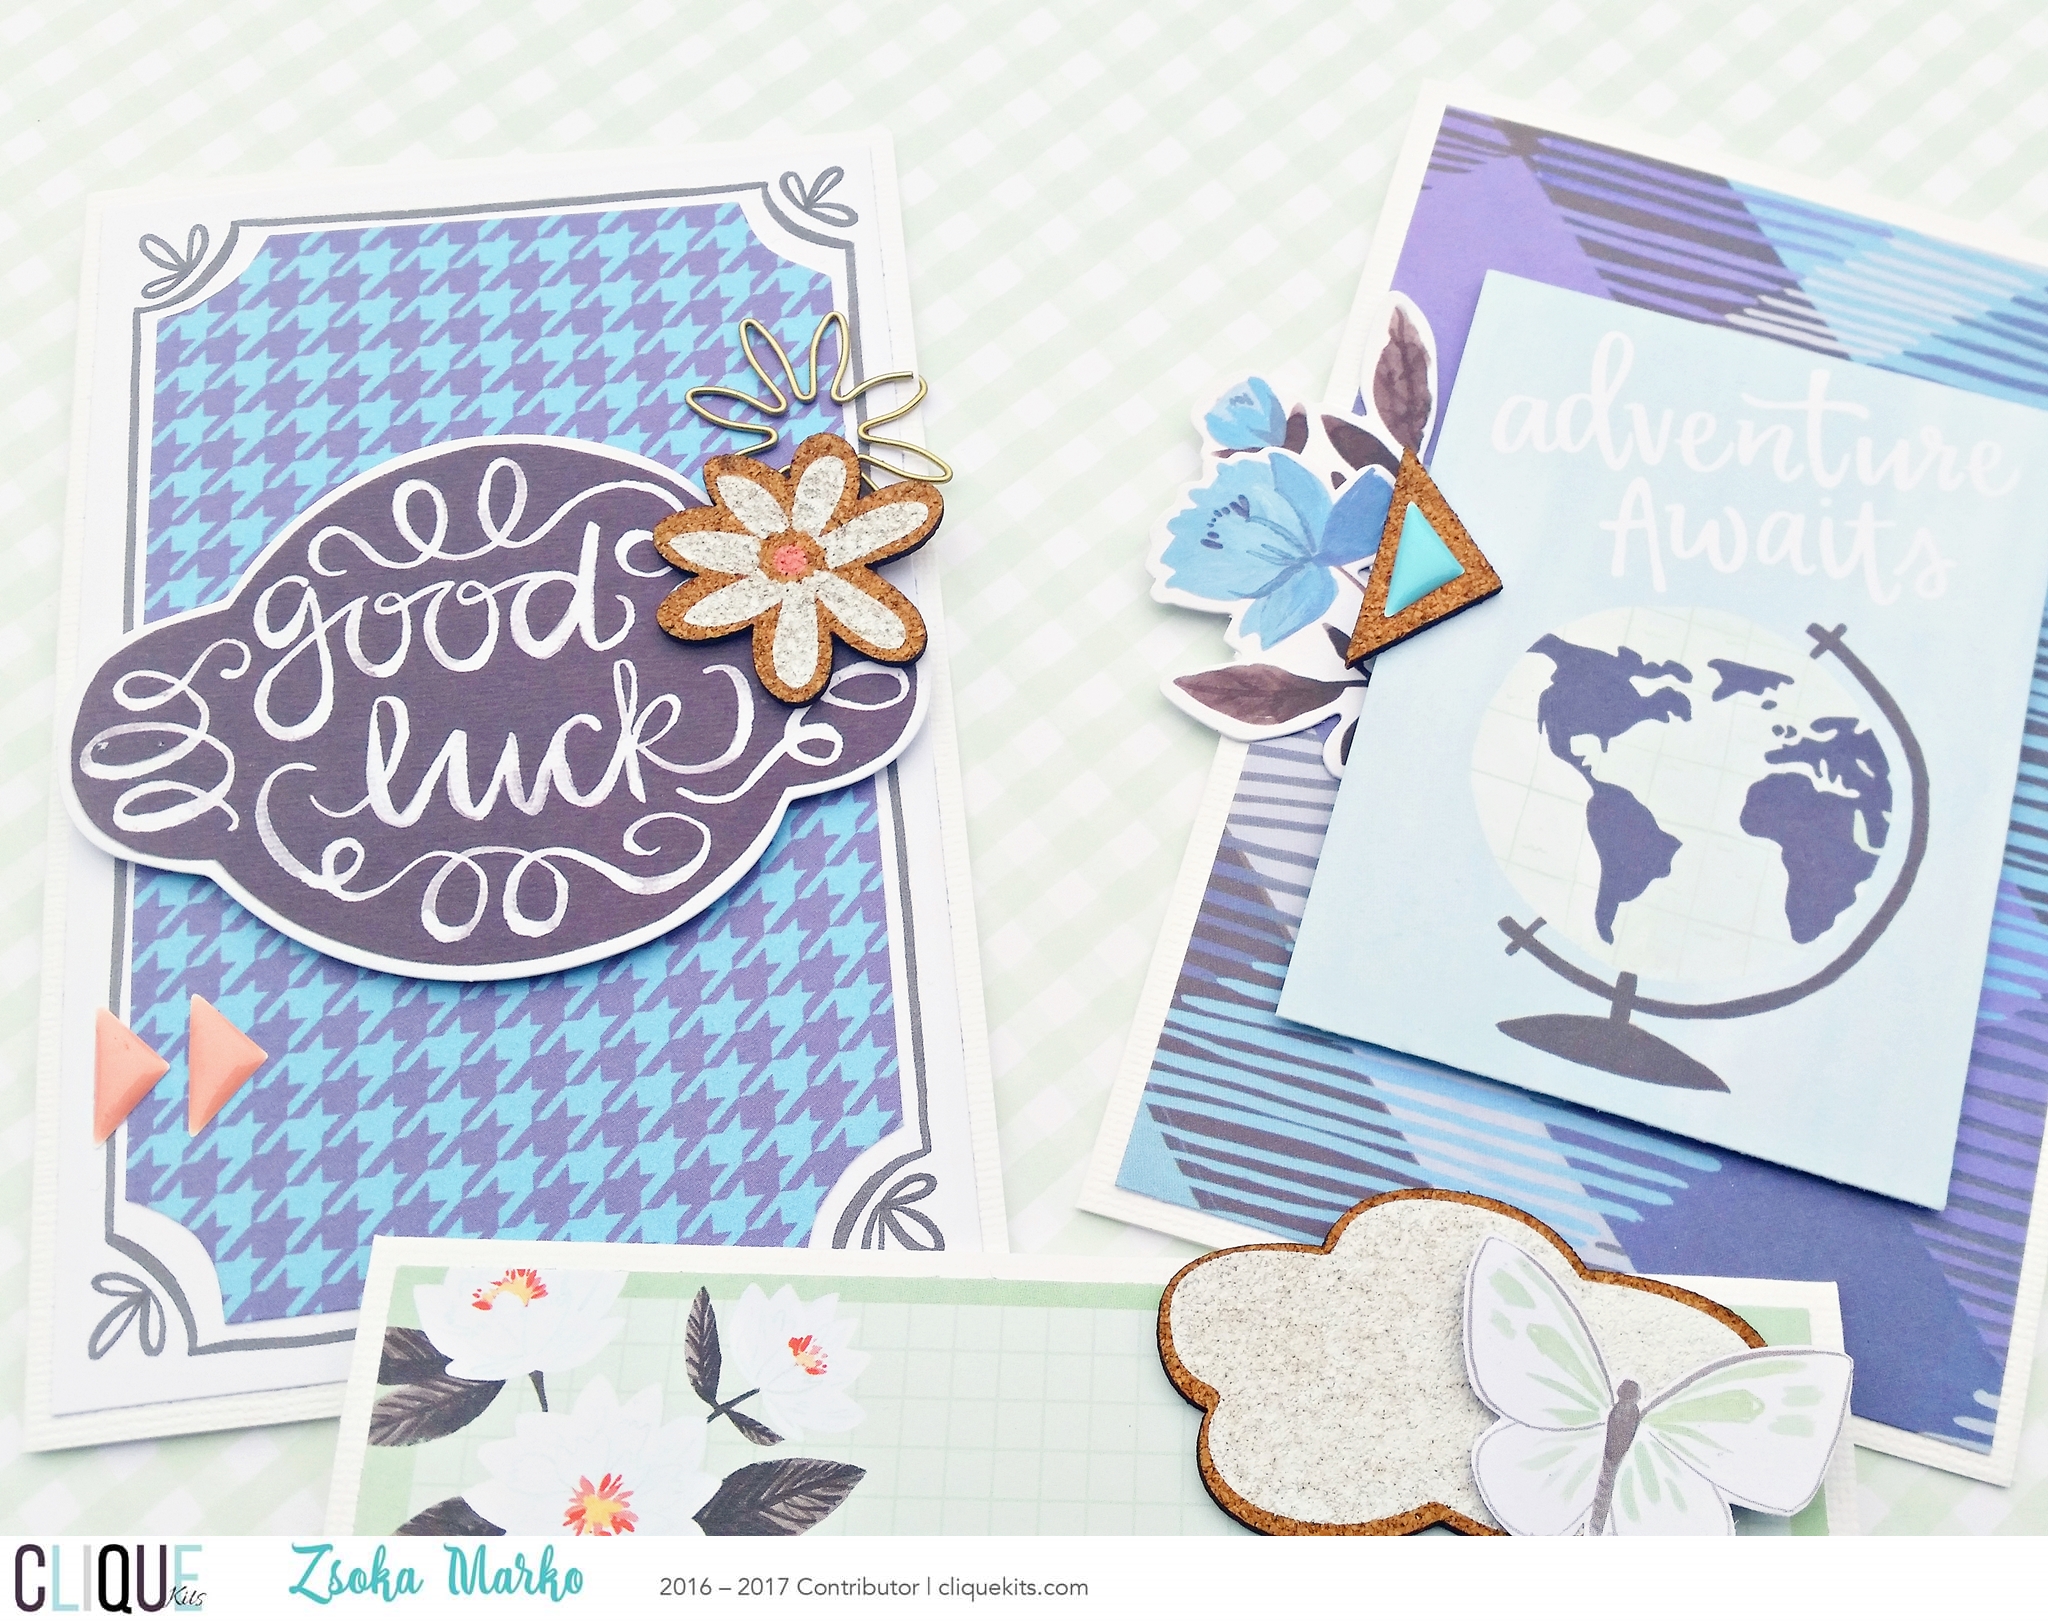
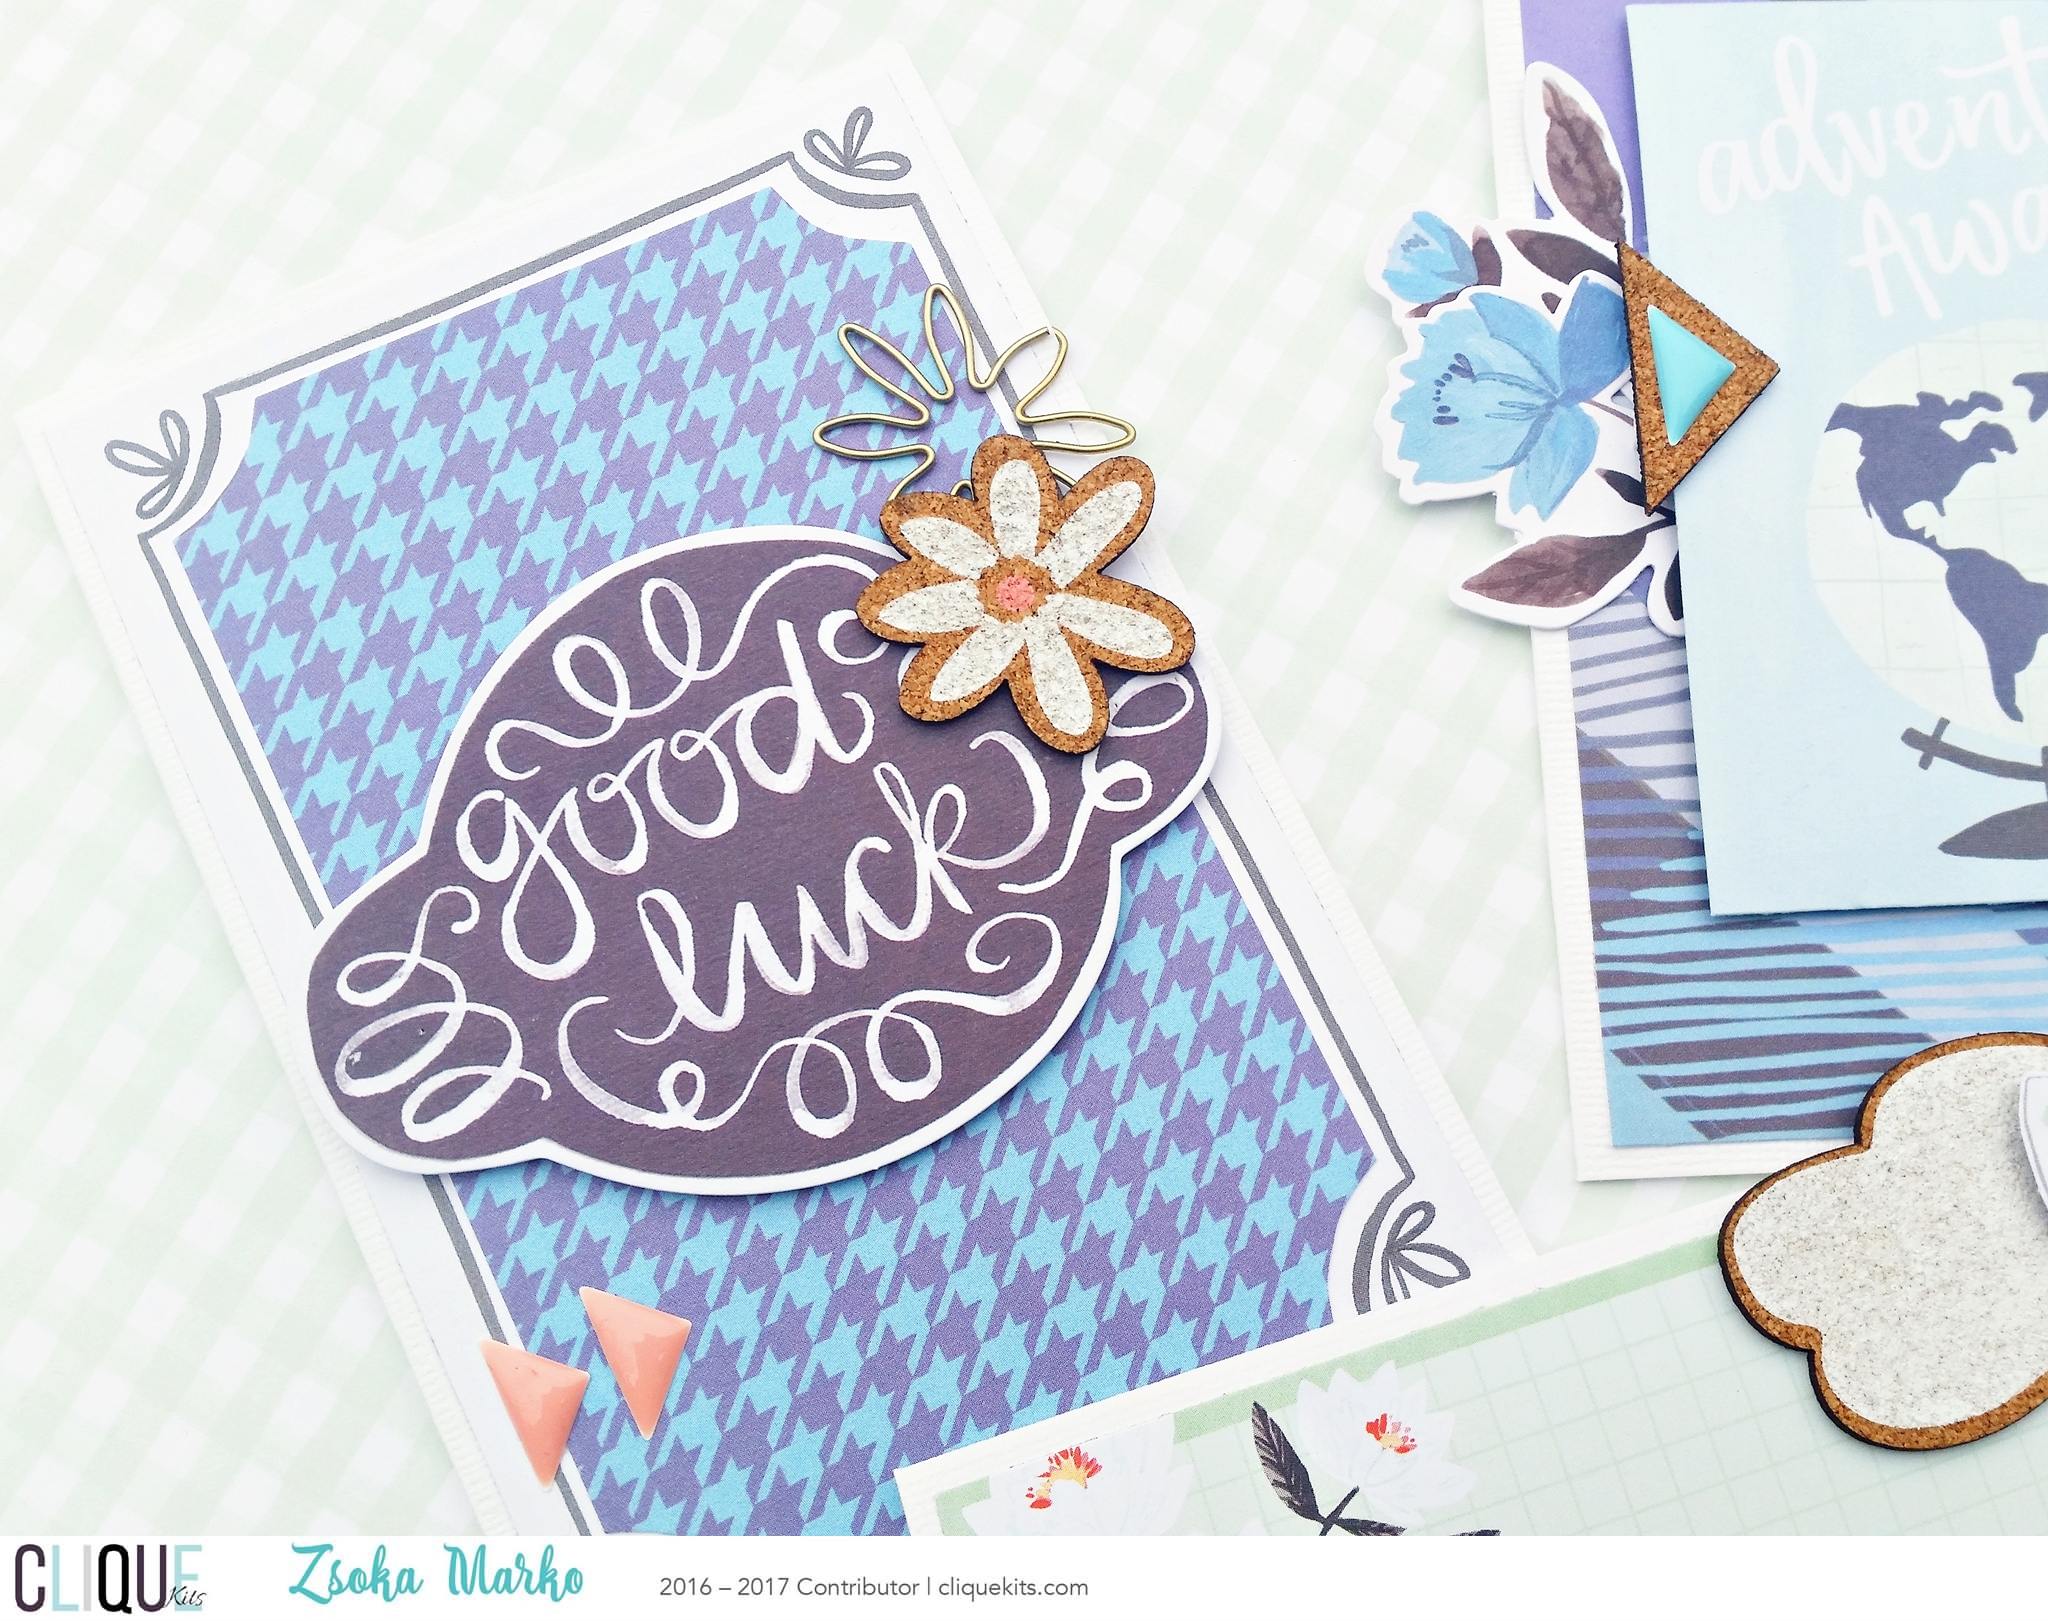
I also created a set of cards using the same color scheme. There's a lovely cut apart sheet in the kit which I thought would be perfect for some cards! Really simple and quick (well...I myself generally spend more time on simple things because I never really feel like they are quite done ha!). I used some cork pieces, ephemera, enamel shapes, and fussy cut butterflies - all these I had left after creating all my layouts with the kit.

  20170129_124911finalbanner

20170129_124918finalbanner

20170129_124923finalbanner

20170129_124928finalbanner

20170129_124932finalbanner

20170129_124936finalbanner

20170129_124942finalbanner 

I hope you enjoyed my first projects and I could inspire you in one way or another! Thank you for stopping by today! 
Zsoka   

Hey Auntie - DT layout for Fancy Pants Designs

Hi guys,

I'm back with you today to share my new layout for Fancy Pants Designs.

It's my first with the super duper gorgeous Sweet Nothings collection (well technically my 3rd, because I have already done 2 for Scrapbook Werkstatt too), designed by the amazing Amber LaBau!

The color combination is so unique again, pinks with yellows and greys plus black and white! Fabulous! I see lots of projects with it in my future!


I created a cut file from a heart and a Paper Issues cut file that Stacie Dietz designed to go with this collection. I modified it a bit so I could use it the way I wanted. I backed all my leaves with different patterned papers and added some dark pink paper behind the flowers to make them pop from the striped background. 


I chose the black and white polka dot paper for my background so all other colors can stand out more. I also machine stitched with black thread around my heart to make it more visible.


I layered some tissue paper, ephemera and tags under my photo and attached some puffy stickers and more ephemera pieces on top of it with my tiny attacher.


For my title I used the awesome puffy alphas! I love how thin they are and also love the font. I wrote my journaling directly below the title. I also added some of the lovely puffy heart stickers next to my title to fill a bit of an empty space there.


Last but not least, I added a strip of paper to the left - actually two smaller pieces that are part of the ephemera pack and I just adore the colorful stripes on these!


How do you like this new collection?! Isn't it sooo special?! I hope you found some inspiration here today! Thank you for stopping by! Till next time,
X
Zsoka


Tuesday, January 17, 2017

It's my party - DT layout for Fancy Pants Designs

Hello there friends,

I'm back today with a new layout for Fancy Pants Designs.

I've used Kim Watson's Joy Parade  collection for this. I find this collection to be great for scrapping party/celebration photos, so again, just like last time, I chose some photos from my son's birthday party.


I chose a background cut file and cut this a bit smaller than 12x12 because I wanted to add a border around it. I backed the file with 8 different patterned papers. Since the openings are quite small I used papers from the 6x6 paper pad, because the patterns are smaller and more visible. This process took a while, so I was watching some of my favourite TV shows while working on this :). Once done, I glued the cutfile on a 12x12 sheet of paper from the same collection. It's got this ombre look to it and I loved the way that looked as a frame.


I chose 3 photos of my son and his best friend, aren't they adorable? I love these two! I printed these photos in the same size as the big squares of the cut file and placed them in the middle (I knew I was going to do this, so I did NOT back the middle row!). I went with black and white photos because my background is very busy and I still wanted the photos to stand out. I layered some white tissue paper behind the photos to give them a lift and a bit of a bigger white border.


I was dying to use the puffy alphas from this collection! I love them so much! Eventually I ended up using a die cut as part of my title too, to add more interest.


Finally I added some embellishments around my photos: tags, labels and die cuts. There were these two party hats I loved, I glued them on top of my son's head - just for fun really!


I added my date on a tag above my photo. I did not add any journaling because this layout is part of a series I'm going to have in my album and I already wrote journaling on some others.

I encourage you to try using a mix of patterned papers for your background, it's fun! You can always tame it with black and white photos and accents/borders to achieve a well balanced look.

Thank you for stopping by today! See you soon X


Friday, January 13, 2017

Colors - DT layout for The Cut Shoppe

Hello there scrappy friends, 

I'm back with a new layout for The Cut Shoppe. 

I started out by selecting a collection I wanted to work with. This is one of the last Basic Grey collections that came out earlier this year. I'm yet to use the last BG collections, I haven't had a chance yet.

Then I looked at the cut files and for some reason this one jumped out at me. I haven't used it yet! 


I multiplied the heart cut file and arranged them in a curved way, then welded them. I backed the hearts with differemt patterned papers. I wanted to only have patterned paper on the left side of my layout, so I adhered my cut file to it and cut off the right side. Then I adhered this piece to a white card stock.


I wanted to bring in more yellow, so I painted around my cut file. I also added a lot of tiny yellow splatters to create a sort of bridge between yellow and white if that makes sense.


I added a few enamel dots from the collection and I selected some wood veneers too from my stash because I barely have any embellies from this collection.


To finish off my layout I added a couple of stickers, labels and my title, wrote my journaling and stamped my date.


Thanks so much for stopping by today. Have an awesome day! X


Friday, January 6, 2017

Hello 2017! - DT layout for The Cut Shoppe

Hi there scrappy friends,

I'm back today with a new layout for The Cut Shoppe!

I used the Geo Globe and the NYE Countdown cut files for this.

https://www.etsy.com/listing/500569259/the-geo-globe-cut-file-is-a-large-circle?ref=shop_home_active_33https://www.etsy.com/listing/487077726/the-nye-countdown-cut-file-set-includes?ref=shop_home_active_50
 
I actually wanted to use the 2016-2017 cut file from the NYE Countdown set but I wanted my circle to be bigger. So I went with the Geo Globe cut file and for the numbers I used the numbers from the NYE Countdown set. I added an offset and welded the numbers together then welded this with the circle cut file.

 
I finally opened my Studio Calico December kit and chose some papers to work with. I knew it was not a party collection, neither the colors nor the theme, but I was determined to use it anyway. I love the colors in this kit! I picked out pink/coral and gray shades for my triangles in the circle. For my number I chose a multi color paper so it stands out more plus I thought at least this bit reminds me of a party :).


I kept embellishing to a minimum (well, compared to my scrapbooking style). I only added a couple of wood veneers, sequins in matching colors, some washi circles, a diecut and some gray buttons from Studio Calico.

 
There was also a mini stamp set included in this kit and I found it very fitting - Fresh Start, perfect! I used this stamp as well as the teeny tiny stars! They are adorable!


This cute resin bow is from Maya Road, I love the dimension and texture it adds to the layout.

 
 Thank you for stopping by, see you soon! X


https://www.etsy.com/shop/TheCutShoppe?ref=l2-shopheader-name


Monday, January 2, 2017

Gifts - DT layout for Fancy Pants Designs

Happy New Year Fancy Pants friends!

I'm back today with a new layout using the awesome Joy Parade collection designed by Kim. This is such a fun and bright collection, perfect for documenting those special celebrations in your life. I chose some photos of my son unwrapping presents at his birthday party a few months back.


There's a pack of brag cards in this collection, with lots of journaling spots and phrases. I always love these but since I don't do PL I don't often use them. Or if I do, I do a grid layout for which I don't use an awful lot of them. On today's layout I challenged myself to use more on one page. I basically handled them like patterned papers and used them to back my cut files. 


This cut file is from The Cut Shoppe. I first backed the middle circles with the brag cards, then the stars. For these I used a mix of brag cards and 6x6 papers.


I used some foam to pop up all of my circles. I love dimensions on my pages!


Then I added different embellies to my circles: ephemera pieces, puffy stickers, a flair button and puffy alphas for my title. My absolute favourite pieces from this collection are the balloons in the ephermera pack. I just had to use a couple on this layout since it went with my birthday theme so well!


I added my journaling and the date in some journaling spots, so handy!


I encourage you to try and use your PL/brag cards even if you don't do Project Life. They are so fun and come in such gorgeous designs! Don't miss out!

Thanks for stopping by today, see you soon X