Sunday, January 16, 2022

Merry & Bright - DT Layout for Paige Evans

Hi there crafty friends,

I'm stopping by to share a new layout with you, that I've created for the Paige Evans Design Team, using the Bungalow Lane collection. I love Paige's Christmas cut files, so I made it my mission to use at least one! This is actually the only Christmas layout I made this year. It's sad, isn't it? I haven't had time to do a December Daily either, I forgot to take photos too, so even if I had time sometime, I won't be able to create one without photos! Maybe next year.


I cut the Merry & Bright cut file (Design ID: 393977) from white card stock, then backed the lights with lots of different patterned papers. The more colors and patterns, the merrier! I then cut the title from a red(ish) patterned paper and glued the letters onto two layers of white card stock as well, to make them sturdy, because I knew I was going to add foam tape to them later.


I created a stencil using Paige's Star Confetti cut file (Design ID: 286629); I rearranged the stars to fit around the bottom and the sides of the Christmas lights. I only kept the smaller stars. I then added some Shimmerz texture paste to a white 12x12 card stock. My favorite texture paste (Faber Castell Whipped Spackle) was completely dried in because I haven't used it in years and apparently it's not available anymore :(. I found this shiny white paste that a friend of mine sent me a few months ago and I thought it'd be a great fit!


Once all was dry, I adhered my cut file to my background. I die cut the design once more and layered it over the other one, to create some dimension and texture. I only used glue in a few places, so I have some movement on the page. Next, I added my letters on foam tape, like I mentioned earlier. I layered some tissue paper behind my photo and glued it in place. 

I wrote my journaling and added a few embellishments. Even though Bungalow Lane is a fall collection, I still found some stickers that worked fine with my Christmas photo.

I stamped my date onto a label sticker and tucked it in behind the photo.


That's it! I hope you like how this page turned out!

Thank you so much for stopping by! Have a fabulous day!

X

Friday, January 14, 2022

In Focus: Spellbinders January Release

Hi there friends,

Today is release day at Spellbinders and I have lots of projects and videos to share with you! So instead of the usual one blog post per collection, I'll just write one longer blog post, full of photos. Since I have process videos for everything, I won't write a step by step here.

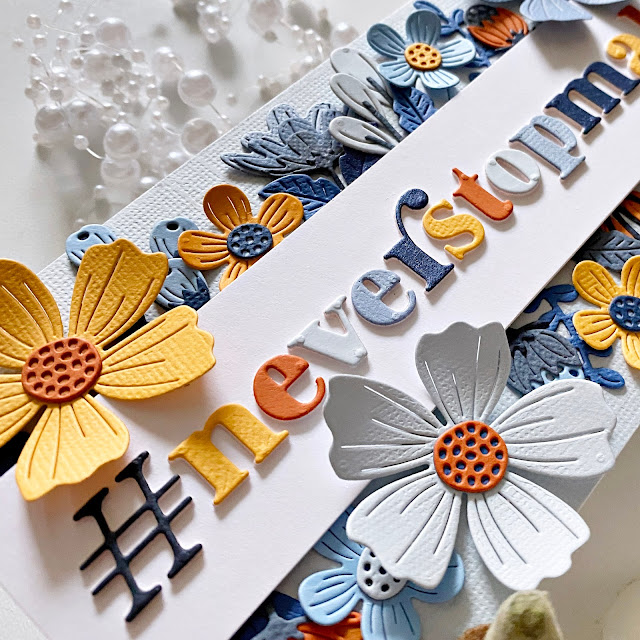
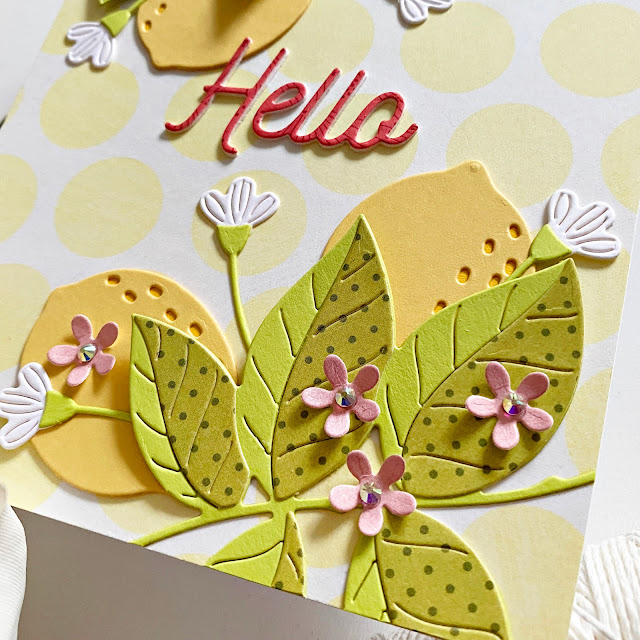
First up, my absolute favorite, the Be Bold collection!


Process video for the floral cards:


Process video for the lemon cards:


Next up is a sweet add-on set for the awesome Open House collection!


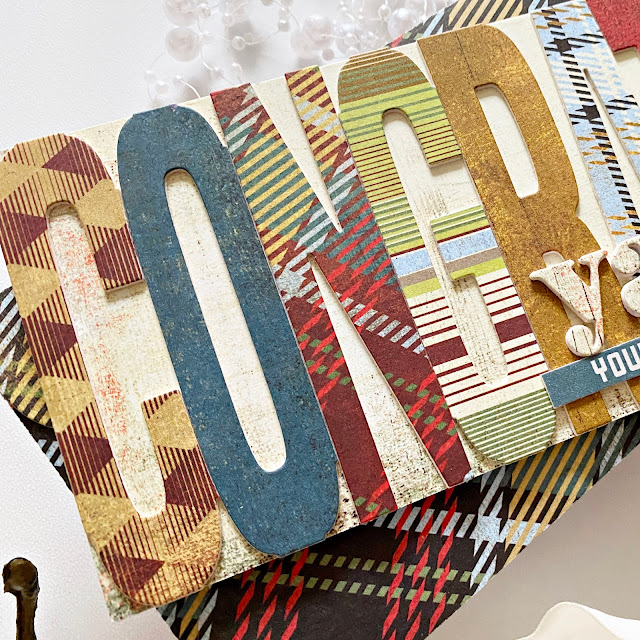
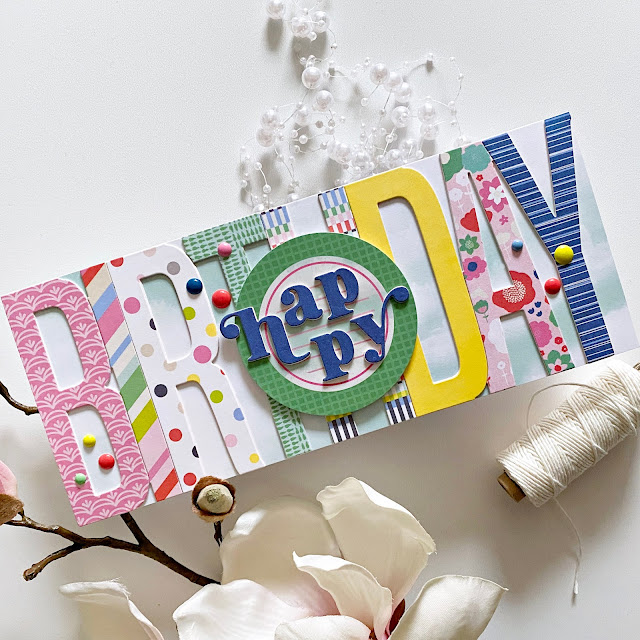
Then we have the Be Bold Color Block collection, with a few new die sets added to the existing ones!


Process video with these cool dies:


Last but not least, there's a beautiful new collection by my talented friend, Yana Smakula, called Yana's Blooms! As always, this is a glimmer collection, but this time there's a bunch of die sets with it too, yay!

Saturday, January 1, 2022

In the spotlight: Spellbinders Small and Large Die of the Month kits - January 2022

Hi there friends,

First of all, HAPPY NEW YEAR! I hope you all had a peaceful holiday season and are now ready to jump into the new year refreshed!

My first post of the year is for Spellbinders, since the new Club Kits are here!

I will not go into step by step tutorials here, since I made process videos for all of today's projects - I'll just attach some photos! I'll link the videos down below, after each set of cards. You can also subscribe to my YouTube Channel and press the bell icon so you never miss a new video! You'll find all the supplies I've used linked in the description boxes of the videos.

As a reminder, Spellbinders have several monthly kits, which are really great! You can subscribe to:

You can find all necessary information about these kits here.  

First up some cards with the Large Die Kit!


Here's the process video too - it's super short because these cards come together really fast!


My projects with the Small Die Kit:


The process video:


That's it for today guys! I hope I could inspire you in some small way!

Thank you so much for stopping by! Have a wonderful day!

X