Hi there crafty friends,
I'm stopping by to share a new layout with you, that I've created for the Paige Evans Design Team, using the Bungalow Lane collection. I love Paige's Christmas cut files, so I made it my mission to use at least one! This is actually the only Christmas layout I made this year. It's sad, isn't it? I haven't had time to do a December Daily either, I forgot to take photos too, so even if I had time sometime, I won't be able to create one without photos! Maybe next year.
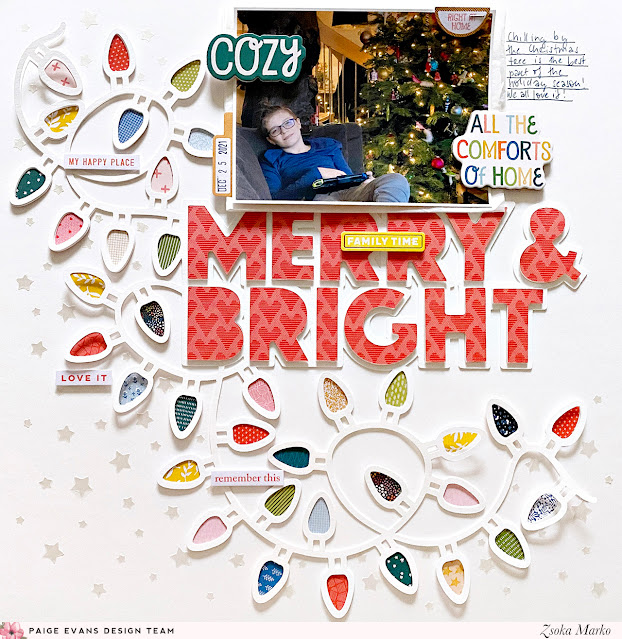
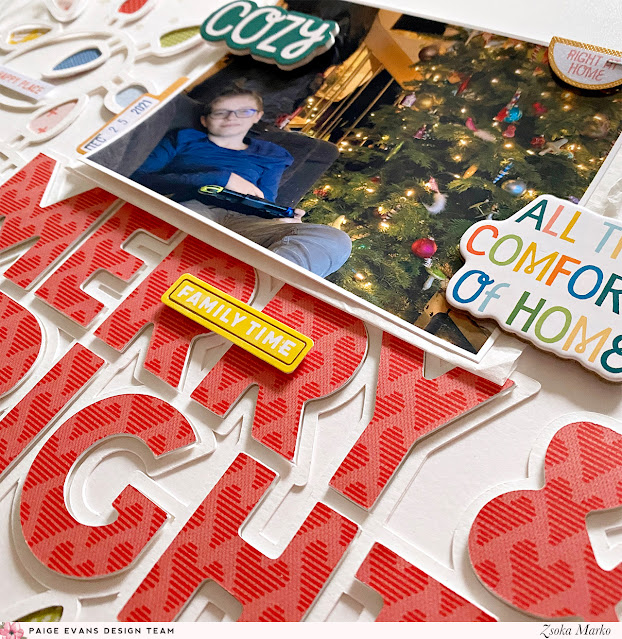
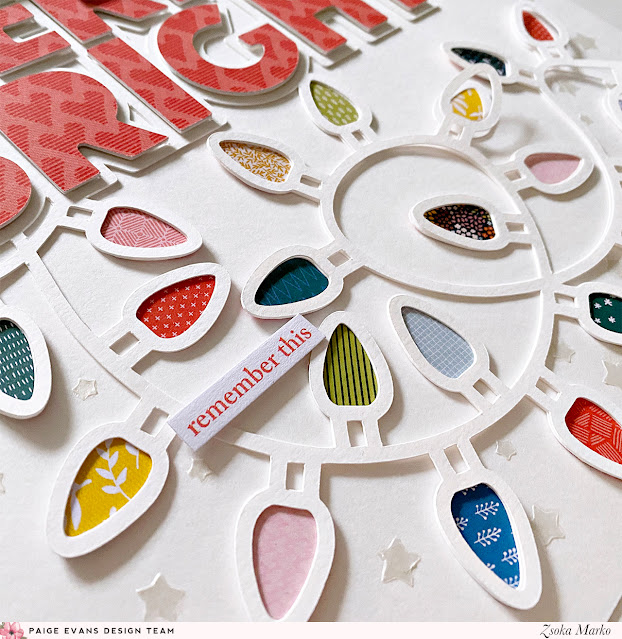
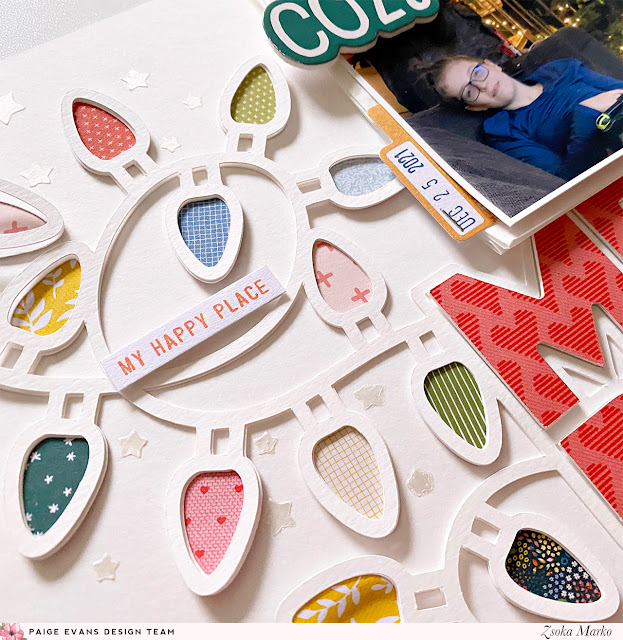
I cut the Merry & Bright cut file (Design ID: 393977) from white card stock, then backed the lights with lots of different patterned papers. The more colors and patterns, the merrier! I then cut the title from a red(ish) patterned paper and glued the letters onto two layers of white card stock as well, to make them sturdy, because I knew I was going to add foam tape to them later.
I created a stencil using Paige's Star Confetti cut file (Design ID: 286629); I rearranged the stars to fit around the bottom and the sides of the Christmas lights. I only kept the smaller stars. I then added some Shimmerz texture paste to a white 12x12 card stock. My favorite texture paste (Faber Castell Whipped Spackle) was completely dried in because I haven't used it in years and apparently it's not available anymore :(. I found this shiny white paste that a friend of mine sent me a few months ago and I thought it'd be a great fit!
Once all was dry, I adhered my cut file to my background. I die cut the design once more and layered it over the other one, to create some dimension and texture. I only used glue in a few places, so I have some movement on the page. Next, I added my letters on foam tape, like I mentioned earlier. I layered some tissue paper behind my photo and glued it in place.
I wrote my journaling and added a few embellishments. Even though Bungalow Lane is a fall collection, I still found some stickers that worked fine with my Christmas photo.
I stamped my date onto a label sticker and tucked it in behind the photo.
That's it! I hope you like how this page turned out!
Thank you so much for stopping by! Have a fabulous day!
X
SUPPLY LIST:
Bungalow Lane collection: Paper 1, Paper 3, Paper 8, Paper 9, Paper 20, Chipboard Stickers, Cardstock Stickers, Phrase Thickers, Sticker Book