Showing posts with label Henna Heart. Show all posts

Tuesday, April 10, 2018

Love you to the moon and back - DT layout for Just Nick

Hey there friends,

I'm stopping by to share my latest creation for Just Nick!

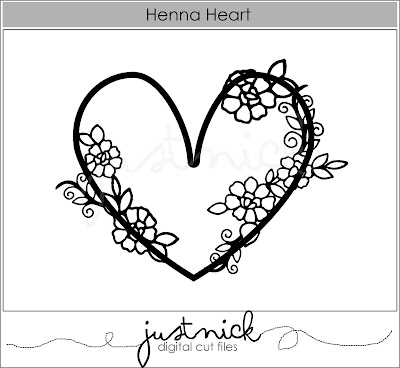
This week we have free reign on which cut files we use and I chose one I've used many times but can't get tired of: the Henna Heart. I've used the adorable Little You collection from Crate Paper on this layout.


I cut the cut file from textured white card stock, then backed the flowers with yellow card stock, the leaves with different patterned papers. I layered some tissue papers behind my photo and adhered it onto the patterned paper I chose for my background. I added some paper strips at the top and at the bottom and used my sewing machine to add some texture to these.


I kept embellishing to a minimum: I used some enamel dots and wooden buttons for my flower centers and attached some stickers here and there.


For the title I went with a generic chipboard sticker because the photo is generic too, no special event or anything, it just captures my son's favourite position to sleep in. Finally I added an adorable paper clip to my photo, wrote my journaling and splattered some black ink all around my page. That's it!


I hope you like how it turned out!

Thanks for stopping by today and have an awesome week friends!

X


Friday, January 5, 2018

Sweet - DT layout for Just Nick

Hi there friends,

I'm back today with a new layout for Just Nick! I'm happy to be doing layouts because I've been working on some other projects for awhile and was missing layouts!

I've used the beautiful Henna Heart cut file on this one. I was thinking Valentine's day is coming soon so a heart layout would be a good choice. I adore this cut file! I love the non-traditional heart shape and all the flowers!


I used a mixture of Maggie Holmes' Gather and Chasing dreams collection with a bit of My Mind's Eye On Trend 2.


I started out by designing my layout in Silhouette Studio, then cut my partial hearts from textured white card stock.


I chose some patterned papers that I thought had looked good together and started backing my cut files. I adhered them to the background, except for the bottom one. There I tuck my photo behind the heart first, put 3d foam adhesive on the left side of the heart and then I glued it all down. I also layered some tags, die cuts and tissue paper behind the photo.


Once done, I went through all the embellies in these collections and picked out the ones I thought were a good fit: stickers, chipboards, tags, buttons and diecuts! The beautiful gold mirrored piece I used for my title is from My Mind's Eye. I wrote my journaling on one of the die cuts and stamped the date using a roller stamp.


I hope you like today's inspiration.
Thank you for stopping by!

Till next time,

X