Showing posts with label The Bright Side. Show all posts

Tuesday, July 10, 2018

Fun in the Sun - DT layout for Fancy Pants Designs

Hi there crafty friends,

I'm sharing a new layout today that I've made for Fancy Pants Designs.

I've used the Poolside collection with a little bit of The Bright Side on this one.


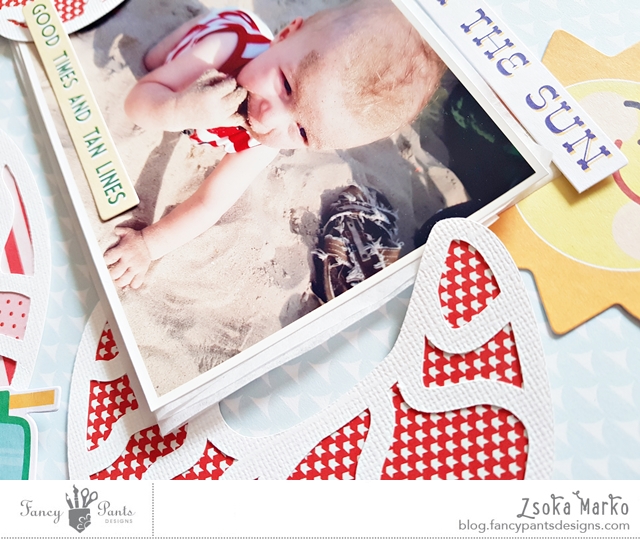
I chose this adorable Crab cut file from Paige Evans (Silhouette ID: #267053) and cut it from textured white card stock. Then I backed it with patterned papers from both collections and adhered it on the background paper (from The Bright Side collection). 


I kind of put the photo in the crab's claws but now that I'm looking at the close-up I notice it came out on the left side. Oh well, you get the idea :). For my title I used a die cut, Fun in the Sun, which perfectly fits my photo! Because apparently at that age eating sand is fun, ha! I also tucked that adorable smiling sun die cut behind the title and adhered another phrase die cut on the photo. Oh, and of course I had to use a rubber charm clip! How cute is that flamingo float?!

There is a patterned paper in the Poolside collection that has these big monstera leaves on it and I felt the need to fussy cut some! There's also some in the ephemera pack. It's totally random but I tucked these leaves in between the crab's leg haha! Random or not, I like the way it looks :).


On one side I created a flower cluster, again, totally random, but I love flowers so it's all good!


On the other side I created another cluster with some summer icons like flip flops, snorkelling mask and a swim ring. To create a dimensional look I used foam adhesive in many places.


This layout came together very quickly, it's quite possibly the quickest layout I have ever made! But I still like how it turned out, I hope you do too!

Thanks for stopping by today, have an amazing day!

X


Friday, May 25, 2018

Let's celebrate - DT layout for Fancy Pants Designs

Hi lovelies,

I'm back today with a new layout I've created for Fancy Pants. I've used the gorgeous The Bright Side collection on this one!


I picked a butterfly cut file I liked (one of the butterflies in the Butterfly Cluster cut file by Paige Taylor Evans) and cut it from different patterned papers and in different sizes. I then stitched 3-4 together, using my sewing machine. 


I also cut another cut file from textured white card stock (The Chicken Wire by The Cut Shoppe), then I started putting my layout together. I picked a blue striped paper from the Family&Co collection for my background. I love this paper!


I then adhered the Chicken Wire cut file to my background paper. I didn't put glue everyone on the cut file because I wanted to create a dimensional look. I arranged the butterflies the way I liked them, then glued them down. 


I layered some tissue paper, tags and die cuts behind both photos and placed them on the layout. For my journaling I used a journaling spot. To finish off my layout I added a chipboard title and a few chipboard hearts.


I hope you like how it turned out! I love dimension and layered hearts/butterflies/etc give so much texture to the layout too! I realise this style is not for everyone, but it is certainly my style!

Thanks for stopping by! Have a wonderful day!

X

Friday, May 11, 2018

A trio of cards - DT project for Fancy Pants Designs

Hello crafty friends,

I'm checking in to share a trio of cards I've created for Fancy Pants Designs.


I've used the wonderful The Bright Side collection on these cards. They are really simple and quick to make! I made three A2 top folding card bases from heavy weight white card stock. Then I adhered  a different A2 size patterned paper to all of these.

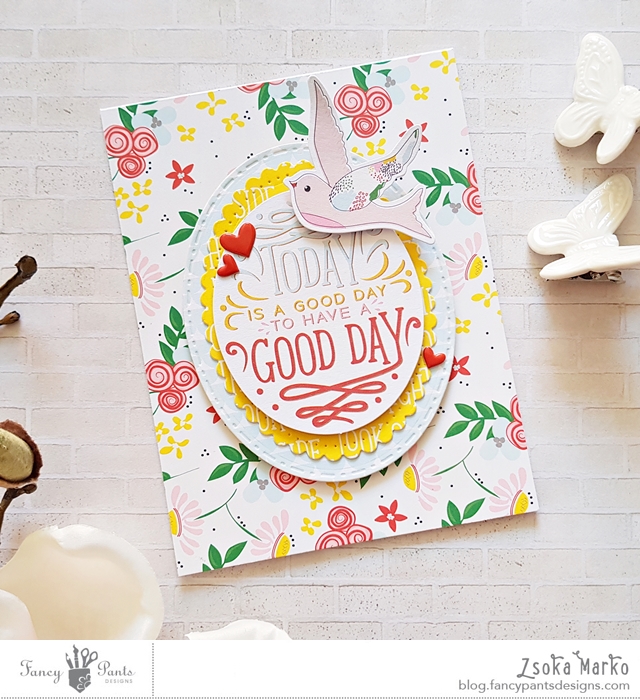
For the first one I die cut 2 oval shapes using some Spellbinders dies. At this point I didn't know yet what sentiment I will add, so when I opened the ephemera pack and found this oval die cut I was overjoyed! I love happy accidents like this! To add a bit of dimension, I added foam sheets between two of the oval layers. To finish it off, I glued some puffy sticker hearts and a die cut bird on the ovals. I used foam tape to attach the bird.


On the next card I cut a piece off the Natural Beauty paper, which has a beautiful flower bouquet on it. I cut it in a way that the bouquet was on the left side of my card. Then I picked out some of the die cut flowers from the ephemera pack as well as some leaves, a frame and a sentiment and played around with the arrangement. I decided to use foam adhesive on the frame and on the flowers. I glue down the leaves first, then the frame, then added in the flowers. To finish off the card I adhered my sentiment, again using foam adhesive, and attached a bow I made of the twin that comes in the tags set. 


I really wanted to use these super cute cups on a card because I knew I wasn't going to use them on a layout. It would have been a shame if they had gone to waste! There's 3 in the ephemera pack, but once I stacked them on top of each other, they were not tall enough, so I took a 4th one from another ephemera pack. I used foam adhesive to attach these to the card front. One of the cups has The Good Stuff written on it and I thought that would be perfect for my sentiment! I added two die cut pinwheels at the top, just for fun! For finishing touches I used some puffy sticker dots and a chipboard piece.


You really don't need a lot of supplies to create these cards! I hope I could inspire you in one way or the other!

Thanks for stopping by today! Have a wonderful day!

X


Monday, April 30, 2018

The Good Life - DT layout for Fancy Pants Designs

Hi there,

Zsoka back with you today sharing my newest layout I've created for Fancy Pants Designs!

I remembered using a specific cut file about 2 or so years ago but for the life of me I could not find it, I have no idea whose design it was. So I just went ahead and made my own in the Silhouette Studio program - it's basically just triangle shapes arranged in a circle.


I cut this from one of the patterned papers, then backed the rays with different patterned papers from The Bright Side collection. I also added some machine stitching in the middle of the rays. 


I created one cluster in the middle of the page, so it is a very simple design. I felt like otherwise the page would have been too busy. I layered tissue paper, tags, die cuts behind my photo and glued these down. I then added different embellies around and on top of my photo: labels, chipboard stickers, die cuts. For some interest I added a die cut photo frame too and my title also comes from the die cut ephemera pack. 


To finish off my page I glued down some colourful puffy sticker dots!


I hope you like this simple idea!

Thanks for stopping by today and I wish you a great day!
See you soon!

X


Friday, April 6, 2018

You make me super duper happy when skies are gray - DT layout for Fancy Pants Designs

Hey there crafty friends,

I'm back today with a new layout for Fancy Pants Designs. 


But before I get to it, let me re-introduce myself shortly, in case you're new here!

I'm Zsóka (I know a lot of people are wondering just how to pronounce that haha! The closest but not exact match would be: Ê’É”:kÉ‘:), and I've been on the Fancy Pants Designs DT for 1.5 years. It was a dream come true when Jodi added me to the DT - Fancy Pants has been one of my favourite manufacturers ever since I started scrapbooking in 2015. I adore their unique designs, patterns and color combinations! I hope they will never follow the masses! <3

I'm Hungarian but have been living in Germany for over 13 years now. I live with my Dutch boyfriend and our 9 and a half-year-old son who is the main focus of my layouts. I've been crafting ever since I remember - in kindergarten I mostly drew and won all sorts of competitions (my parents still have some of my "work") which is funny because I can't draw to save my life now. However being creative was not supported that day and age and I had to study things that people considered to be useful, things that one could easily find a job with. So I studied languages...After I had my first BA in the pocket I could finally decide what I myself would want to learn. You'd think I chose something I actually liked. Nope. Instead I studied Public Relations which I never practiced and never will because I'm too honest for my own good...After I moved here, at some point I needed something that made me happy so I started studying interior design. I was obsessed with it so it's beyond me why I am not interested in it anymore. For a while now I've been thinking about studying again to finally work in a creative field - about 20 years too late! No one ever blamed me for being quick...I wish one could make scrapbooking into a career because the amount of time I spend on it is more than a full time job!

I think this is the first time I actually wrote about my studies, so there might be new information there even for people who know me!

As for today's layout. My inspiration came from a card by the super talented Yana Smakula, who used a Simon Says Stamp card kit to create her gorgeous card. It reminded me of the galoshes cut file by Paige Evans! I thought it would be perfect with the amazing The Bright Side collection!


I cut a pair of wellies and backed them the exact same way, using different patterned papers. I adhered my photo to my background and glued the wellies on top. I then placed all the flowers and leaves from the ephemera pack on my boots. I love how that looks! I used different adhesives to give the flowers dimension: liquid glue for some and 3d foam adhesive for others. 


Other than that I kept my embellishing to the minimum, just a couple of pieces of die cuts, labels and chipboards. For my title I picked a chipboard banner piece.


I wrote my journaling, splattered black ink and added some nuvo drops to finish off my page.


That's it for today! I hope you like this page as much as I loved working on it!

Thanks for stopping by! Have a wonderful day!

X


Friday, March 2, 2018

Bright Side - DT layout for Fancy Pants Designs

Hi there friends,

I'm back today with a new layout I made for Fancy Pants Designs.

I've been waiting for the new collections impatiently, especially The Bright Side. Have you seen it? Oh my goodness! It's so unique, the colors are so fresh and the designs are so pretty and fun! Amber LaBau did it again! 

When I got my package I got to work right away, I knew exactly which papers I want to use first.


The other thing I really wanted to use on my layout was one of the crochet flowers! Well actually I would have used more but there's only 2 in a pack, so I'm hoarding the other one for now!


I started with my title. I chose a font I liked in Silhouette Studio and blew up the title to a big size, then cut it from a yellow patterned paper. I adhered this to the green-white striped paper and hand stitched around it using embroidery floss. The layout itself is a very simple and quick one, so I thought I might as well spend some time adding stitching. I actually feel bad if a layout comes together too quickly haha! Once done, I glued this strip of paper onto my background paper.

The paper I chose for my background has a subtle grid pattern and that amazing floral print at the top. I knew I wanted to put my photo there, but it covered the sides and I didn't like that. So with heavy heart I took an exacto knife and started cutting around the leaves so I can tuck my photo under them. I say with heavy heart because I'm seriously bad with the exacto knife. Luckily I haven't messed it up!


I added a couple of layers of tissue paper behind my photo to give it a bit of dimension. Then I placed it where I wanted it and glued it down. I haven't used an awful lot of embellishments, I wanted to keep the rest of the layout simple. So I just layered some tags and die cut pieces around my photo, one die cut flower on my title and of course the crochet flower! God I love that flower!


As for the scooter! It was meant to be! This photo was taken in Sicily so I thought the scooter must go on the layout. If not now, when? Ha!


To finish off my layout I stamped my date on a tab and added some black ink splatters.

That's it guys! I hope these colors makes you smile today!

Thank you for stopping by and have a wonderful day!

X