Showing posts with label paper crafts. Show all posts

Friday, November 17, 2023

Spellbinders Fave 2023 Holiday Products Blog Hop


Hi there crafty friends,

It's been a while since I joined one of these blog hops - 2.5 years if I'm not mistaken! Wow, time really does fly :(

If you followed the hop, you must have arrived from Tina Smith's blog. I'm attaching the full list of participants at the end of this post for your convenience.

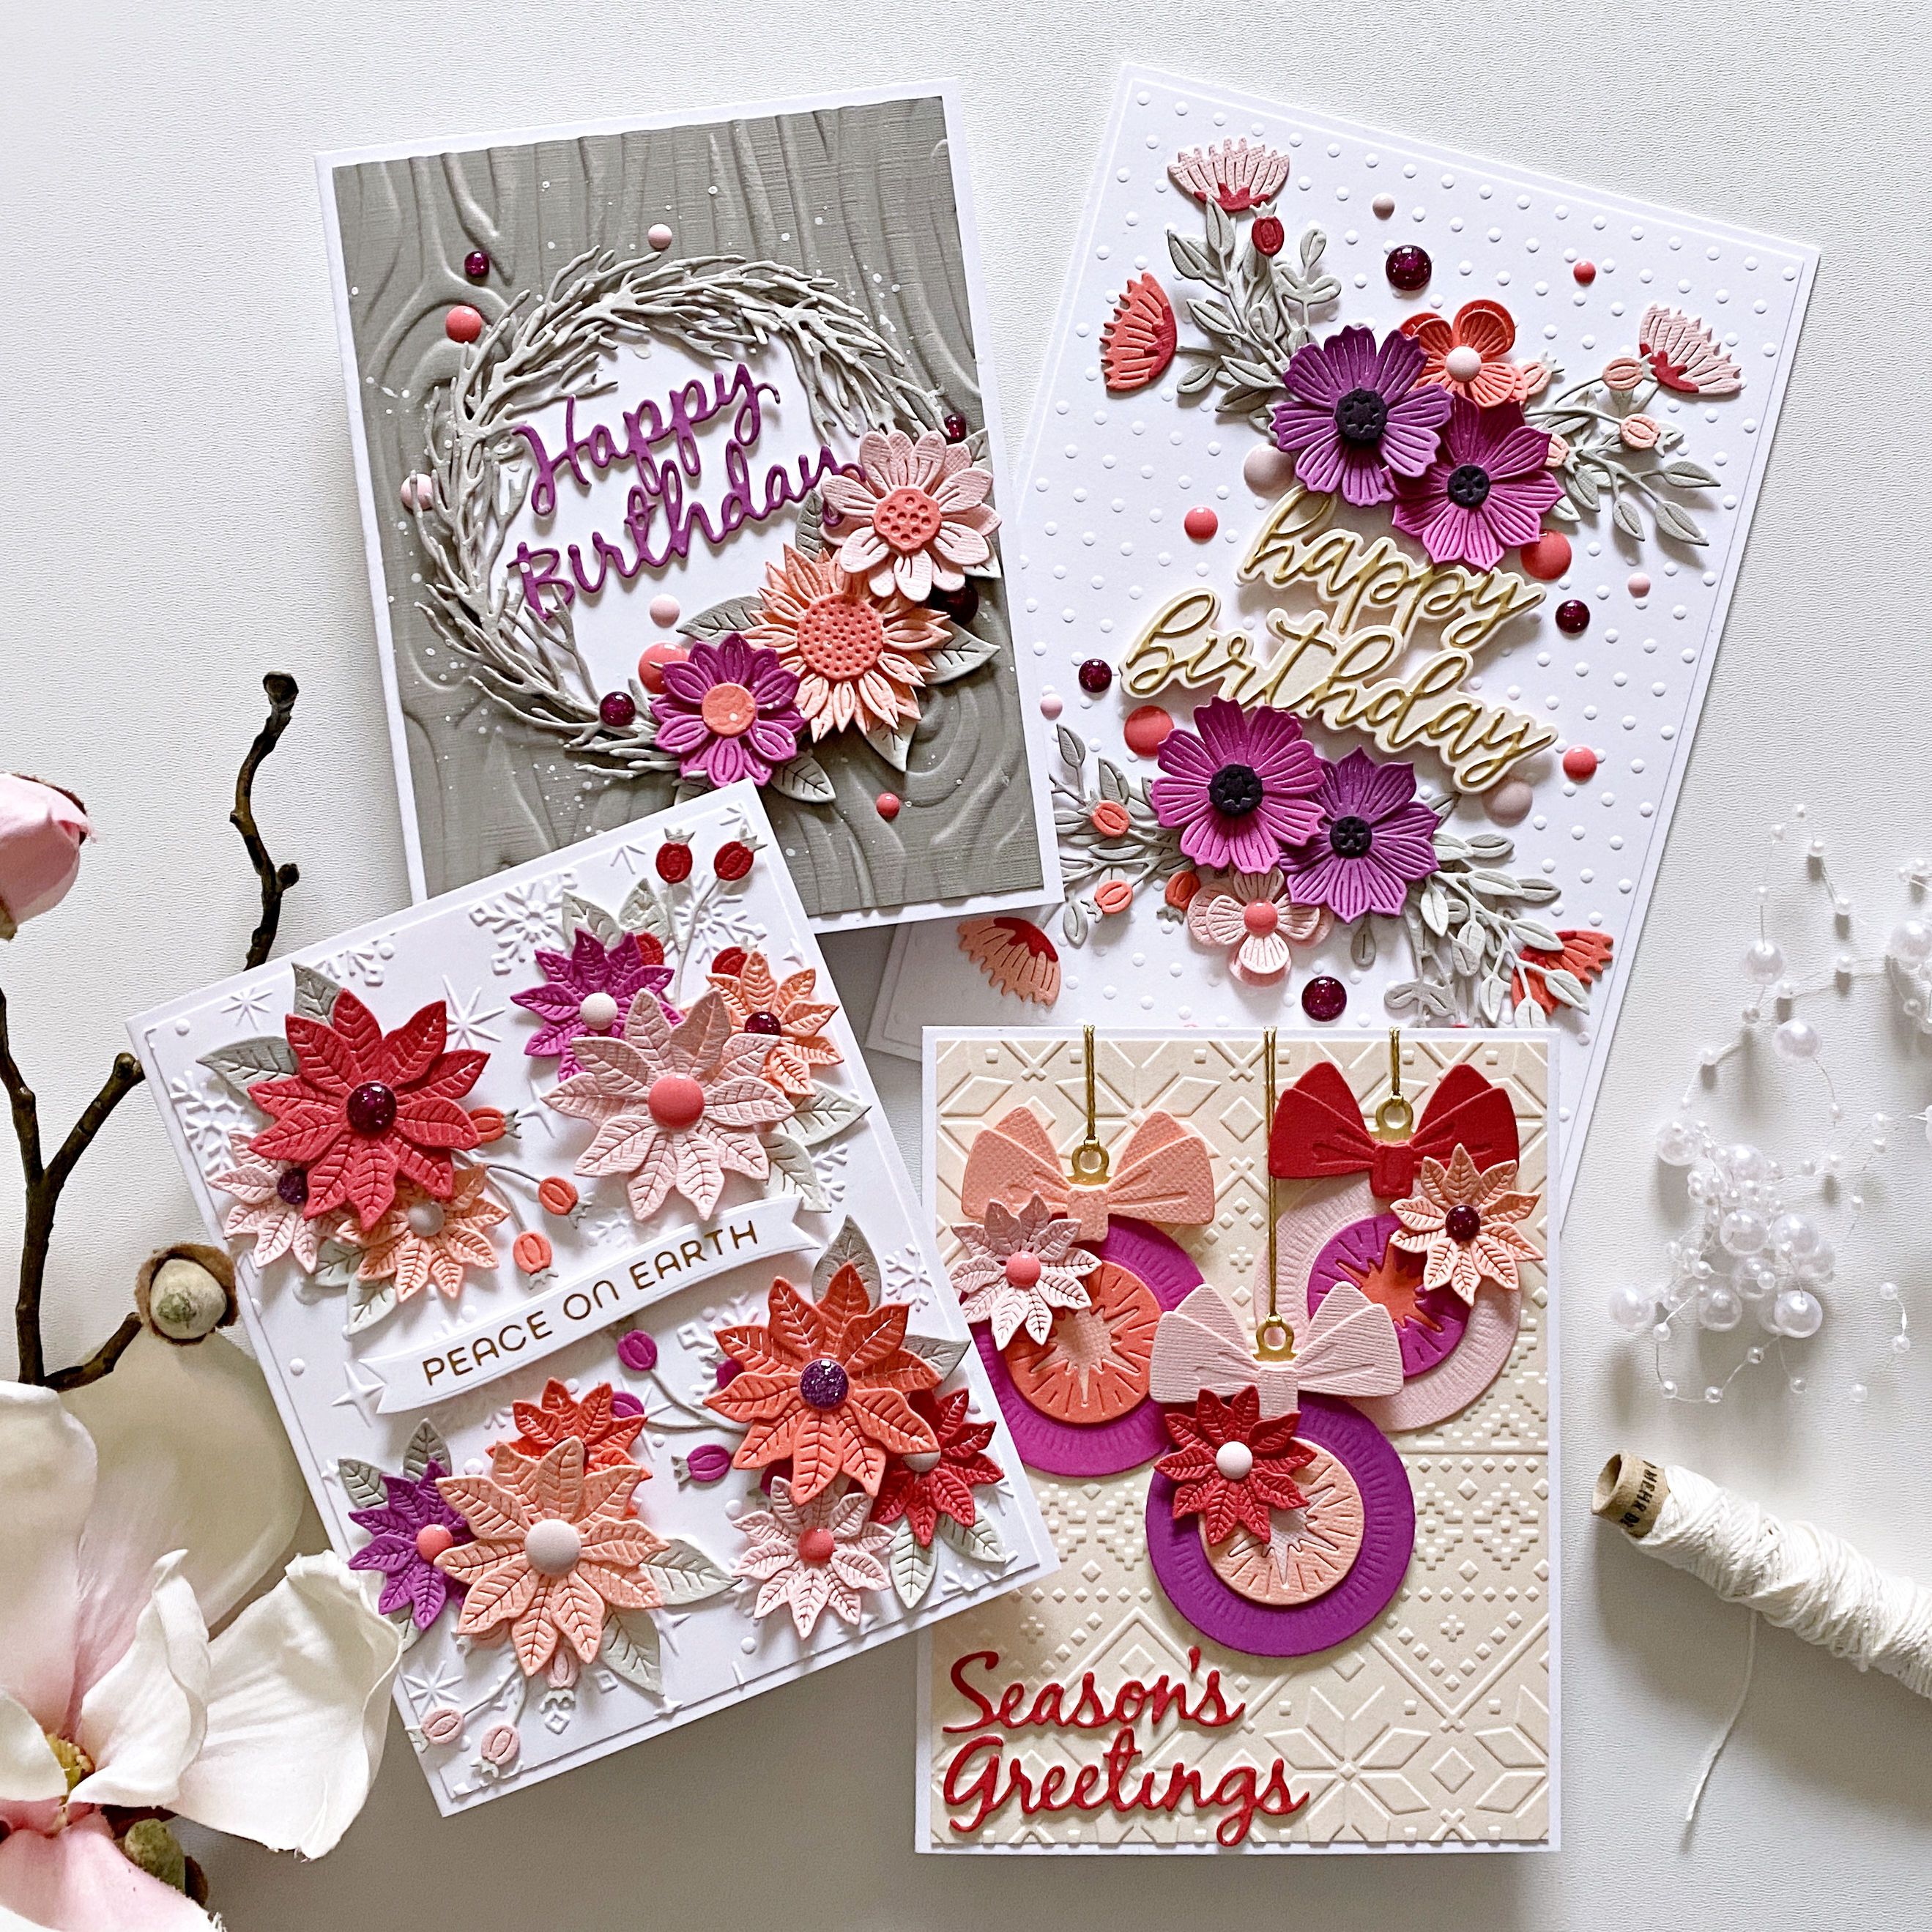
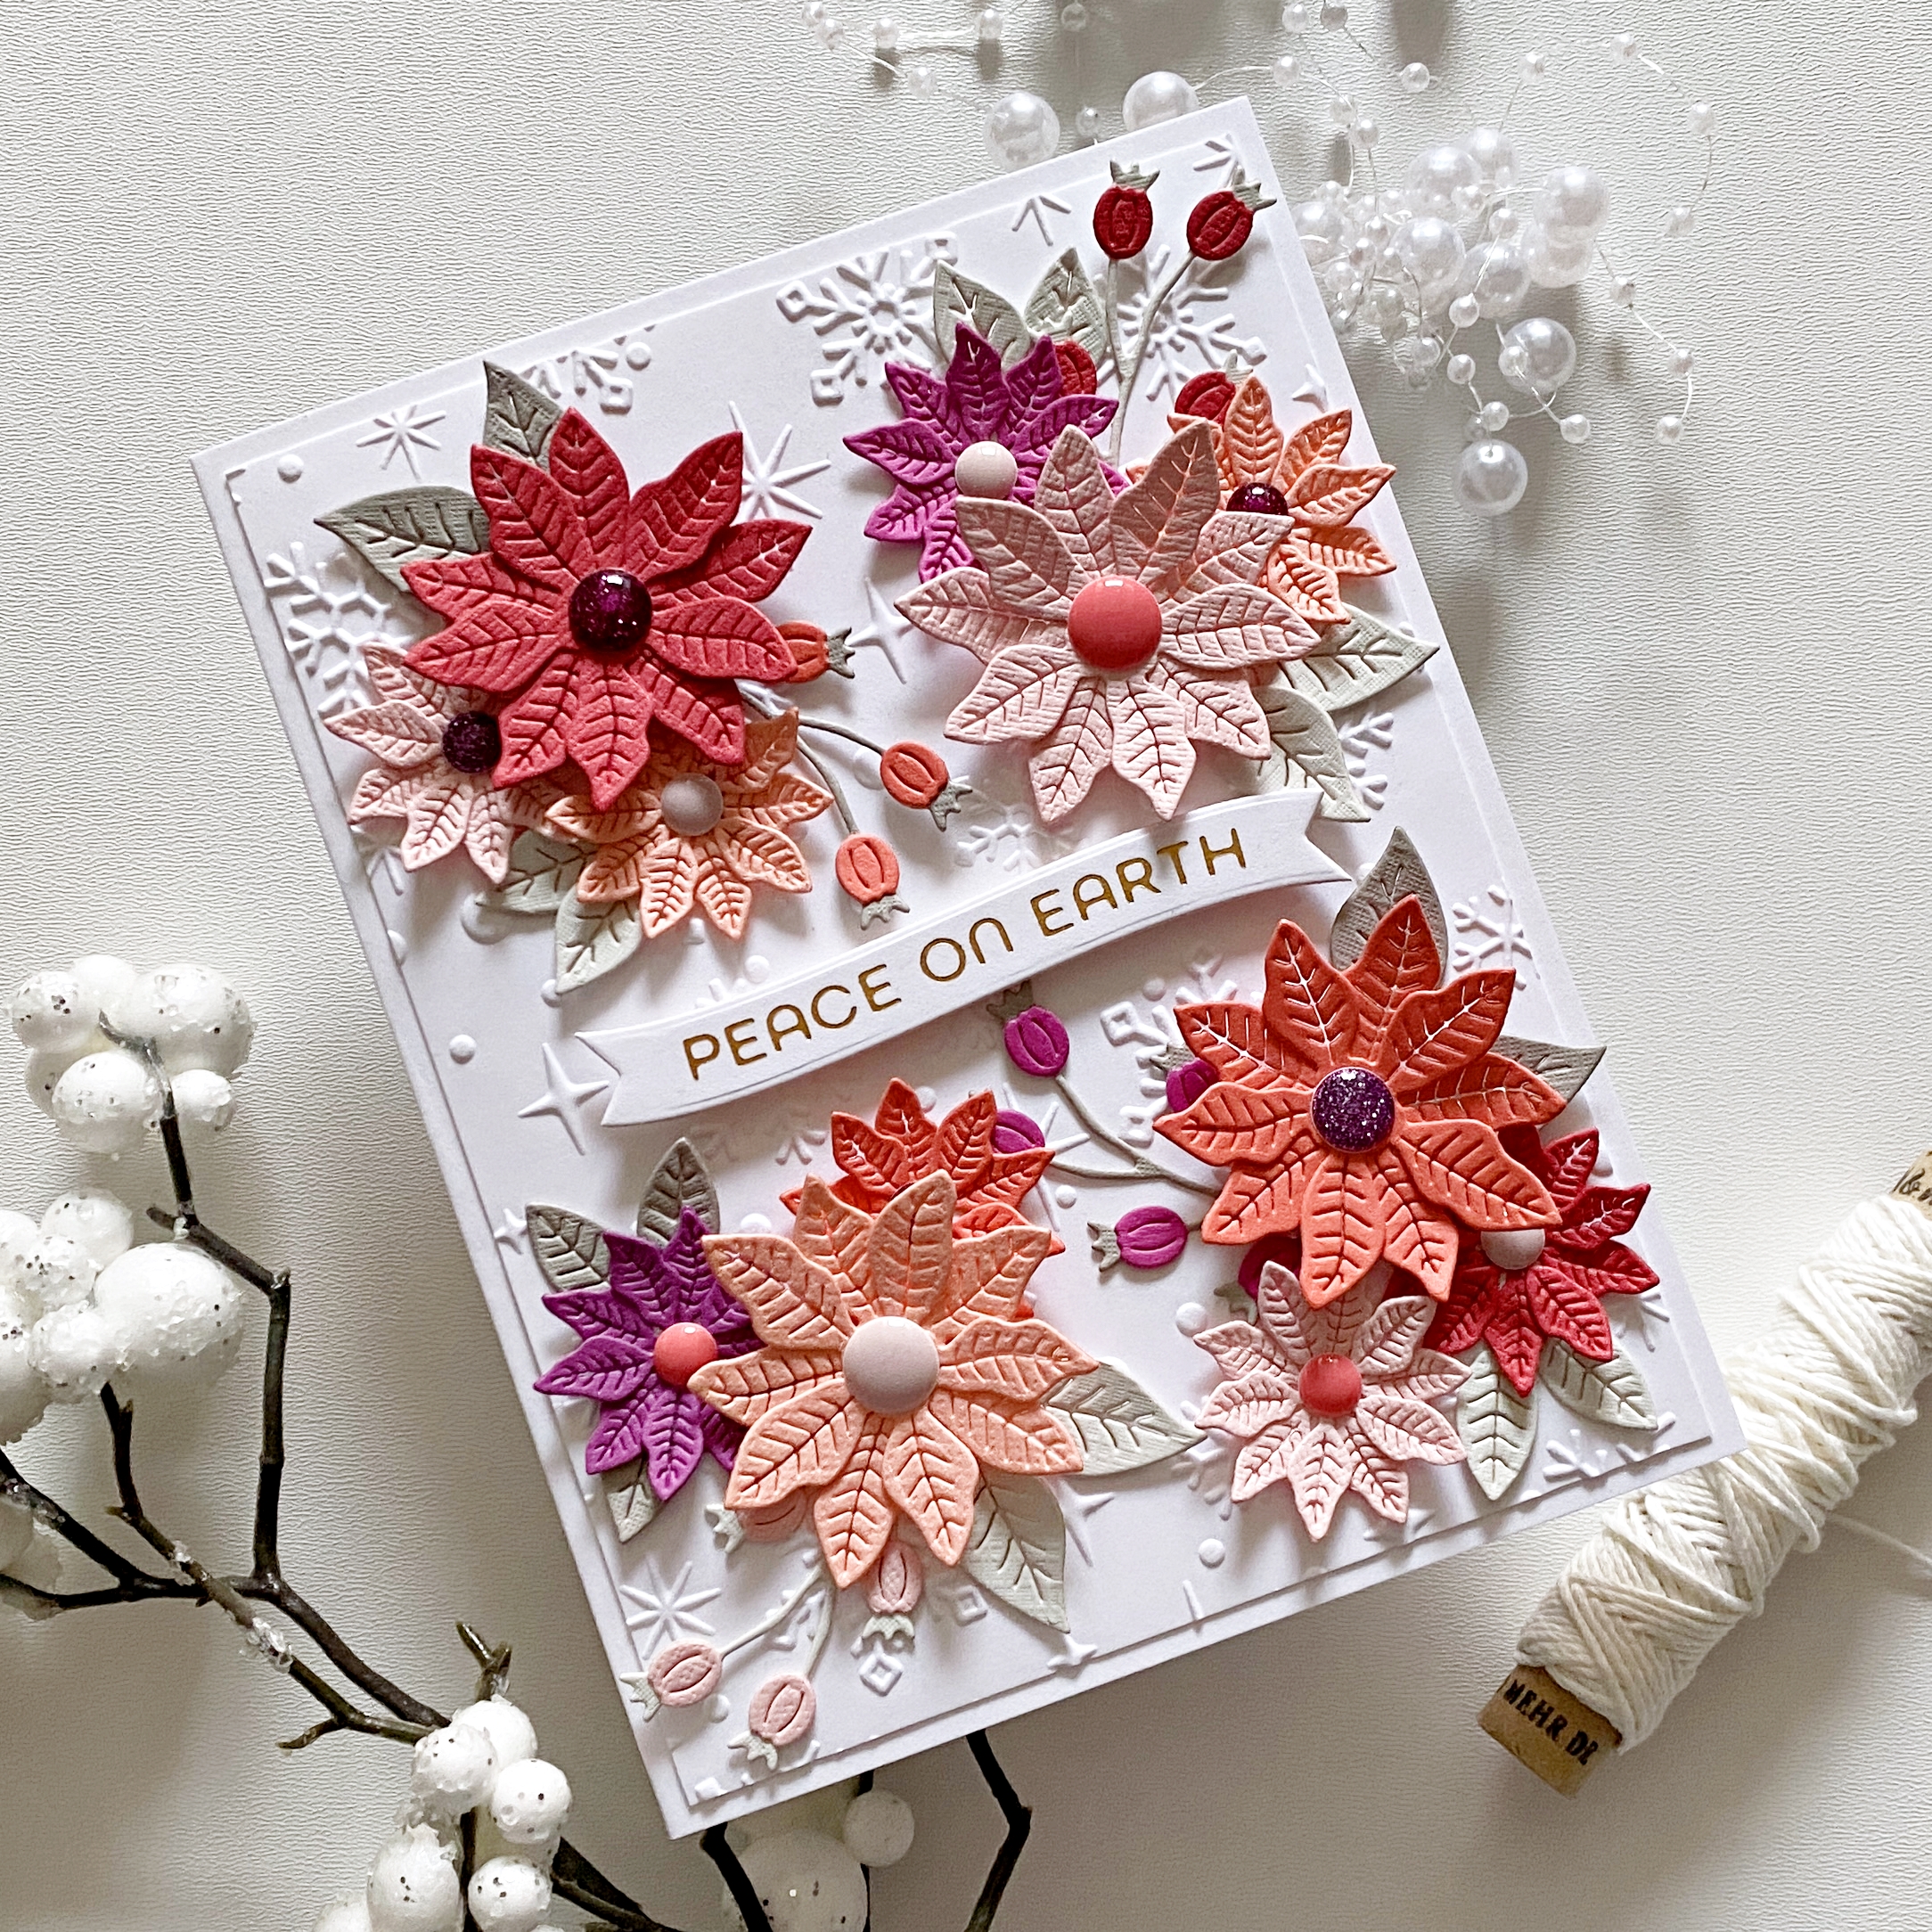
I will not go into step by step tutorials here, since I made process videos for all of today's projects - I'll just attach some photos! I'll link the video down below. You can also subscribe to my YouTube Channel and press the bell icon so you never miss a new video! You'll find all the supplies I've used linked in the description box of the video too.

I made some extra projects as well, that are not Christmas themed...because...why not? :D


You can check out the process video here or on my YouTube Channel:


--------------------------------------------------------------------------------------------------------------------------------

Now for the fun part! To celebrate this blog hop, Spellbinders is giving away a $25 gift certificate to 3 lucky blog readers! Winners will be selected from the comments on the Spellbinders blog. Giveaway closes on Sunday, November 19th, 11:59pm MST. The winner will be announced in the blog hop post the following Wednesday. The winner is responsible for shipping cost, duties and taxes. Please note, that gift certificates cannot be applied to Club Subscriptions, however, they can be applied to shop past Club products, Club extras and regular releases.

GOOD LUCK!
--------------------------------------------------------------------------------------------------------------------------------

That's it for today! I hope I could inspire you in some small way!

Your next stop is the lovely Sandi MacIver!

Thanks for stopping by! Have a great day!

X

BLOG HOP LIST:

Spellbinders Blog
Yana Smakula
Tina Smith
Zsoka Marko ------ YOU ARE HERE!
Sandi MacIver
Kristie Marcotte
Annie Williams
Nichol Spohr
Daniel West
Allison Frazier
Bibi Cameron
Lisa Mears
Jean Manis
Deepa Robbins
Linh Van
Vicky Papaioannou
Heejung Hunsberger
Jennifer Kotas
Mindy Eggen
Stacy Jeraul
Bonnie Crane
Michelle Short
Lien Leysen

Friday, March 12, 2021

Spellbinders March 2021 Club Kits Inspiration Blog Hop


Hi there crafty friends,

It's been a while since I joined one of these blog hops but luckily this month I had a little extra time and I managed to create a card! An interactive one at that :). If you know my work, you know I hardly ever make interactive cards, so this was a fun change of pace, even if I made plenty of mistakes along the way. Maybe you'll learn from them hehe!

If you followed the hop, you must have arrived from HenriĆ«tte van Mierlo's blog. I'm attaching the full list of participants at the end of this post for your convenience.

I've used the Large Die Kit on this card, because I couldn't get enough of these adorable critters! I've made a process video so I won't go into details here. You can stop by my YouTube Channel, if you're interested to see, how this card came together but I'll also link in the video down below.


You can check out the process video here or on my YouTube Channel:


--------------------------------------------------------------------------------------------------------------------------------
Now for the fun part! To celebrate this release, Spellbinders is giving away a $50 gift certificate to 3 lucky blog readers! Winners will be selected from the comments on the Spellbinders blog. Giveaway closes on Sunday, March 14th, 11:59pm MST. The winner will be announced in the blog post the following Tuesday. The winner is responsible for shipping cost, duties and taxes. Please note, that gift certificates cannot be applied to Club Subscriptions, however, they can be applied to shop past Club products, Club extras and regular releases.

GOOD LUCK!
--------------------------------------------------------------------------------------------------------------------------------

SUPPLY LIST:
That's it for today! I hope I could inspire you in some small way. Thanks for stopping by! Have a great day!

X

BLOG HOP LIST:
Spellbinders Blog
Tina Smith
Becca Feeken
Becky Roberts
Carrie Rhoades
Bibi Cameron
Sandra Nagel
Sandi MacIver
Jill Hilliard
Marie Heiderscheit
Jennifer Snyder
Kathy Clement
Jean Manis
Annie Williams
Yasmin Diaz
Betty Wright
Jenny Colacicco
Hussena Calcuttawala
Virginia Lu
Emily Leiphart
Joy Baldwin
Ilina Crouse
Desiree Kuemmerle
Ilda Dias
Henriƫtte van Mierlo
Zsoka Marko      ------ YOU ARE HERE!

Thursday, November 12, 2020

Spellbinders November 2020 Club Kits Inspiration Blog Hop

Hi there crafty friends,

It's been a long while since I joined one of these blog hops but luckily this month I had a little extra time and I managed to create a set of cards! If you had followed the hop, you must have arrived from the talented Joy Baldwin's page! I'm attaching the full list of participants at the end of this post for your convenience.

I've used the Large Die Kit on these cards. I have a process video too, if you're interested! I'll link it in at the bottom of this post, too.


Both cards are top folding, A2 size (4.25x5.5"). I chose some pinks, white, gold and warm grays for my color scheme today. The grays almost look brown here!

I die cut two circles, one with the tree design, one with the snowflake. I actually die cut both twice, then layered them up, so they were strong enough to be hand stitched. These are very easy to hand stitch without any tutorial, the pattern kind of guides you really.


For my first card, I cut a few thin strips of card stock in the colors I chose. I also cut an A2 panel from the darkest gray and die cut the border at the bottom. I stitched this too, but not the complete pattern, because I knew I would have a paper strip overlapping at the top. I then glued down the strips, and if you look closely, you'll notice I made a mistake :D. I even laid out the strips before, so I knew in what order I wanted to glue them down and yet, I still managed to skip a pink one in the middle. Oh well, perfection is overrated, right?!

I added this panel to my card base, then started working on the rest of the elements. I die cut a gray circle that's slightly larger than the stitched white one, just so the design stands out more. I added foam tape to the back of the stitched circle and glued it onto the gray one, then attached this piece to my card front. For sentiment I've used a gold foiled holiday sentiment from my stash - I always foil a lot of these sentiments, so I can easily grab one when I need it.


Last but not least I added a bow, that was actually part of a Lindt chocolate packaging that I had been hoarding for awhile! I'm always glad when I can give things a new life!


For my second card, I first created a template for the background design from some scrap card stock, then I fussy cut out each shape from color card stock. I pieced them back together on the card base and first glued them down in the middle, then also stitched them down. I bent up the edges to add dimension and texture.


I would have loved to add a gold circle behind my stitched design so the gold could have peeked through the little holes, but I don't trust any of my glues to stick to the slick surface of the gold card stock :(. I never use metallic/mirror papers for any layer but the top for this reason. What I could do was, I die cut a circle from white card stock, then one from gold and I used the smaller circle die to cut out the middle part of the gold card stock. I then glued the gold frame onto my white die cut, and added the stitched circle on top, using foam adhesive. Hope that makes sense? This way I at least had a gold frame!

To finish off this card, I added a gold foiled sentiment and a few crystals in matching colors.


Here's the video, should you want to watch how these cards came together:


--------------------------------------------------------------------------------------------------------------------------------
Now for the fun part! To celebrate this release, Spellbinders is giving away a $50 gift certificate to 5 lucky blog readers! Winners will be selected from the comments on the Spellbinders blog. Giveaway closes on Sunday, November 15th, 11:59pm EDT. The winner will be announced in the blog post the following Tuesday. The winner is responsible for shipping cost, duties and taxes. Please note, that gift certificates cannot be applied to Club Subscriptions, however, they can be applied to shop past Club products, Club extras and regular releases.

GOOD LUCK!
--------------------------------------------------------------------------------------------------------------------------------

SUPPLY LIST:
Spellbinders Blog
Tina Smith
Carrie Rhoades
Bibi Cameron
Sandi MacIver
Jill Hilliard
Jennifer Snyder
Kathy Clement
Sandra Nagel
Virginia Lu
Jean Manis
Marie Heiderscheit
Joy Baldwin
Zsoka Marko   ------ YOU ARE HERE!
Ilina Crouse
Jenny Colacicco

Tuesday, September 1, 2020

In the spotlight: Spellbinders Small and Large Die of the Month kits - September 2020

Hi there crafty peeps,

It's that time again! The Spellbinders September Club Kits are here! I can't believe summer is over, this whole year is flying by......Fall is my least favorite season, I think, we get a lot of rain and grey skies! It's not like fall you see in magazines and movies with beautiful colorful leaves and sunshine haha! So I don't particularly like it, it's depressing :( Anyway, my projects today are not fall themed, so all good! :D

As a reminder, Spellbinders have several monthly kits, which are really great! You can subscribe to:

You can find all necessary information about these kits here. 

This time I'll start with the Small Die Kit! You can create two different frames with the included dies, one is with simple leaves, the other is a bit more elaborate, you can add small, layered flowers to it. Moreover, you can create a couple of sentiments too, like you'll see here: Thank You and Hello (or a mixture of both obviously!)


The papers I've used here are from the My Mind's Eye Gingham Gardens line - it's a gorgeous collection, super feminine, soft and elegant!


For the die cut shapes I've used white card stock. The sentiments I've cut 4 times and then layered them up for a more dimensional look. I also used foam tape to attach the frame to my card base, to create more depth.


To decorate the simple frame on the second card, I added some flower stickers. I always glue these on a heavy weight card stock first, then fussy cut them, this way they are sturdier and I can layer them more easily.


To finish off this card, I added a few enamel dots in coordinating colors. 


The Large Die Kit this month includes everything for creating a fun slice of cake with various sentiments and little tidbits, like fruits, carrot, candle and more.


On my first card I decided to skip the cake altogether, because I love building patterns with the help of dies (or stamps) and I find these little fruits adorable! Love them on the gingham background, reminds me of summer picnics! Which, admittedly, I've never done in my life haha!


For my second card, I created a lemon cake with ombre cake layers. Now, I'm not up to date on cake trends; since I've started scrapbooking, I haven't baked any - but before that, ombre was a big trend! To me it still looks pretty, whether or not it's trendy :D.


Let's talk about the embossed background for a sec! The Sprinkles stamp set is an exclusive freebie this month if you are a VIP Value Club member. You get it if you are already a member or if you upgrade to the VIP Value Club in September. If this is confusing, check this link to read about the difference between Value Clubs and VIP Value Clubs.


I haven't used the sentiments, but they are sized to fit on the cake layers. I did a terrible job on the embossing, normally I would throw away a panel like this, but since it's white on white, the missing lines don't bother me. There's something about the card stock I've used, it's not great for stamping because it soaks up the ink right away. This would never have happened with Neenah Solar White, but I didn't want to use a bright white card stock with the gingham patterned paper. This stamp set is actually photopolymer, so it stamps great (unless you're me and use the wrong paper hehe).


I also made a carrot cake, just for fun! I love Starbucks carrot cake - thankfully we don't have Starbucks in  close vicinity to us, otherwise I'd eat it every day...Other than that, I'm not sure where it's available here!

I had this Alexandra Renke paper from her Easter collection, so I thought it'd be the perfect backdrop! I love that it's not traditional orange-green carrot colors, I don't like that combo at all. To be honest, I'm not a fan or orange either but hey, it's a fun change for once.


That's about it! What do you think? Fun products this month too, right? I also saw a sneak at some upcoming ones and I'll tell you, I can't wait to work with them!

Thank you for stopping by today!
Have a wonderful day!

X

Tuesday, April 30, 2019

Peek-a-boo - DT layout for Paige Evans

Hello friends,

Today I'm sharing a new layout with you that I've created for the Paige Evans Design Team. I've just received the Horizon Project pad and I'm in love with the solid papers, such gorgeous colors! So I wanted to use them on my project, but couldn't decide on the color...So I used a bit of each haha!


My inspiration was a set of cards I made not so long ago (you can check here) and Paper 12, which is also in the Project pad. I cut it apart and used one of the shapes as a template to cut pieces out of the solid papers as well as Paper 3. I layered 3 of them together and stitched them down in the middle.


After much deliberation, I chose white for my background. I wanted to go with patterned paper but I simply loved how the rainbow of colors popped on white. It's what it is. Maybe I'm turning into a white background scrapper, who knows?! Ha! So that my background is not so boring, I made a cut file that is very similar in design to the arrangement of leaves I wanted to go for. I cut it from white card stock...you pretty much can't see it in these pictures :). I just wanted to add a bit of texture, nothing overwhelming.


I then adhered the leaves to the background, as well as my photo. I went through all embellishments in the collection, and pulled out whatever fit the colors or theme of my layout.


I glued down the embellies, tucked some tags behind my photo. Last but not least, I added my title, date and journaling. To finish off this layout I added copper paint splatters.


That's it! I hope I could inspire you in some small way!

Thank you for stopping by!

X
  

SUPPLY LIST: 
Horizon collection: Project Pad, Paper 3, Paper 12, Ephemera Die Cuts, Epoxy Stickers, Thickers, Stickers, Tags


Wednesday, March 13, 2019

Altenew March 2019 Stamp/Die/Stencil Release Blog Hop + Giveaway


Hello crafty peeps,

I'm so excited to be joining the Altenew March 2019 release blog hop today! You should have arrived here from the lovely Virginia Lu's blog.

There are so many beautiful stamps and dies in this month's release again! I've created quite a few cards to showcase these gorgeous products. I'm not sure I did them justice!

All my cards today are top folding A2 size cards. First up is my favorite card! I've used the Wallpaper Art stamp and die sets (bundle is also available at a discounted price!). I stamped the flower and leaves with Versafine onyx black ink because I wanted to watercolor them. I did some simple coloring, then die cut these images. I also die cut a partial circle from green card stock. 


I dry embossed a 5.5x4.25" piece of white card stock to create some texture in the background. I glued this onto my card base, then added the green die cut, some gold thread and the flowers and foliage. To finish off this card I added a white embossed sentiment.


I've used the same set on my next two cards as well, but this time I didn't do any coloring. I white embossed the flowers and leaves on vellum using the Pure White Crisp embossing powder, then die cut them. I also die cut some images from purple and green card stock and layered them up on my card bases. To finish off these cards I added some gold ink splatters and white embossed sentiments.


Next up is the Rennie Roses stamp and die sets (bundle also available). I stamped a bunch of roses and leaves and colored them with artist markers. The sets I've used for these are the Artist Marker set A (the pinks and blues) and the Shades of Purple set. I stamped the sentiment on my card front, then arranged my die cuts around it. I added some foam dots here and there for dimension. I finished off this card with some gold paint drops.


On my next cards I used the Prettiest Pomander stamp set (coordinating dies and stamp+die bundle are also available). On this first card I stamped the flowers and leaves first. Now, this is a layering stamp set but it's pretty easy to line it up. Once done, I white embossed the outline using the Pure White Crisp embossing powder. I then masked off the bouquet and stamped the background using the Rustic Linen background stamp. I love background stamps and this one is a staple for sure! Last but not least I added my sentiment and a pink bow.


On my next card I stamped the outline in grey ink and added some white gel pen details. Again, I masked off the bouquet and this time I stamped polka dots in the background using the Dainty Swiss Dots stamp. Then using the Thinking of You die, I die cut the background. I also die cut this sentiment from grey foam, then pieced everything back together for a dimensional look. This took awhile, I'm not sure what I was thinking haha!


Last but not least I tried a grungy feel. Not on purpose, mind you haha! What I've learnt: if you want a soft look, you white emboss the outlines, definitely don't stamp them in black. There's a lot of detail in the outline stamp, so the bouquet gets really dark. I do like how these turned out though. As you see I did some masking here too and used the Rustic Linen stamp again to create my backgrounds. On the card on the left I die cut the sentiment from black glitter card stock using the Simply Friend Die. I die cut the word from white card stock a bunch of times too, then layered them up for dimension and texture. On the right card I just stamped my sentiment and added a bunch of punched little circles for embellishment.


On my last card duo with this release I used the Bold Bunch stamp and die sets (bundle also available). I stamped my sentiment in the middle on both cards. On the right you have a simple card, where I just stamped the flowers directly on the card front. I actually loved the white background but then it kept nagging me because I rarely do white cards like that...I gave in and added a few purple card stock strips haha! Not sure if I like it more this way though. For the card on the left I stamped lots of flowers, die cut them and arranged them in a circle. Some twine finishes off both cards. That's it!


I hope you've found something here today that inspires you!

And now the fun part...Giveaways, yay! Read on to find out how you can win! Good Luck!

Prizes: 
1. To celebrate this release, Altenew is giving away a $50 gift certificate to 6 lucky winners! Please leave a comment on the Altenew Card blog and/or Altenew Scrapbook blog by 03/19/2019 for a chance to win. 

2. ATTENTION! The rules on this one have changed so please read carefully: Altenew will also draw a winner to receive a $20 gift certificate from comments on each designer's blog in the blog hop list.

All winners will be announced on the Altenew blogs on 03/17/2019!

Thanks so much for stopping by today! I hope I could inspire you in some small way!

Your next stop is Reiko Tsuchida!

Have an awesome day!

X

Blog Hop list: