Hi there crafty friends,
It's been a long while since I joined one of these blog hops but luckily this month I had a little extra time and I managed to create a set of cards! If you had followed the hop, you must have arrived from the talented Joy Baldwin's page! I'm attaching the full list of participants at the end of this post for your convenience.
I've used the Large Die Kit on these cards. I have a process video too, if you're interested! I'll link it in at the bottom of this post, too.

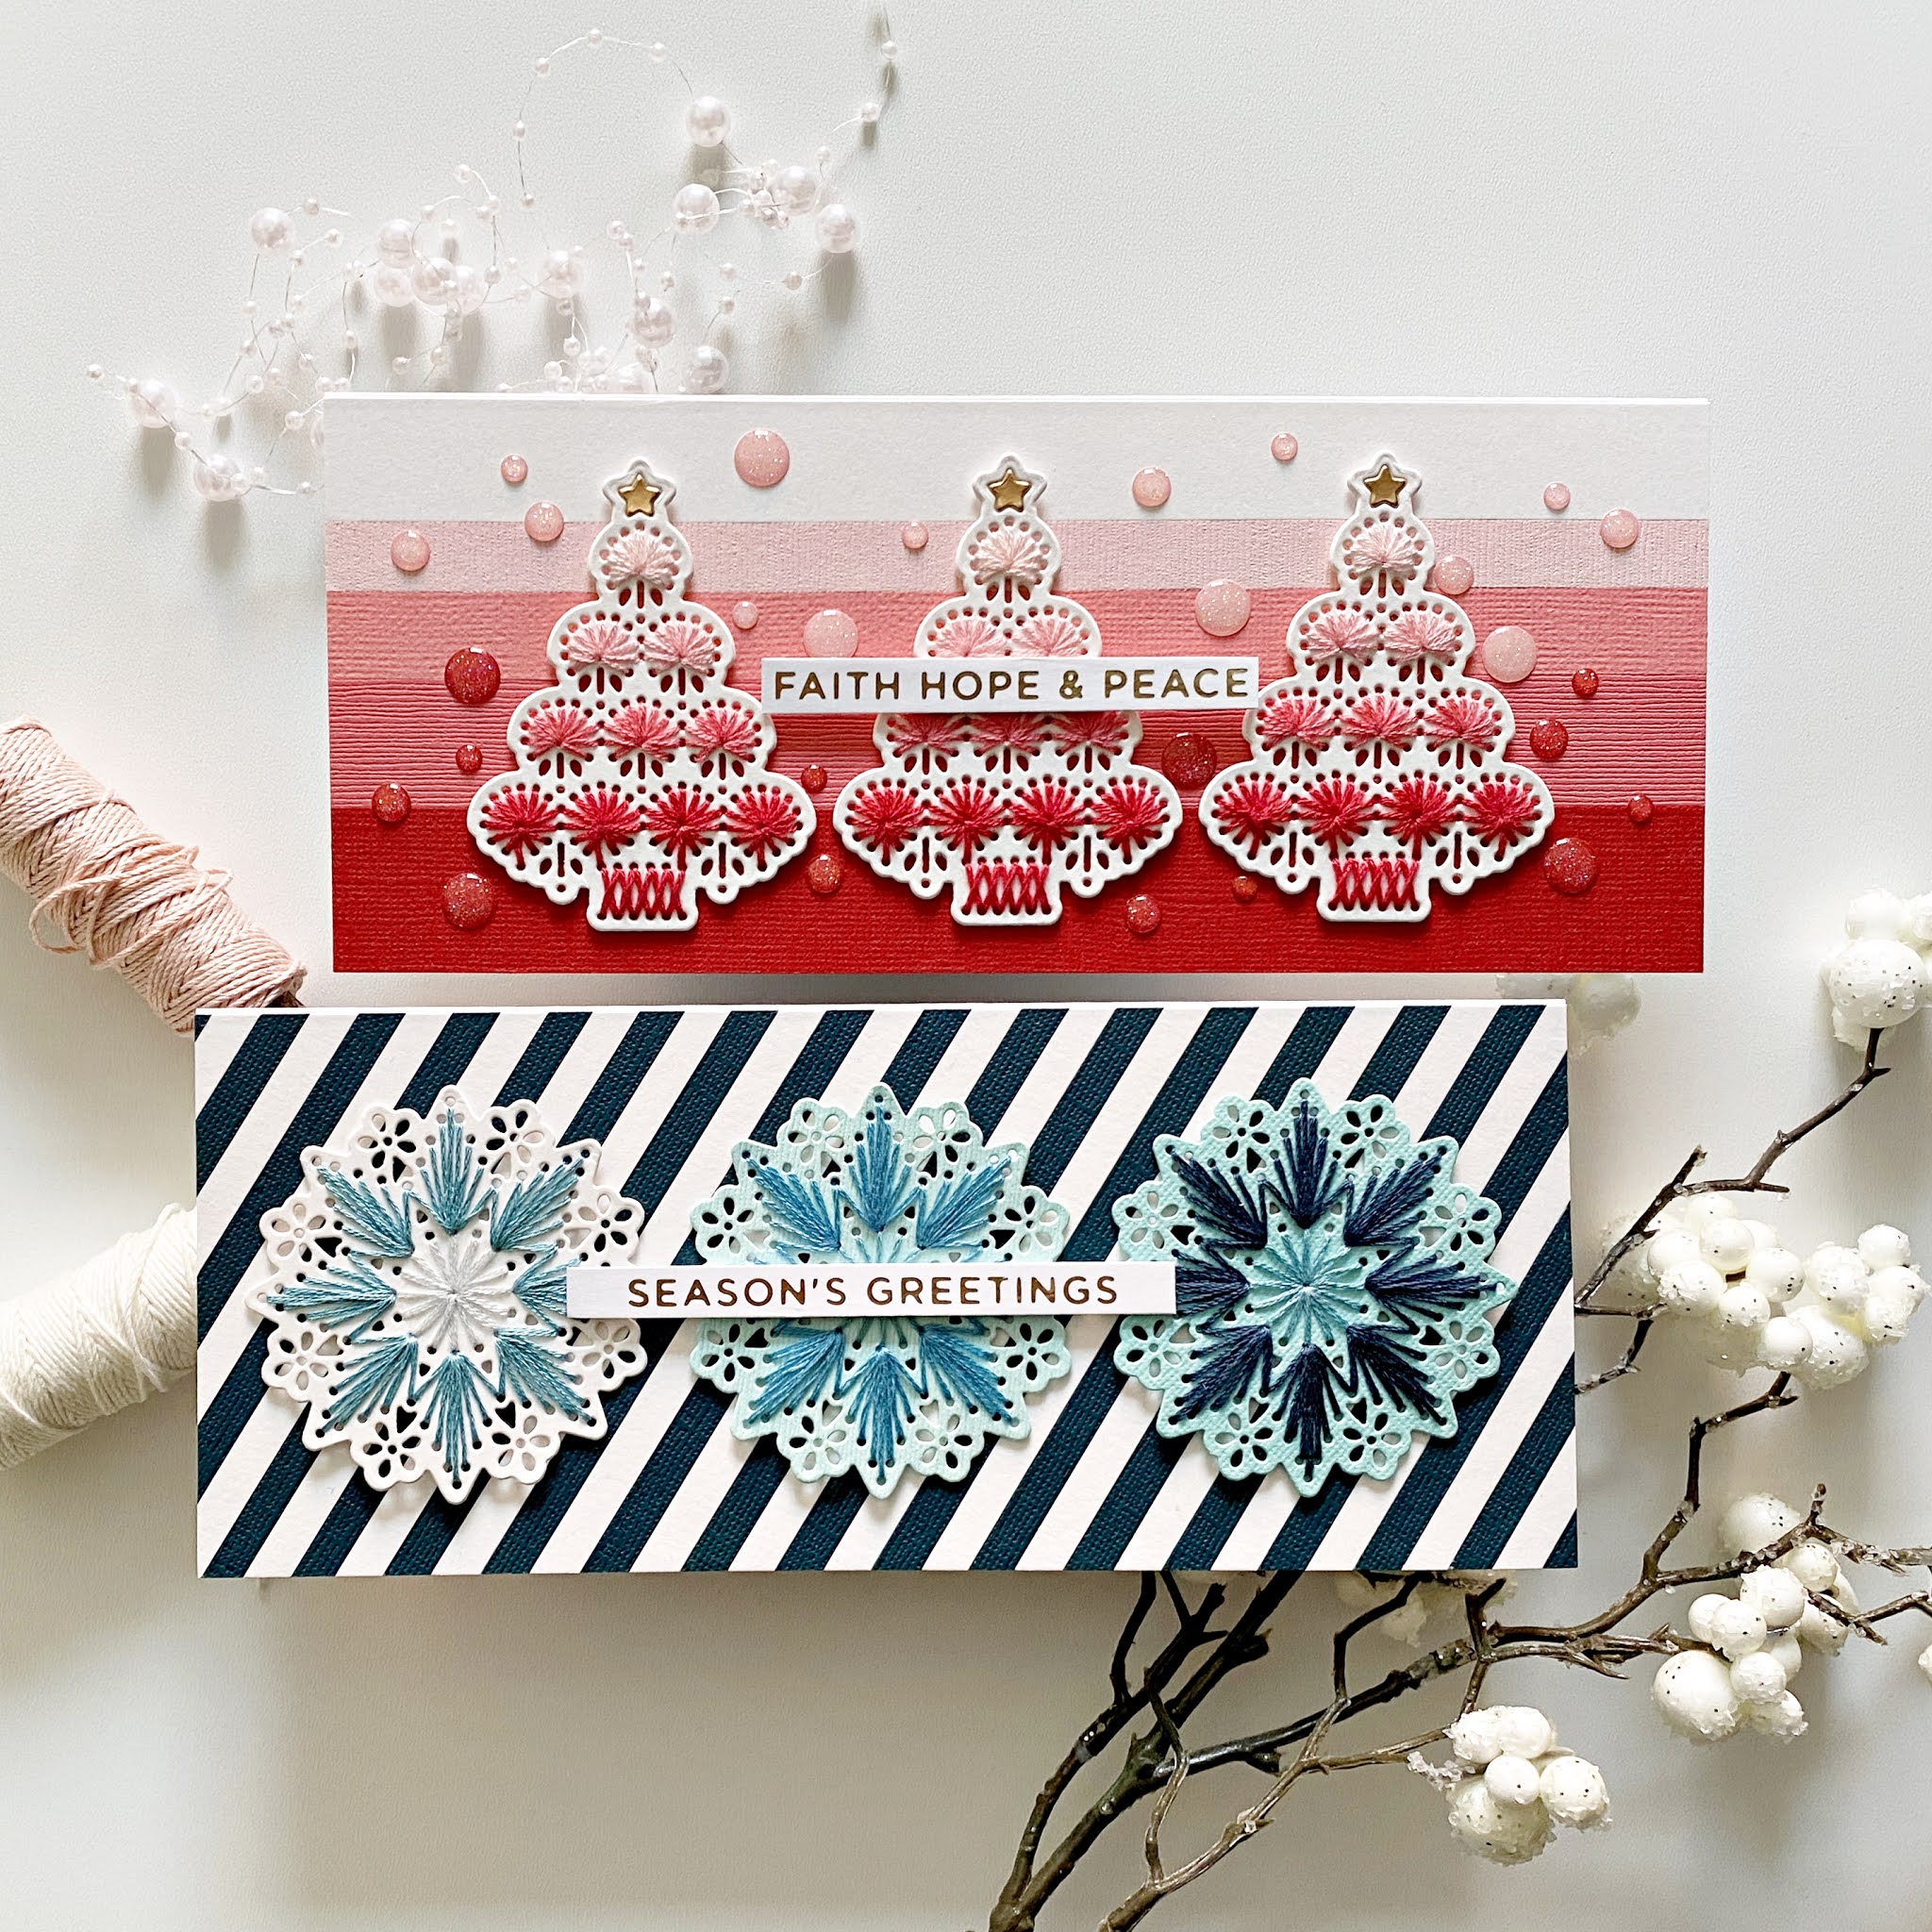
Both cards are top folding, A2 size (4.25x5.5"). I chose some pinks, white, gold and warm grays for my color scheme today. The grays almost look brown here!
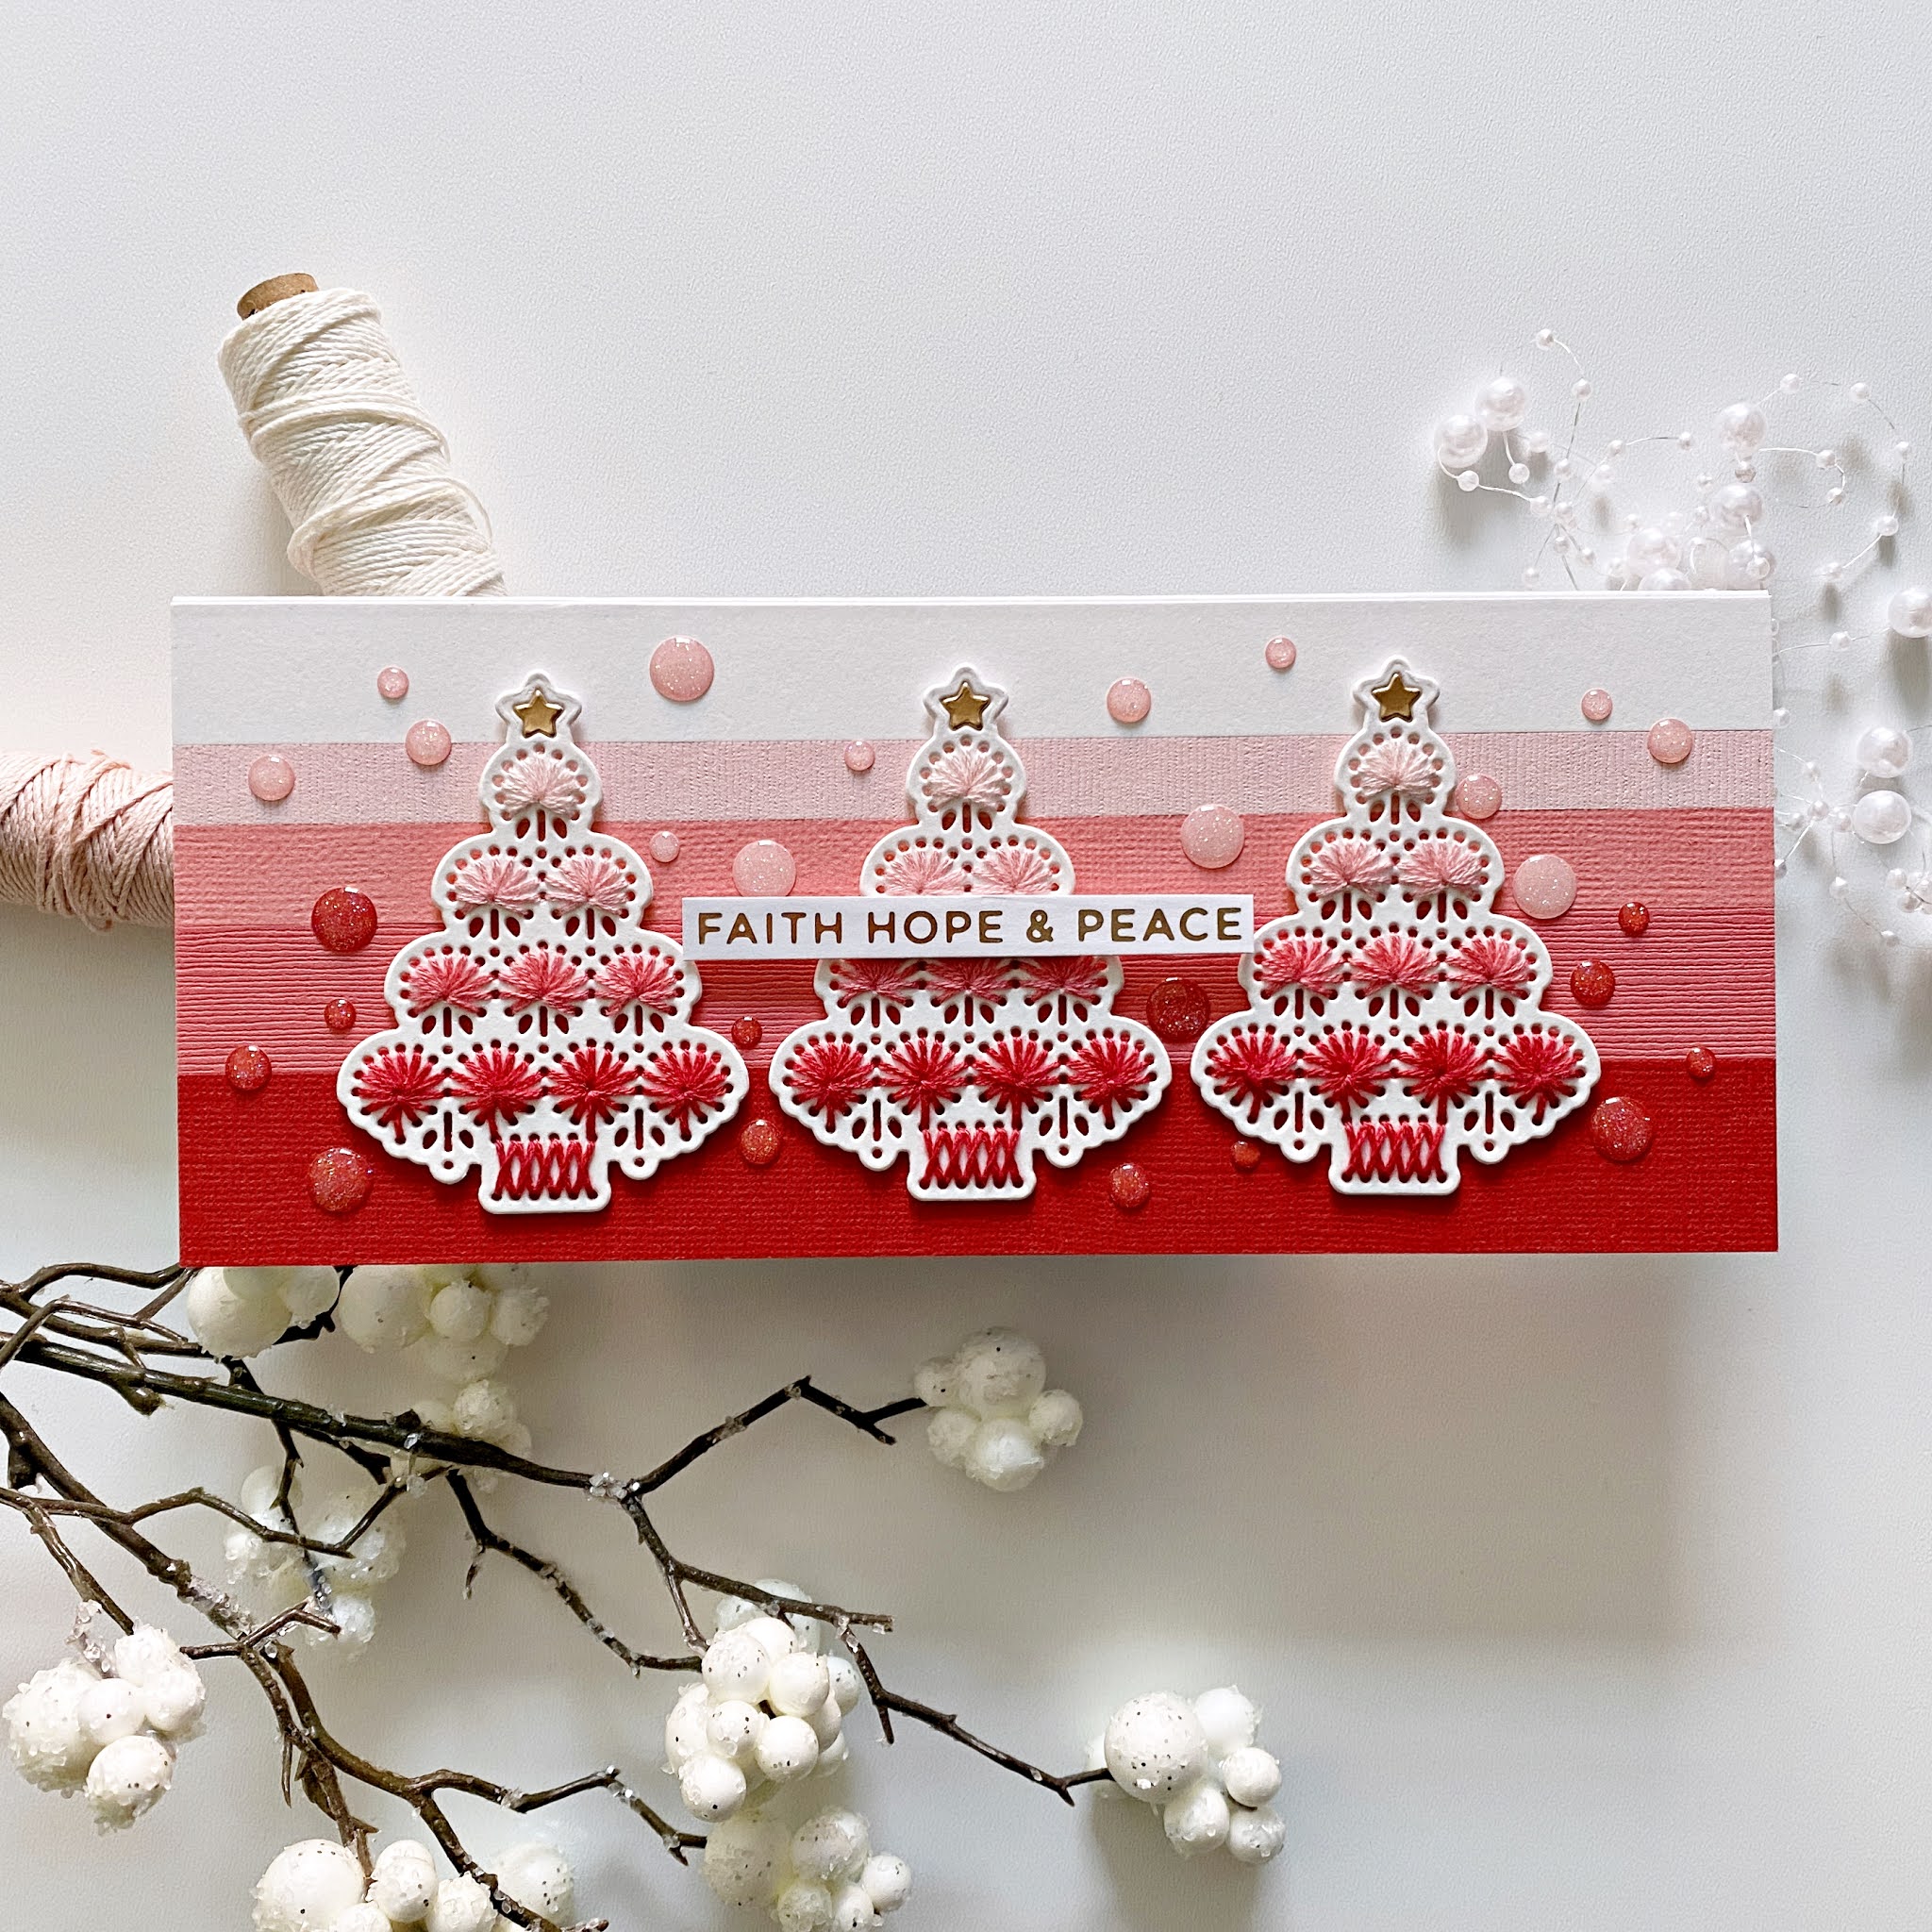
I die cut two circles, one with the tree design, one with the snowflake. I actually die cut both twice, then layered them up, so they were strong enough to be hand stitched. These are very easy to hand stitch without any tutorial, the pattern kind of guides you really.

For my first card, I cut a few thin strips of card stock in the colors I chose. I also cut an A2 panel from the darkest gray and die cut the border at the bottom. I stitched this too, but not the complete pattern, because I knew I would have a paper strip overlapping at the top. I then glued down the strips, and if you look closely, you'll notice I made a mistake :D. I even laid out the strips before, so I knew in what order I wanted to glue them down and yet, I still managed to skip a pink one in the middle. Oh well, perfection is overrated, right?!
I added this panel to my card base, then started working on the rest of the elements. I die cut a gray circle that's slightly larger than the stitched white one, just so the design stands out more. I added foam tape to the back of the stitched circle and glued it onto the gray one, then attached this piece to my card front. For sentiment I've used a gold foiled holiday sentiment from my stash - I always foil a lot of these sentiments, so I can easily grab one when I need it.


I would have loved to add a gold circle behind my stitched design so the gold could have peeked through the little holes, but I don't trust any of my glues to stick to the slick surface of the gold card stock :(. I never use metallic/mirror papers for any layer but the top for this reason. What I could do was, I die cut a circle from white card stock, then one from gold and I used the smaller circle die to cut out the middle part of the gold card stock. I then glued the gold frame onto my white die cut, and added the stitched circle on top, using foam adhesive. Hope that makes sense? This way I at least had a gold frame!
To finish off this card, I added a gold foiled sentiment and a few crystals in matching colors.

--------------------------------------------------------------------------------------------------------------------------------
Now for the fun part! To celebrate this release, Spellbinders is giving away a $50 gift certificate to 5 lucky blog readers! Winners will be selected from the comments on the Spellbinders blog. Giveaway closes on Sunday, November 15th, 11:59pm EDT. The winner will be announced in the blog post the following Tuesday. The winner is responsible for shipping cost, duties and taxes. Please note, that gift certificates cannot be applied to Club Subscriptions, however, they can be applied to shop past Club products, Club extras and regular releases.
GOOD LUCK!
--------------------------------------------------------------------------------------------------------------------------------
Spellbinders BlogSUPPLY LIST:
- Spellbinders November Large Die Kit
- Spellbinders Glimmer Hot Foil System
- Spellbinders Holiday Sentiments Series 2 Glimmer Hot Foil Plate die set
- Spellbinders Glimmer Hot Foil Roll Gold
- Spellbinders Nestabilities Hemstitch Circles Etched die set
- Spellbinders Platinum 6 Die Cutting and Embossing Machine
That's it for today! I hope I could inspire you in some small way. Thanks for stopping by! Your next stop is the wonderful Ilina Crouse!
BLOG HOP LIST:
Tina Smith
Carrie Rhoades
Bibi Cameron
Sandi MacIver
Jill Hilliard
Jennifer Snyder
Kathy Clement
Sandra Nagel
Virginia Lu
Jean Manis
Marie Heiderscheit
Joy Baldwin
Zsoka Marko ------ YOU ARE HERE!
Ilina Crouse
Jenny Colacicco