I'm back today with a new layout I've created for the Paige Evans Design Team!
I first picked the colors I wanted to work with, purple, orange and pink - one of my all time favorite color combos! The beautiful Wonders collection has all these colors, so I didn't even need to mix and match collections.
I then went through Paige's cut files - I usually don't have an idea what kind of cut file I'm looking for, unless I have a specific photo or theme in mind - I mostly just pick one that catches my eye in that moment. The cut file I chose for today's page is:
I cut the file from white card stock (I use Alexandra Renke card stock). I decided to cut a few of the hearts off, because I didn't want the entire background to be covered. First, I traced the 3 letters and fussy cut them out from a purple patterned paper. I glued them on top of the white fall out pieces to make them sturdier, because I knew I was going to add them to the page with foam tape later. I traced the heart onto my photo - for this I used my Sizzix Die Pick tool (I think that's what it's called, I just call it "my pokey tool" haha), to just scratch the surface of the photo, instead of marking it with a pen. I fussy cut the heart out.
I then started backing the hearts. This didn't take very long because these are simple shapes and there aren't too many of them!
Once done, I glued down the cut file onto the background and added the letters and photo on foam tape as well.
This is where it always gets a bit hard, because I never plan with embellishments, so I never know if there's any that match my colors or theme etc. I'm not big on planning, what can I say! But luckily, I found a few I could use: some floral die cuts, chipboard hearts and butterfly/dragonfly and a few sentiment stickers. I scattered these around my page, then all I had left to do was to write my journaling and add my date (for which I used a die cut label). I was worried the white pen wouldn't be visible on this light purple background, but I really didn't want to use any other color (maybe purple, but I don't have a purple pen), so I just went with it. Thankfully, it turned out fine!
That's it for today! I also have a process video on my YouTube channel if you're interested.
It's that time again! The Spellbinders July Club Kits are here!
I will not go into step by step tutorials here, since I made process videos for all of today's projects - I'll just attach some photos! I'll link the videos down below, after each set of cards. You can also subscribe to my YouTube Channel and press the bell icon so you never miss a new video! You'll find all the supplies I've used linked in the description boxes of the videos.
Also, it seems I forgot to create a blog post with last month's projects - at least I can't find it on my blog. I swear I remember creating it hmmm. Anyway, I will write a quick one and post it (hopefully I can back date it), so if you are looking for my June 2021 Die Kit projects, you'll find them too.
As a reminder, Spellbinders have several monthly kits, which are really great! You can subscribe to:
You can find all necessary information about these kits here.
Without further ado, here are my projects with the July Large Die Kit!
Here's the process video for the above cards:
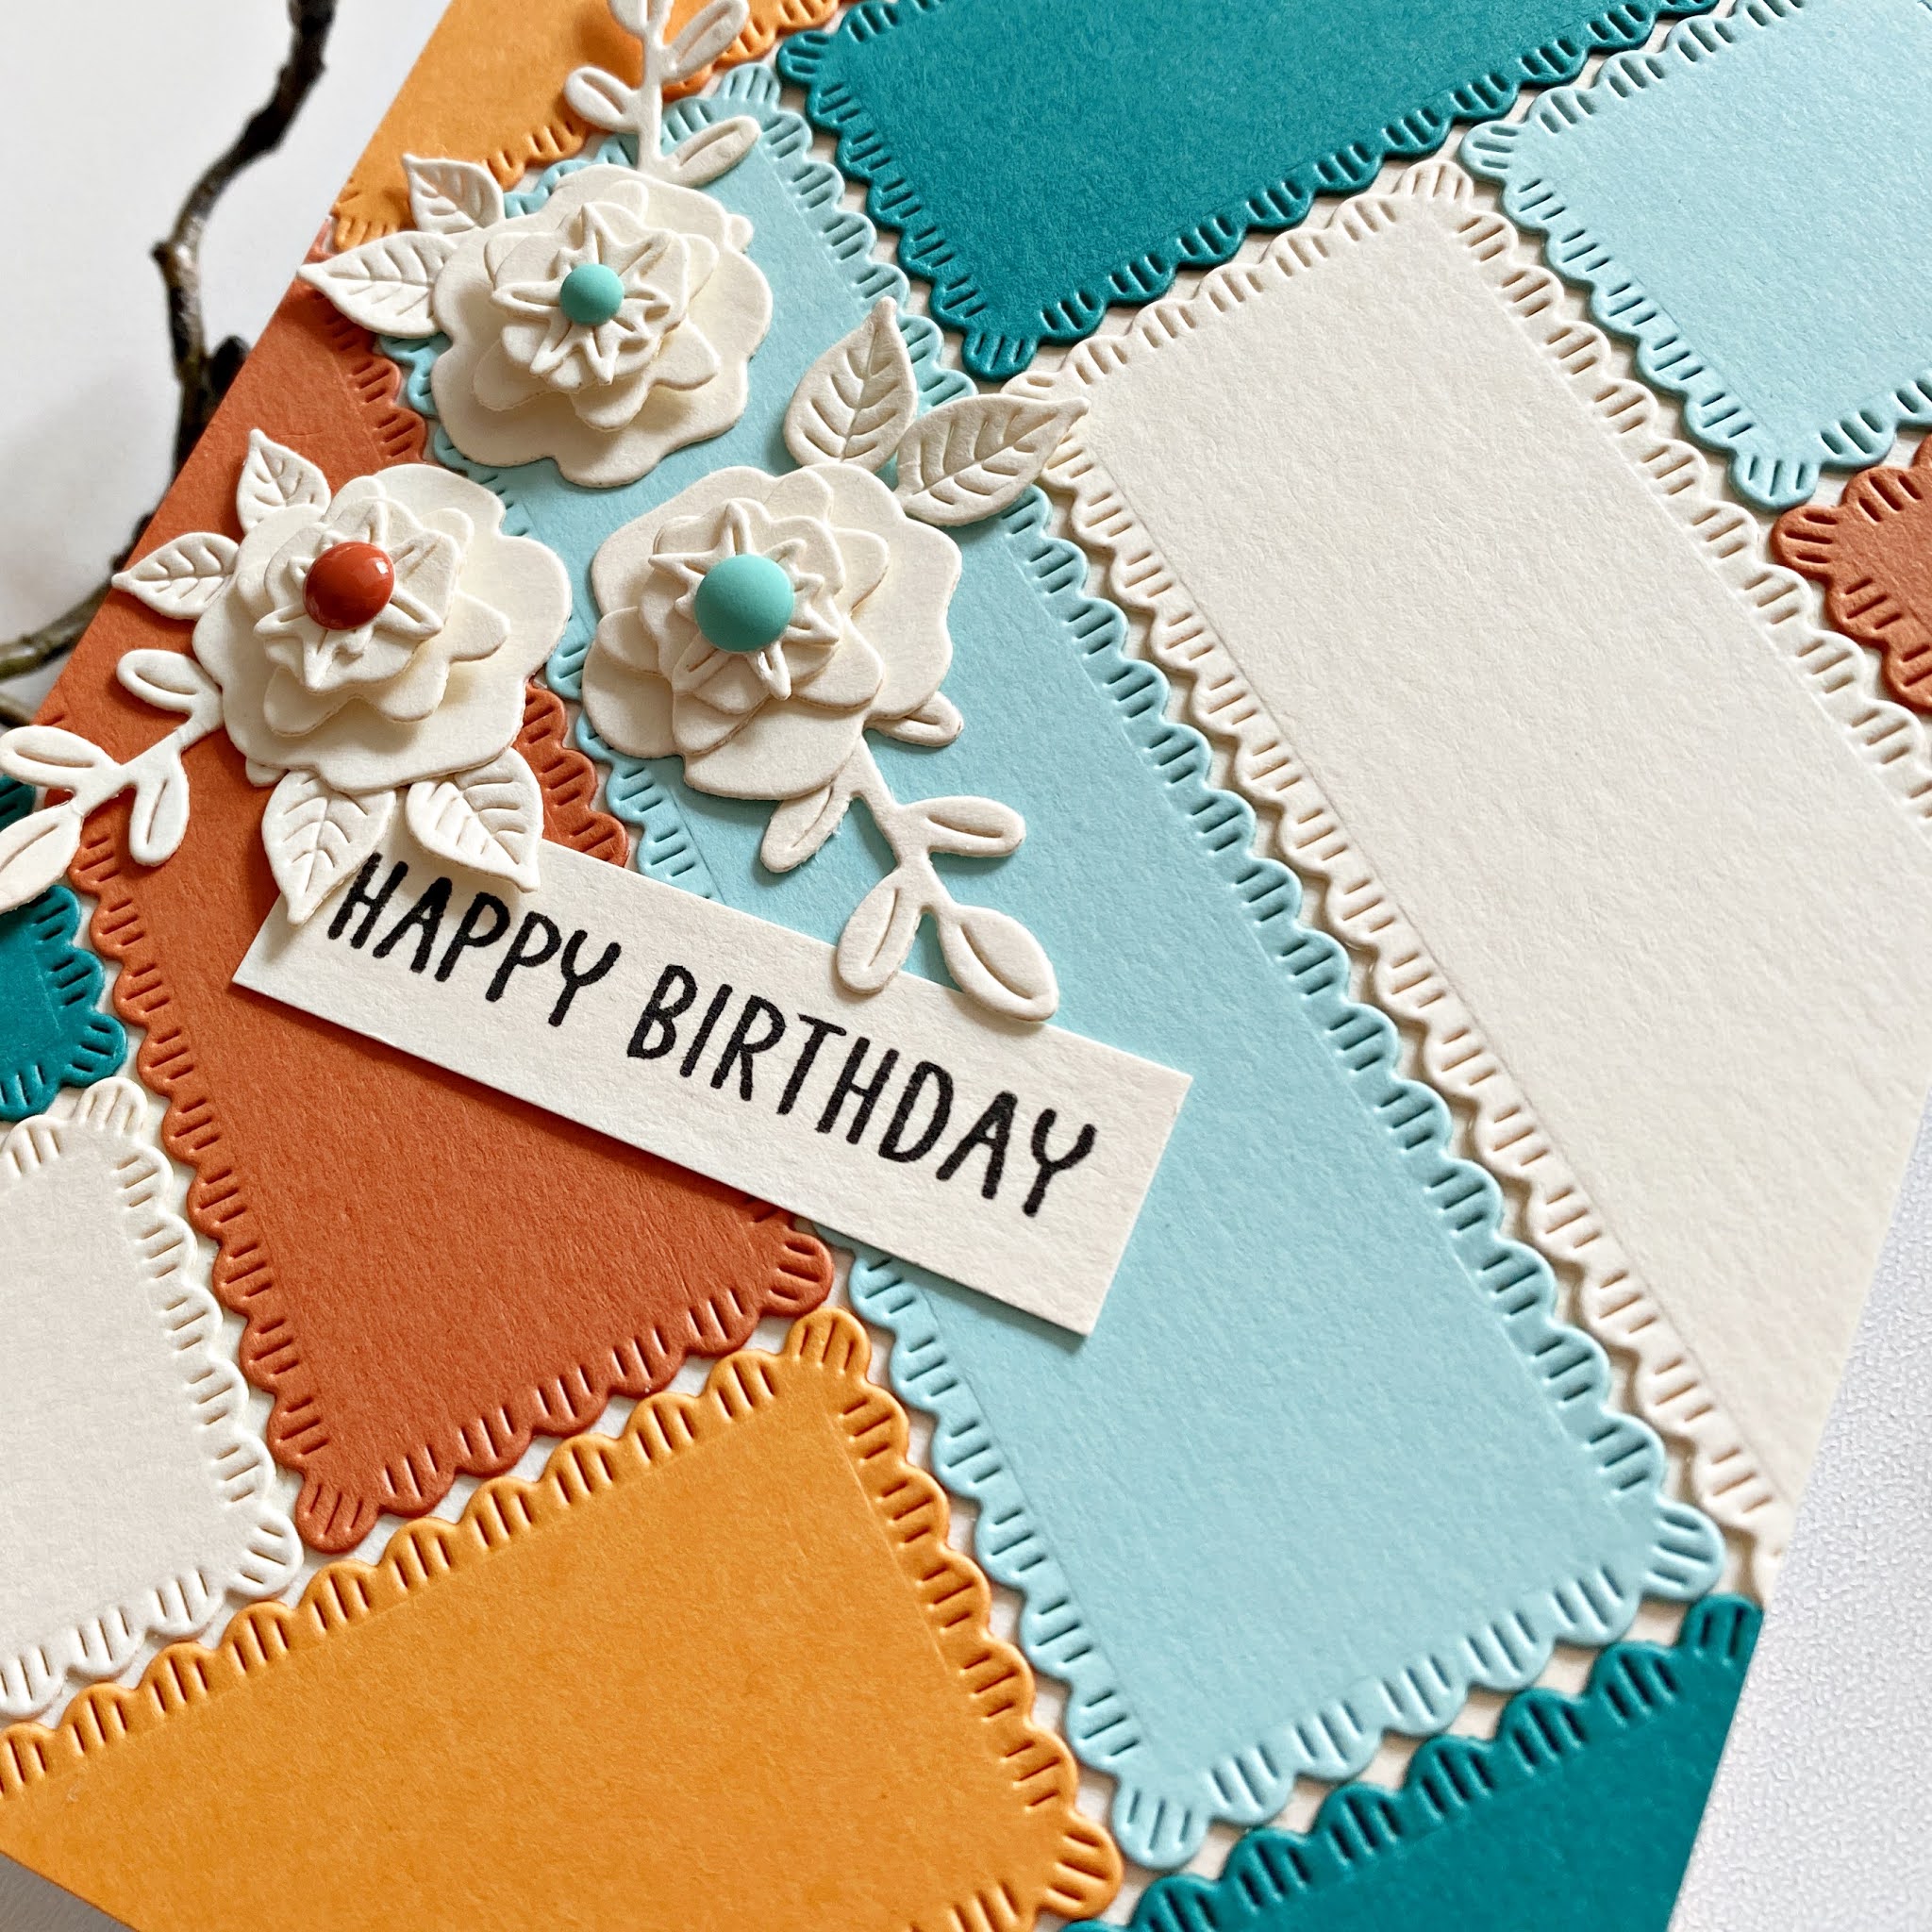
With the Small Die Kit I only managed to make one card because I just had no time. I've been busy with my own upcoming release for weeks now, hopefully the new products will be released sometime between July 10-15! Can't wait to share! I think I've never shared projects on this blog that I created for my company! I'll need to remember to do this! Anyway, here's the card I created with this month's Small Die Kit:
The process video for this project:
That's it for today guys! I hope you love this month's die kits and are excited to start creating!
I also hope I could inspire you in some small way!
I'm stopping by to share a new layout with you today! Have you guys seen Paige's gorgeous new collection, Bungalow Lane?! I can't wait to receive it! What's your favorite product from this collection? Mine are the heart charms, they are sooo cute! I don't make mini albums often, but I guess I'll have to now haha!
While I'm waiting for the new collection to arrive, I'm working with the current Wonders collection, which is just as beautiful!
I have a process video for this layout, you can find it at the end of this post, if you're interested!
I don't know about you guys, but I think I will never get tired of rainbows. Rainbow colors, rainbow cut files, rainbow everything. I keep repeating myself I know, but Paige's collections just make it so easy to create rainbow layouts because all the colors are always there in every single one of them!
I started out by die cutting everything - I used several cut files:
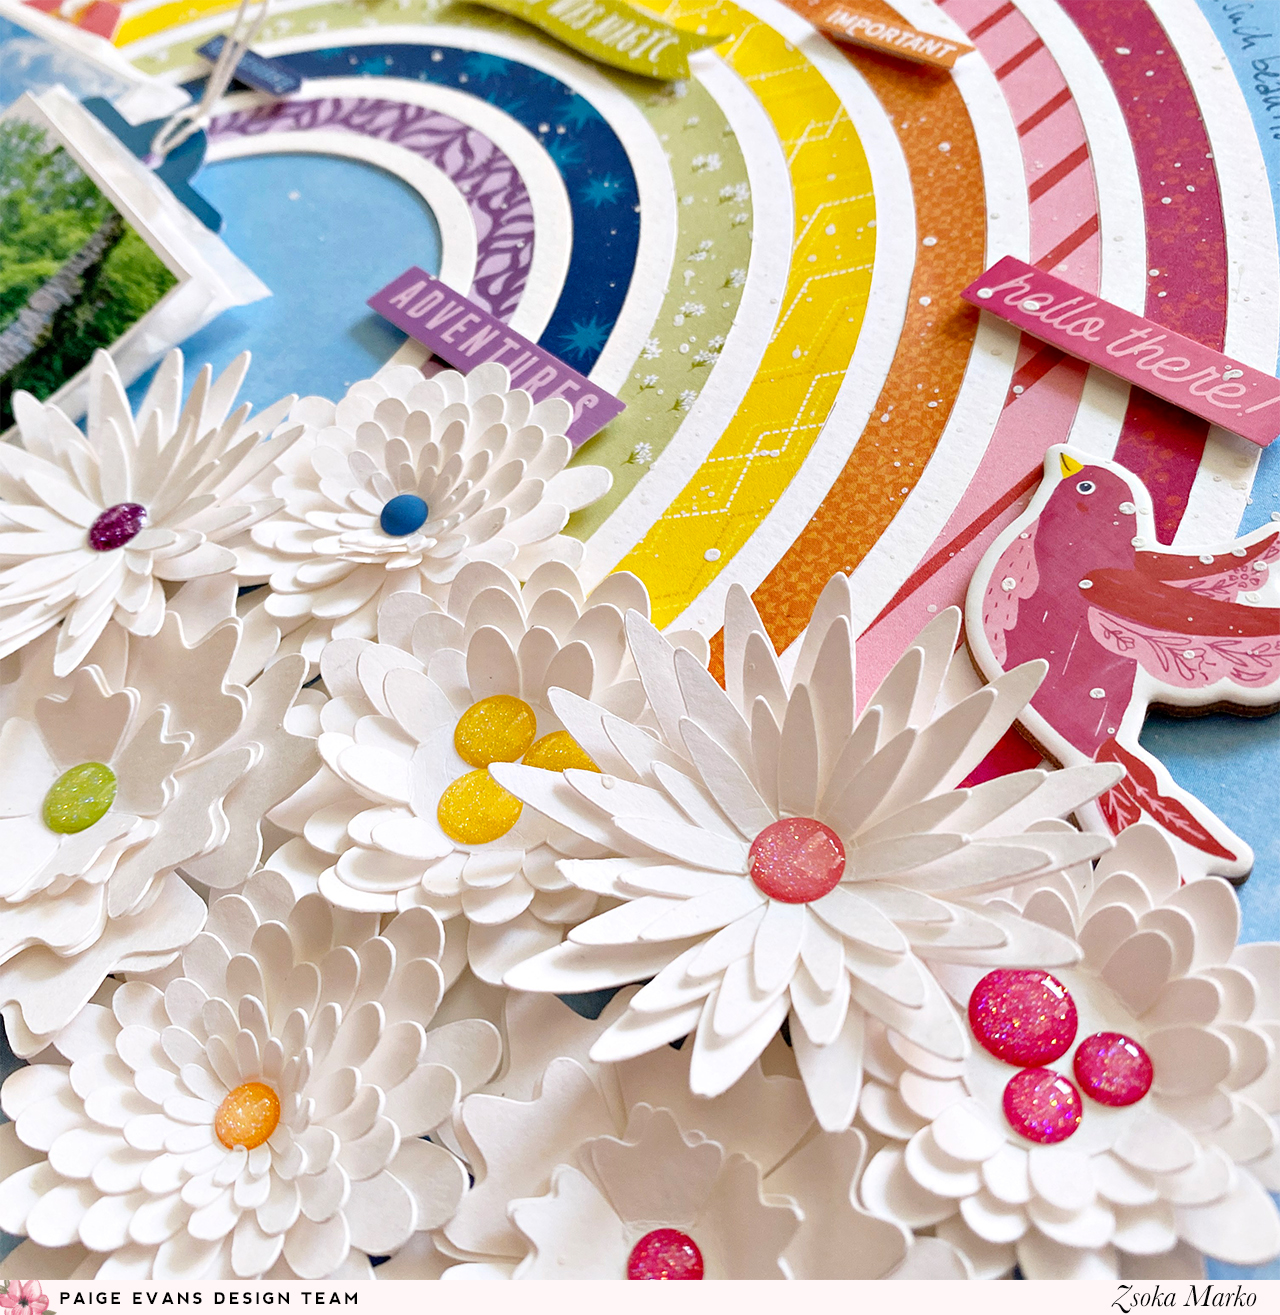
I die cut everything from white card stock. I Each flower I die cut twice but then I didn't use all of them. I can never estimate what I'll need hehe!
I was considering making colorful flowers and lining them up with their respective colors on the rainbow but then I thought white would pop more. They are very easy to assemble and create such a lovely dimension and texture on any project!
I then put the rainbow together - this cut file actually comes with a solid piece for easy backing! It just takes a few minutes to put it all together.
I laid out everything on my chosen background paper (I realize I use this light blue paper a lot, but it just fits everything! I think this should come in every color in every collection haha). I added a few sentiment stickers, in a tone-on-tone design, like I always seem to do. Can't help it!
I haven't used many embellishments - a chipboard bird, two tags behind my photos, an ephemera piece and another chipboard layered behind one of my photos. Oh, and enamel dots of course! My title is a chipboard too.
Once I was happy with the placement, I glued down everything. Finally, I added my journaling as well as some white acrylic paint splatters! That's it!
Here's the promised process video if you're more of a visual type:
I hope I could inspire you in some small way with today's page!