Showing posts with label die cuts. Show all posts

Saturday, August 1, 2020

In the spotlight: Spellbinders Small and Large Die of the Month kits - August 2020

Hi there crafty peeps,

It's that time again! The Spellbinders August Club Kits are here! Are you guys excited?! The kits are again really great this month!

As a reminder, Spellbinders have several monthly kits, which are really great! You can subscribe to:
You can find all necessary information about these kits here.

I'll start with the Large Die kit projects! You can build 3D projects with these dies actually, a painter's easel with canvas and lots of little accessories. It's suuuuper cute! You'll find a short step by step pictorial in your kit. 

However, I wanted to make traditional cards, so I did not build the easel - well not completely anyway.


I've used patterned papers from an older Paige Evans collection, Oh My Heart - it's actually my most favorite collection from Paige! I die cut the frame/canvas, some part of the easel (whatever I needed for a "flat" easel) as well as some paintbrushes, paints and painter's palette.


I cut a piece of floral patterned paper and inserted it in my frame, suggesting a floral painting. I assembled the accessories and placed them on the easel - I used foam adhesive for this, to create some dimension.


Last but not least I added a foiled sentiment to my card.


On my second card I didn't create the easel, instead I created a flower vase "painting". 


Same as before, I die cut my frame from white card stock, then I cut a piece of patterned paper and inserted it into the frame for my background. 


I die cut the vase and flowers from patterned paper and heavy weight card stock as well, and glued those layers together. I did this so I had more sturdy elements, I don't like to use foam tape on patterned paper only, because patterned paper is just not strong enough to hold its shape. I wrapped some twine around the vase and adhered everything down. To finish it off, I added a foiled sentiment.


Up next, the Small Die kit! Unfortunately this month I only had time for one card - and this won't feature everything you get in the kit. I only used one of the floral elements and the mini alpha dies to create this card.


I first built my background from paper scraps. Then I die cut all these flowers from white card stock and glued them down.


Next I die cut two oval shapes using the Nestabilities Fancy Edged Oval Etched Dies set (as I'm writing this, the set is actually 40% off!). I die cut the mini letters from various patterned papers to create this sweet, colorful sentiment. I adhered them to the white die cut label, added some foam tape and glued it all down on the patterned paper label which I previously adhered to my background. To finish off this card, I added some twine.


That's it for today guys! I hope I could inspire you in some small way!

Thanks for stopping by! Stay safe!

X

Saturday, August 4, 2018

Card inspiration - DT project for Paige Evans + Silhouette

Hey there crafty friends,

I'm stopping by to share a card duo I've created for the Paige Evans + Silhouette Design Team!

I had a vague memory of having a 6x6 paper pad from the Take Me Away collection, but really wasn't sure if I just dreamt it...This is the collection I have the least supplies left of, especially paper, so I was literally jumping around with joy when I in fact did find it!

So for today's cards I'm using this collection!


First up is this card, for which I've picked out the Organic Flowers Background cut file (Design ID: #249892). 


First I scaled down the cut file a bit so the design was smaller, then cropped it to an A2 size (4.25x5.50") and cut it from a mint patterned paper. I backed it with a darker shade of mint paper and glued this panel onto an A2 size top folding card base. I then went through my embellies and tried about a hundred different options before I settled on this design. 


I added a floral chipboard frame in the middle, then layered some chipboard flowers in one corner and die cut flowers in the opposite corner. Before adding the die cut flowers from the ephemera pack, I glued down some tangled gold thread onto the frame too for additional texture. Last but not least I added a yellow suede bow and a chipboard sentiment. Oh, I almost forgot, I also splattered some gold paint on the card front!


For my second card I've chosen the Geometric Background Stitching Pattern cut file (Design ID: #271163). I chose this yellow striped paper that I used on a layout too once, in 12x12, and I actually stitched the title on that too in yellow! So I thought I'd add stitching to this as well, and to make my life easier, I went ahead and tried this stitching template cut file. It surely saved me some time not having to poke all the holes myself! I scaled down this design too and then cropped it in a way that it was symmetrical in A2 size. I then sent it through my Cameo.


While I was watching The Originals on Netflix, I hand stitched the panel. Once ready, I attached it to an A2 size top folding card base, using foam adhesive. Mostly because when you stitch, you have a bulk of thread on the backside and the card front wouldn't be smooth if you just glued it on with normal glue. Hence, foam tape. 


I made it my purpose to finally use this heart wood veneer ha! I made 3 cards before this one which I was planning to use this heart for but I never liked the way it looked. Now I finally do! I didn't want to cover up much of the stitched design since I spent so much time on it, so I kept embellishing to a minimum. I glued some tangled thread under the wood veneer, then added some flowers on top that I fussy cut from a gorgeous patterned paper. 


To finish off this card, I added a chipboard sentiment using foam tape and splattered gold ink here and there. Done!

I hope you like today's inspiration! 

Thanks for stopping by and have a lovely day!

X

SUPPLIES:  Take Me Away collection - 6x6 Paper Pad, Wood Veneer Shapes, Suede Bows, Chipboard Stickers, Ephemera Die Cuts


Saturday, March 17, 2018

In the spotlight: Spellbinders / Sharyn Sowell Flower Garden collection, Part 3

Hi there crafty friends,

I'm dropping in today to share my third and final blog post using products from the Spellbinders / Sharyn Sowell Flower Garden collection. If you missed my previous posts, you can find them here and here.

I've really enjoyed working with these lovely products! I just love flowers above anything and because I only have a son, I can't go all girly on my scrapbook pages most of the time! So I love that with cards I can do whatever I want!

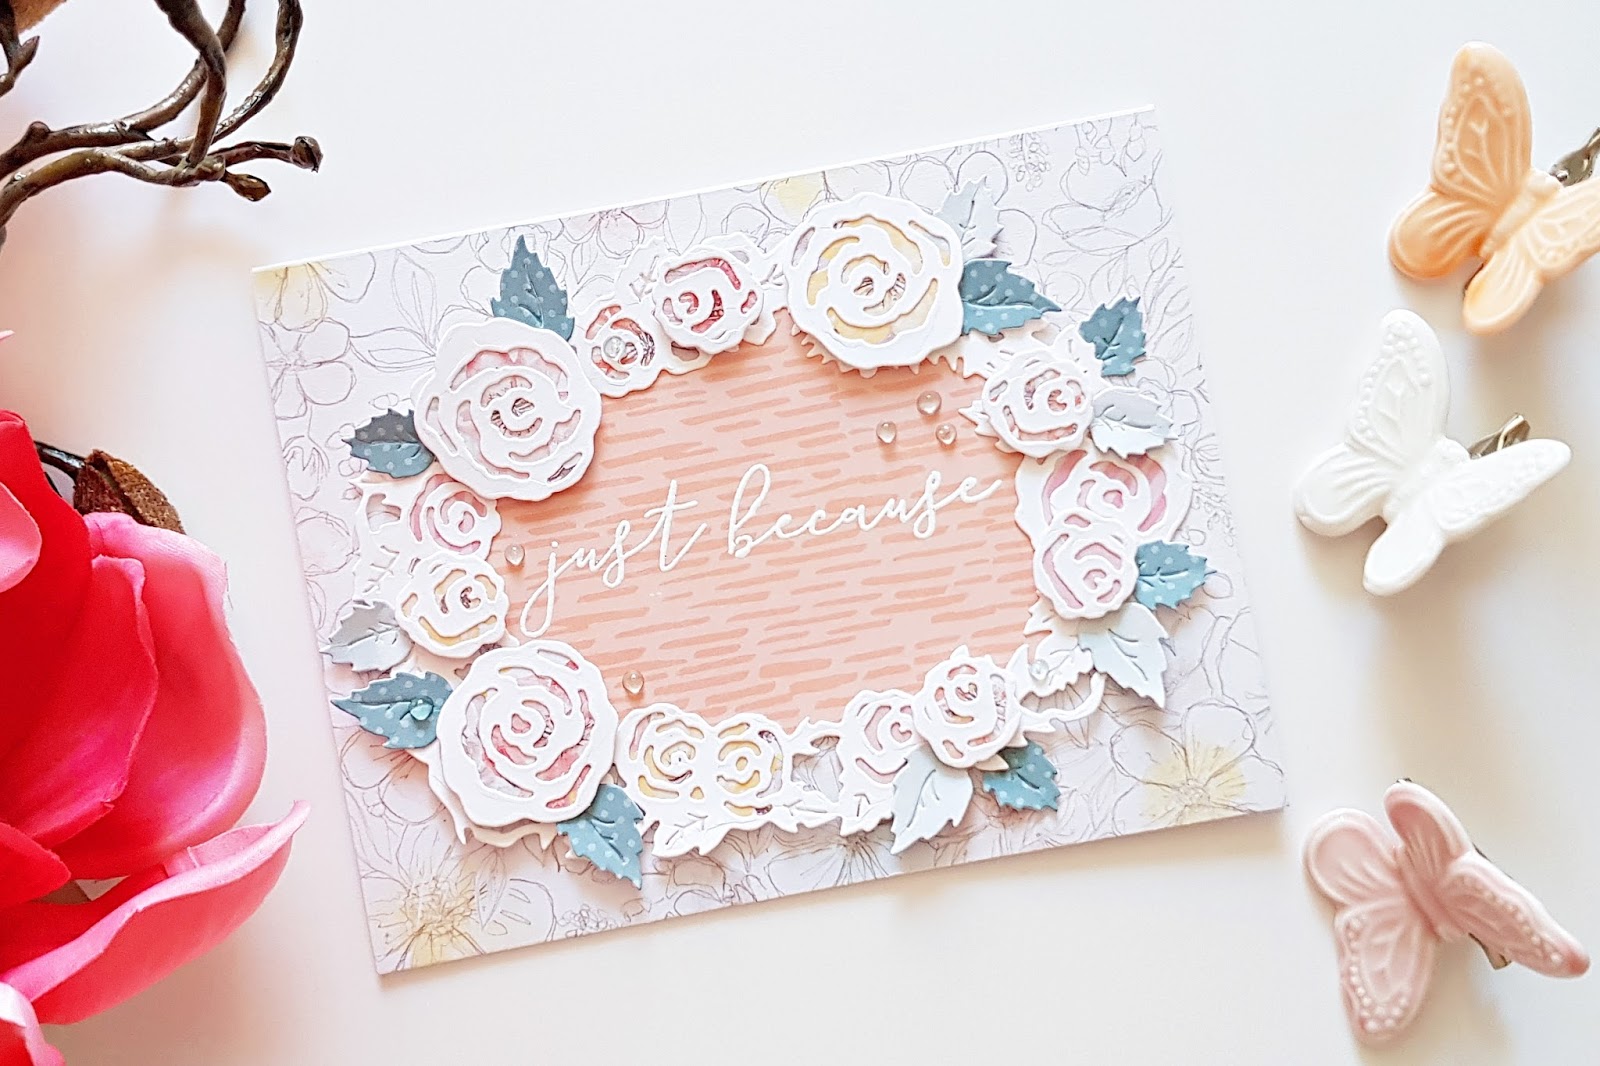
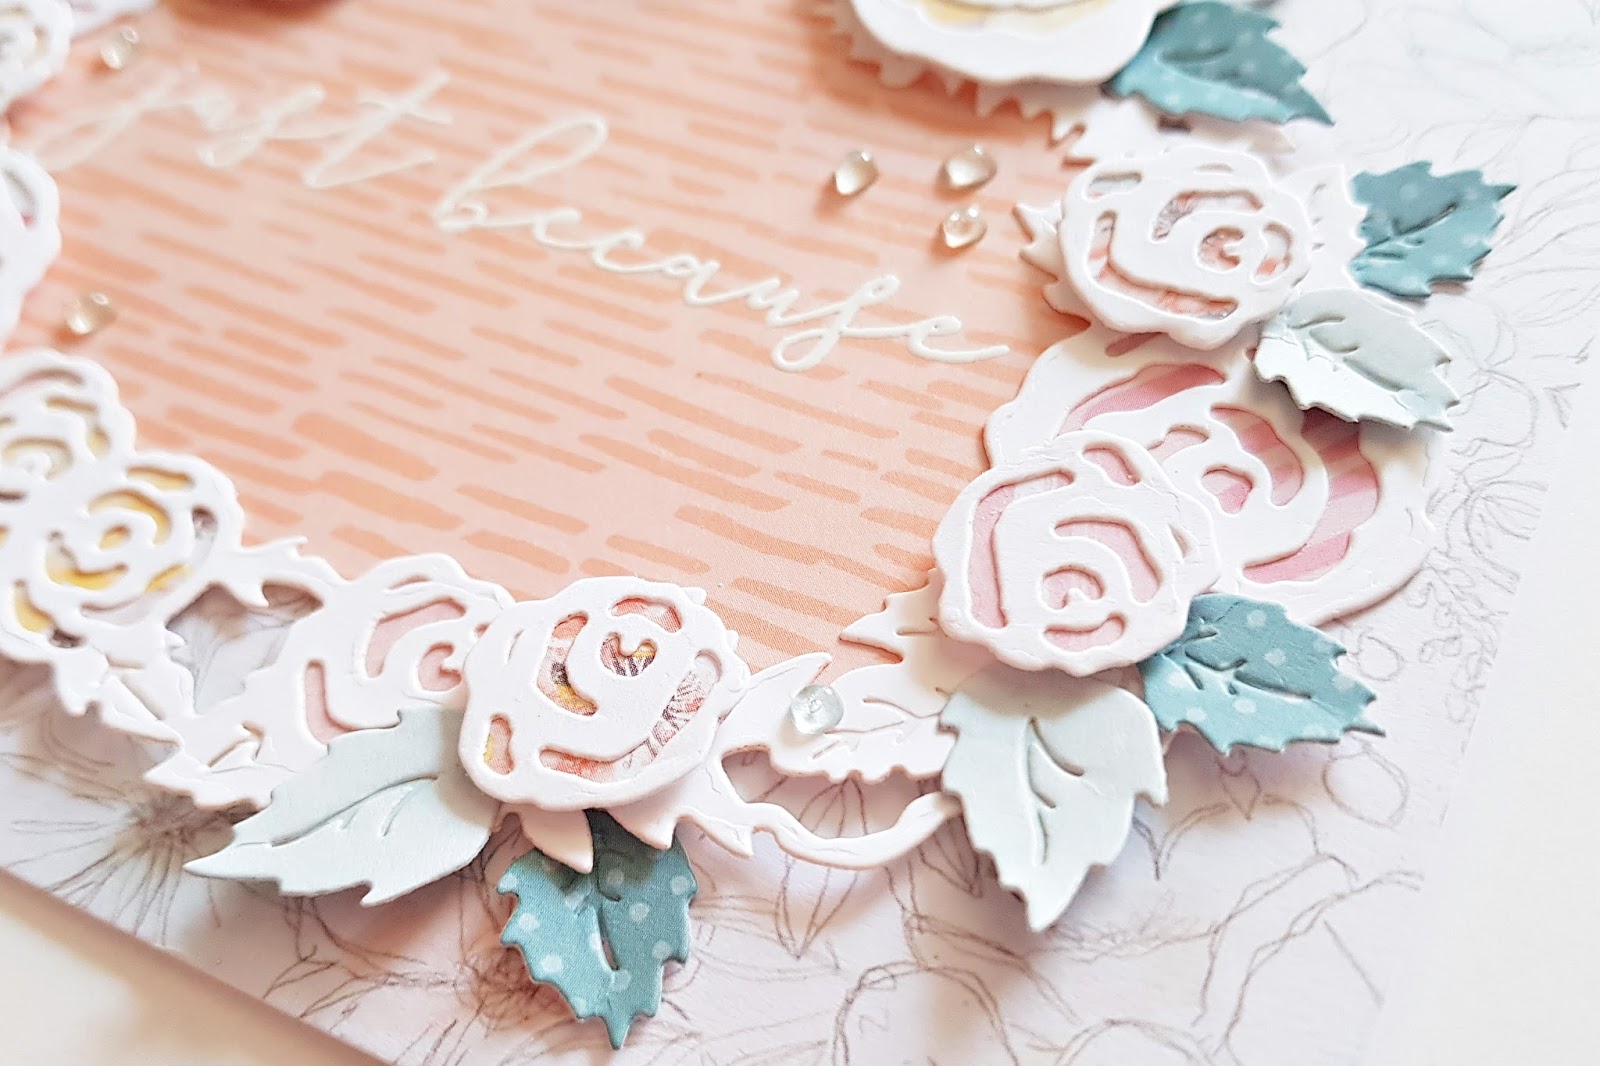
For my first card today I picked the gorgeous Shapeabilities Dimensional Floral Panel Etched Die. I was especially happy about this one, because wreaths are one of my favorite things to do on my scrapbook pages too! So I did exactly what I would do with digital cut files on my pages: I cut the design from white card stock, then backed the flowers with different patterned papers to give them colors. 


To add more dimension, I die cut some of the single roses and backed these with patterned papers too. Next, I prepared my card base: I adhered an A2 size patterned paper panel to my A2 size top folding card. I set it aside while I finished my rose wreath: I glued the wreath on a coral patterned paper and fussy cut it out. I embossed a sentiment in the middle using white embossing powder. 


I glued my wreath on the card base using a tape runner. I then started layering additional roses onto my wreath to achieve the design and dimension I like. I used pop dots for this. Next, I die cut several leaves from two different patterned papers and tucked these under the wreath and the roses in quite a few places. 


Last but not least, I added a few drops of glossy accents!

For my next card I also used an A2 top folding card base, to which I added a floral patterned paper panel. I also glued a light pink chipboard frame on this. 

The dies I've used here are from the Shapeabilities Butterfly Etched Die and the Shapeabilities Bird on Cherry Branch Etched Die sets. 


I die cut the butterfly from white card stock. I cut two wings but I only wanted one to show from above, if that makes sense. There's a little tab on the wings which go under the body of the butterfly - I glued the two tabs together and then folded the top up to give dimension to the butterfly. It's hard to describe what I mean, but you'll see in the close-ups. The body I cut from a raspberry card stock, then cut it in half and attached it to the wings. I glued on the antenna as well.


I then glued my butterfly onto the chipboard frame. At this point I felt like I was still missing something! Flowers, of course :). I die cut a few tiny flowers from a pink patterned paper, attached one to the butterfly and used another 3 to create a flower cluster at the right top of my frame. 


I die cut the little banner that is in the Shapeabilities Tiny Shadow Box Etched Die set, from pink patterned paper. I then embossed my sentiment on it, using white embossing powder. Recently I was looking for something in my ancient craft stash I never use (non-papercraft supplies I built up over 20+ years) and found a few different lace ribbons. These tiny things make me happy, you know, when you finally use something you spent money on at one point! So I cut a piece for my panel and glued my sentiment on top of this.


To finish off my card, I added a few Nuvo Jewel Drops.

 Spellbinders supplies:
  • S2-285 Shapeabilities Bird on Cherry Branch Etched Dies, Flower Garden by Sharyn Sowell
  • S2-286 Shapeabilities Botanical Butterfly Etched Dies, Flower Garden by Sharyn Sowell
  • S4-851 Shapeabilities Dimensional Floral Panel Etched Dies, Flower Garden by Sharyn Sowell
  • S5-339 Shapeabilities Tiny Shadow Box Etched Dies, Flower Garden by Sharyn Sowell
Other supplies:
  • Patterned papers, chipboard frame: Cocoa Vanilla Studio - More Than Words
  • Neenah solar white card stock 80LB
  • American crafts pink textured card stock
  • Tonic Studios Nuvo drops
  • Ranger Glossy Accents
  • WOW embossing powder
  • Pinkfresh Studio sentiment stamps
  • white lace ribbon
  • die cutting machine
That's it from me for today! I hope you like these cards!
Thanks so much for stopping by! Have an amazing day!
X

Zsoka

Saturday, November 4, 2017

NOLA - DT layout for Paige Evans + Silhouette

Hi there,

I'm back today with a new layout for the Paige Evans + Silhouette design team.

I've used the Ampersand cut file (ID #223746) and the beautiful Turn the Page collection for this one.

About a year ago I made a layout using an ampersand cut file that I really liked, so when I saw this cut file I thought I'd lift that layout. I sometimes do this, recreate an older layout, put a different spin on it! It will always look different anyway because I'm using different supplies, plus they go into different albums anyway, so I'm not too bothered that I have similar layouts. Also, I have to mention, the ampersand itself has absolutely no relation to my photos or topic of the layout in this case, it's purely a design element. I'm a bit random aren't I?!


I first cut the ampersand from a yellow patterned paper, then again from white card stock and glued them together. I did this because the patterned paper is so thin and when I back it and use liquid glue, it doesn't look nice. This way I had a thicker piece and no warping. Warping is my pet peeve I think, I can't stand it on my pages haha! Which is also the reason why I hardly ever create mixed media pages!
I first backed every other opening with a pink ombre paper, then I adhered a floral paper behind the whole cut file so the rest of the openings are filled too. I didn't bother filling each of them separately but if you only have tiny pieces left of your favourite paper, you could totally do this!
I adhered the cut file to my chosen background paper with the help of foam adhesive, so it pops off the background.


Then I fussy cut two floral 12x12 papers...in their entirety...This took me ages, I will admit! But at the time I wasn't in the mood to work on any projects, so I thought this way at least I was doing something while relaxing. Also, I have a ton of flowers left, so next time I can just create a layout or cards without spending too much time on them!


I sorted the flowers by color and created a rainbow kind of look on the left side of the ampersand. Most of them I tucked under the cut file, a couple of them I popped on 3D foam adhesive to add some interest and variation to the design. 


I chose two photos of my son that I took in New Orleans this summer. I added some tissue paper behind them, plus a few tags and labels behind the one on the right and glued them on top of the ampersand in a way that they overlap each other. I used thickers for my very original (NOT!) title. I've been struggling with titles lately. I desperately hate long titles, but there's not many one word titles I can think of after so many layouts...And what title do you give to a layout that just documents a random moment, nothing specific...? Hmmm.


To finish off my page, I added my journaling on a journaling spot below my photo, stamped the date and added a few black ink spatters.

That's it for today!

Thank you for stopping by today! I'll be back with some Halloween inspiration shortly, so stay tuned!

X

SUPPLIES: Pink Paislee/Paige Evans Turn the Page collection: patterned papers, tags, journaling spot, chipboard stickers, alpha thickers, die cut ephemera.


Tuesday, October 31, 2017

Boo - DT layout for Fancy Pants Designs

Hi All,

I'm back today with some Halloween inspiration I created for Fancy Pants Designs.

We don't celebrate Halloween here. Well many families do, but I'm wondering if they even know what it is about? It is not a European holiday...

The only thing I do, if I don't forget, is buy some pumpkins so the kiddo and I can carve some. It's so easy to do, last year I had to promise him that this year we buy more so we are not ready with carving in 10 minutes! He loves it so much and was very proud he could easily do it alone. He carved the face, I carved Boo. I remember taking several pictures last year but I can't for the life of me find them. The only one I found is the one I posted on Instagram (Instagram is good for something ha!). So that is what I used for my layout.

The new Spellbound collection is the cutest thing I've ever seen! I absolutely love everything about it. I've always loved the purple added in the Halloween lines but the additional mint is just so super awesome! If you buy only one Halloween collection, you really have to get this one! 


I chose a pumpkin cut file from the Silhouette Design Store for my main design element. I backed the pumpkins with two different orange papers and the leaves with some other papers from the collection. I added foam adhesive to the back so I could tuck my picture and a couple of die cuts under it.


I also tucked some tags and die cut pieces under my photo and attached a couple to my photo as well, using my tiny attacher. I love that spider web! |And I think my favorite pieces in the ephemera pack are the bats; they come in different colors, black, purples and mint. I added a few of those here too.


For my title I also chose a die cut piece that says Boo - I love the font and I like the fact that it is not big! As a last step I wrote my journaling below the spiderweb on the right side, added my date on a label at the bottom left and splattered some black ink around the page.


This is the second Halloween page I have ever made and I kept thinking while I was working on it that I wish I had more photos! Only because I love love love this collection!

I hope I could inspire you somehow, even though I'm not a pro on this topic!

Thanks for stopping by today, have a wonderful day!

X


Wednesday, September 27, 2017

Look who's back - DT layout for Fancy Pants Designs

Hi there friends,
 
I'm back with another layout I made for Fancy Pants with the awesome Family&Co collection! This plaid paper is my absolute favourite! I love the bright colors in it.
 

I decided to go with a die cut title. I just selected a font and then typed up my title. I drew two rectangles and welded my letters with them, one for the top, one for the bottom of the layout. I glued these in place then hand stitched around them, using two different color floss, orange and dark teal.


My son lost his favorite toy, a hand puppet called Mr.Yummy (actually he is called Mr. Jummy in Dutch - he was the mascot of Sultana in Holland) during our summer holiday. He was so extremely upset, he just kept crying for days. We were all heart broken because I got Mr. Yummy when I was pregnant and he was with Maxim for almost 9 years. The hotel didn't seem to care very much so I contacted Sultana and told them about what happened. They didn't have the hand puppet we had but they had one that is a backpack and a hand puppet in one! They mailed it to Maxim's grandpa in Holland, his dad picked it up and when Maxim arrived back from my parents' we took it to the airport with us. He was sooo very happy, he just kept saying how adorable Mr. Yummy is :). We are incredibly grateful to Sultana! This is what this layout documents.
 

I printed two 3x4 photos and placed them in the middle of the page. I layered some tissue paper and different patterned papers behind my photos to mat them. Then I added some die cut pieces around my photo and used a tag for my journaling. Actually I combined two tags to make my own.


Thank you for stopping by today!
Till next time,

X


Monday, September 11, 2017

My favorite - DT layout for Fancy Pants Designs

Hey there friends,
 
I'm popping in today with a new layout I created for Fancy Pants! I haven't worked with the awesome Family&Co collection yet (which by the way is on sale now at Make a pretty life), so I thought it was about time I do! I love the colors in this line!
 
 
I've wanted to use the Lotus lace background cut file from Just Nick in like forever, and I was determined to make it work even though it has nothing to do with my photo. But actually more often than not I use random cut files.
 
I cut it from white cardstock as usual and backed all flowers the same way, with the same 5 papers. I arranged these papers in a rainbow kind of order, from light to dark, if that makes sense.

 
I then adhered the cut file to my background, for which I chose this stunning light blue paper. To bring out the turquoise in the petals more, I added a strip of the same paper to the left side of my page. I used this as a mat for my big title.
 
 
I layered two tags and some tissue paper behind my photo. I added a couple of puffy stickers, labels and die cuts on and around my photo. I wanted to keep embellishing to a minimum since the background is busy enough already. There's so many amazing embellies in this collection again, it was hard to choose only a couple!


I stamped the date and wrote the location on a die cut. I didn't add journaling because this picture is a part of a photo series and I would write the same thing on all of them!


I hope you like this layout!
Thanks for stopping by today and happy crafting!

X


Saturday, September 2, 2017

Paige Evans + Silhouette Design Team - wooohooo

Hey guys,

One can tell I have no Instagram account, I have too much time on my hands! Well, the whole story managed to ruin a perfectly happy day yesterday and left me without any mojo - so blogpost it is :D.

If you follow me on Instagram (or Paige), you probably saw that she is now designing cut files which you can get your hands on in the Silhouette Design Store. 

I'm so honored and excited to have been invited to her Design Team! You know that I'm obsessed with cut files, I love Paige's collections, so I feel like this is a great fit for me!


We all created a layout for yesterday, here's mine. I used the Half Flower cut file and Paige's wonderful new collection, Turn the Page.


I cut out the file from white textured card stock, 2 bigger and 2 smaller ones. I then started backing the bigger ones with patterned paper. I was actually planning to have a colorful layout but while I was backing the files I changed my mind. It happens a lot!

Once I was done, I also backed the smaller ones, but these only with one paper. Then I arranged my flowers the way I wanted them and adhered them to the background. I used some foam adhesive to attach the smaller ones to add a bit of dimension and interest.

I fussy cut a few butterflies in different sizes as well as flowers and combined these with a few other embellies: die cuts, puffy stickers and wood veneer and glued these on my half flowers.


I tucked my photo behind one of the flowers and added my title for which I used the chipboard alphas. 


I wrote my journaling, added the date, and I was pretty much done. Oh, and black splatters of course! 

Hope you like my layout! I'll be back with a new one next week! 

Thanks for stopping by,
X

Zsoka