Showing posts with label Scrapbook Werkstatt. Show all posts

Friday, January 26, 2018

Valentine's slider cards with free cut file! - DT project for Scrapbook Werkstatt

Hey friends,

I thought I'd drop in to share a quick tutorial with you on how I made these slider cards! Unfortunately without step by step photos because I had no time to make any new cards for this purpose. I hope you'll understand it anyway! Just let me know, and please also let me know if you have trouble downloading the cut file - I am a bit challenged when it comes to technology!

First, some examples that I created for Scrapbook Werkstatt, using the wonderful February kit.


Click HERE to (hopefully) download the free cut file :).

Sooo, here's a screenshot of the different parts you'll find in this Studio file:


These are sized to what you see on my finished cards. Of course you can size them however you want, just always remember to mark all pieces when you scale them up or down, so you keep the same ratio!

WHAT YOU NEED:
  • 1 card base (I made 5 different ones, with different windows for you to choose from)
  • 2 U pieces, which I call channels but I don't really know what they are called ;P
  • 1 slider
  • 2 tabs for the slider (not necessary!)
The scallop circle is just an extra piece if you want to change up your circle window a bit, like I did on one of the cards above.

If you like, cut all pieces you need from a piece of card stock, just to test how it all comes together, then you can decide what patterned paper you want to use for which piece - if you like patterned paper like I do!

HOW- TO:
So, it's actually very simple. Start by adhering the two U pieces together, so you have one thicker U piece. Then adhere this piece inside your card base, in a way that the legs of the U face the middle cut in the card base, if that makes sense? Then place the slider piece in the middle, close your card and pull the slider through the middle cut. Then glue the front and back of the card together, with the slider in between the U piece. Gosh it's so hard to describe these simple steps! I hope you understand, once you have the pieces in your hands!

Now this is only to describe how all pieces work together, but if you want to decorate the single pieces, you need to do that before assembling the card! 

For instance, the first, color changing slider card is put together as follows: I adhered a piece of patterned paper from the Crate Paper Main Squeeze collection to the inside of the card base, in between the channel. Just close the card base to see what peaks through the window to adhere it in the right place! I then took a piece of acetate and an embossing pen and drew around the cute image.  Then I embossed it with black embossing powder. I hate to emboss acetate, no matter what type I try, even ones for embossing, I have warping and I can't stand it! That is why I only made one card like this hehe! I then used my ATG to glue this behind the window. You could also add some machine stitching if you like! Now you can place the slider piece inside the card base - this will hide your image. Then glue your card base together and once you pull the slider out, it will reveal the color piece behind it. MAGIC :).

The other three cards I just decorated with patterned papers, stamps, embossing and embellishments, no acetate window, whatsoever.

I hope you'll give these a try! I hope the tutorial makes sense, at least once you have the pieces cut out! Don't be overwhelmed by all this text, I simply talk too much! Just cut the pieces and you'll see it all comes together easily!

If you create something with this cut file and share it, please link back to this blog post - I'd appreciate it X. Also, tag me in your post on Instagram so I can leave you some love!

Most of all: HAVE FUN!

XXX


Monday, October 9, 2017

In the spotlight: Pinkfresh Studio - Escape the Ordinary/Unicorn Dreams at Scrapbook Werkstatt

Hi All,
 
This is coming a bit late but here it is anyway, my projects with the wonderful Pinkfresh Studio collection, Escape the Ordinary.
 
I made many many cards with this collection and the super gorgeous Unicorn Dreams stamp set too. I'm in love with everything Pinkfresh Studio comes out with! Always such unique designs and color combinations! They are pioneers for sure! (And I'm not sponsored to say good things haha! I'm a straight shooter so you will only hear/read what I actually think. I'm not good at politics...)!

Aaanywho, without further ado, here are my projects. Hope you like them!


Thanks for stopping by!
 
Oh! Before I forget! Right now I am having a giveaway on Instagram (zsokamarko) where I'm giving away the Let's Celebrate stamp and die set from Pinkfresh Studio. The giveaway is open till 12am CET October 15! Good luck!
 
XXX
 

Thursday, October 5, 2017

In the spotlight: Cocoa Vanilla Studio - Bohemian Dream at Scrapbook Werkstatt

Hi there,
 
I haven't done this in a while so I thought it would be about time...Here's a summary of my projects I created with the beautiful new Bohemian Dream collection!
 
I'll be honest, I prefer Wild at Heart from Cocoa Vanilla, but this collection is still gorgeous. I am crazy about the floral paper! And there are some new products in this collection too: 6x6 paper pad, a stamp set and white chipboard titles. You can buy all these and more at Scrapbook Werkstatt! The embellies might be sold out now but not to worry, a new batch is on its way. So if you missed out on this collection, make sure you keep checking the SBW website!
 
Without further ado...these are my projects:


Hope you like them! Should you have any questions, just write a comment :).

Thanks for looking and have a great day!


Supply list:


Wednesday, June 28, 2017

July Kit at Scrapbook Werkstatt

Hi there,

I can't believe how fast the months are going?! Here we are again with new kit projects for Scrapbook Werkstatt. Unbelievable.

The July kit is a very bright, summer kit, hence its name "Glühwürmchen" ("Firefly"). I mean look at that neon yellow card stock from Bazzill!


Here's what you get in this kit:
  • 11 sheets of 12x12" patterned papers/card stock from Pink Paislee Summer Lights, Scrapbook Werkstatt, Crate Paper Oasis and Bazzill
  • 1 pack of thickers from American Crafts
  • 1 pack of die cuts from Scrapbook Werkstatt
  • 1 flair button from Scrapbook Werkstatt
  • exclusive clear stamp set from Scrapbook Werkstatt
  • 1 paper clip from Websters Pages
  • 1 sticker sheet from Pretty Little Studio

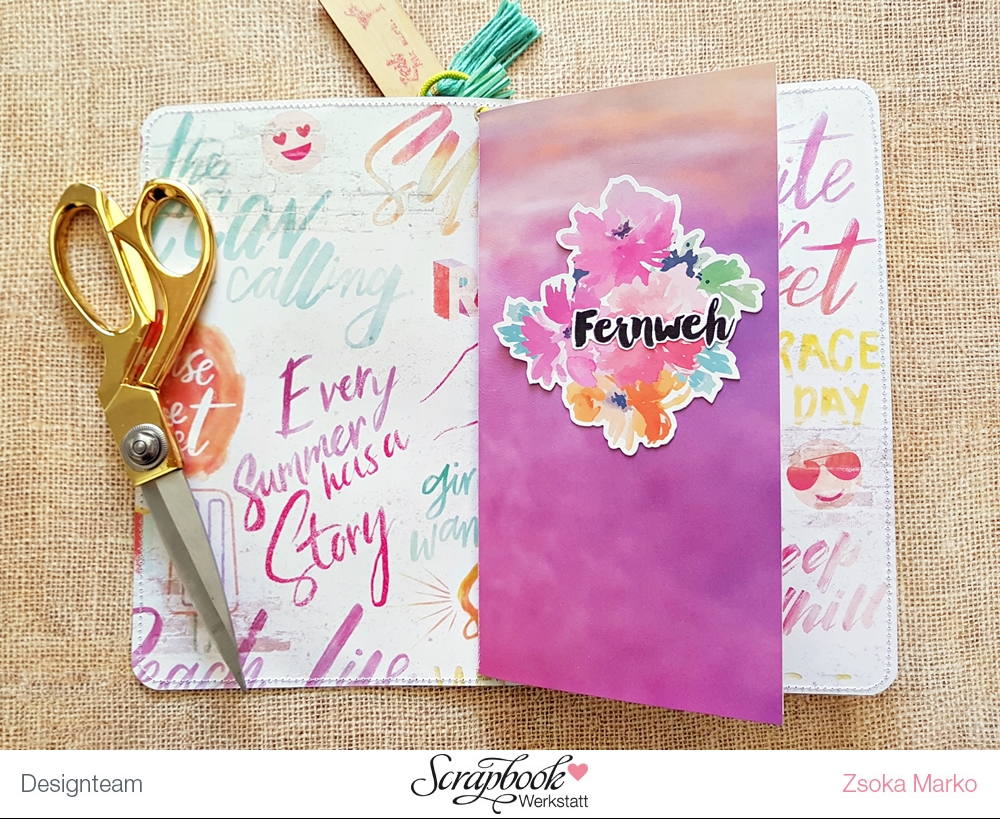
And below are the projects I created with this kit. Hope you like! For the travellers notebook cover and inserts you can find a tutorial here.


Thanks for stopping by today!

X


Tuesday, June 6, 2017

June Kit at Scrapbook Werkstatt

Hi All,
 
While we are already working on the July (and August!) kits at Scrapbook Werkstatt, I thought I'd show you my projects with the June kit.
 
Without a doubt this is my most favourite kit so far. It is full of life and summer, which is just what I needed after all the greyness! Pinks and tropical patterns, but also pastels are included. There is a wonderful bottle of gold acrylic paint in there too yay! Really, it's a gorgeous kit and it was so much fun to work with it! The layouts came together very quickly! It happens to me a lot that I love a kit at first sight but then I struggle with my projects for some unknown reason. This kit wasn't one of those! So here's Tausendschoen for you:
 
https://www.scrapbook-werkstatt.de/navi.php?a=37265&lang=eng

What you get in this kit:
8 12x12 inch patterned papers from the following collections:
  • Elle's Studio (Live Laugh Love)
  • Cocoa Vanilla (Endless Summer)
  • My Mind's Eye (Pakm Beach)
Embellishments:
  • Foam Letter Thickers from American Crafts
  • Gold Acrylic Paint from American Crafts (59ml)
  • Puffy Stickers from Elle's Studio Live Laugh Love
  • Die Cut Ephemera from Cocoa Vanilla Studio Endless Summer
  • Cut Apart Word Flags from Pretty Little Studio
  • Lil' Snippets Labels from Elle's Studio Live Laugh Love
  • 1 flair button *Juni* from Scrapbook Werkstatt 
This week you also get 20% birthday discount on the kit and most of the items in the shop! Hurry up!

And here are my projects:


I also used the kit for my June sketch layout. Here you see the fab sketch that was created by Nicole this month and my take on it:
 

I hope I could inspire you in one way or another!
Thanks for stopping by!
Till next time!
X