Friday, May 18, 2018

Feature Friday at Concord and 9th - Geode bundle

Hey friends,


I'm stopping by to share my second guest post for Concord & 9th! This week we are featuring the awesome Geode stamp and die sets (or you can also get them as a bundle at a discounted price here). 

This is such a gorgeous set! I find geodes so very pretty! I knew I wanted to go with one of the common colors you find in geodes, purple. Here's what I came up with:


On my first card I've used the heart shaped geode stamp and 3 different grey inks to stamp an A2 size white card stock. First I stamped the darkest heart so that is the main focus. Then I started masking and stamping, varying ink colors. Once done, I fussy cut out the very middle of the hearts. There is a die included in the die set but it's a bit larger and I only wanted to cut the middle out. 


Then I backed these cut outs with different purple patterned papers and card stock. I used some alcohol markers to add purple dots in the empty spaces. Once done, I trimmed off just a tiny bit on the sides so I could adhere this panel onto an A2 size purple card stock, then all of it onto a top folding A2 size card base. To finish it off, I stamped my sentiment and added some enamel hearts.


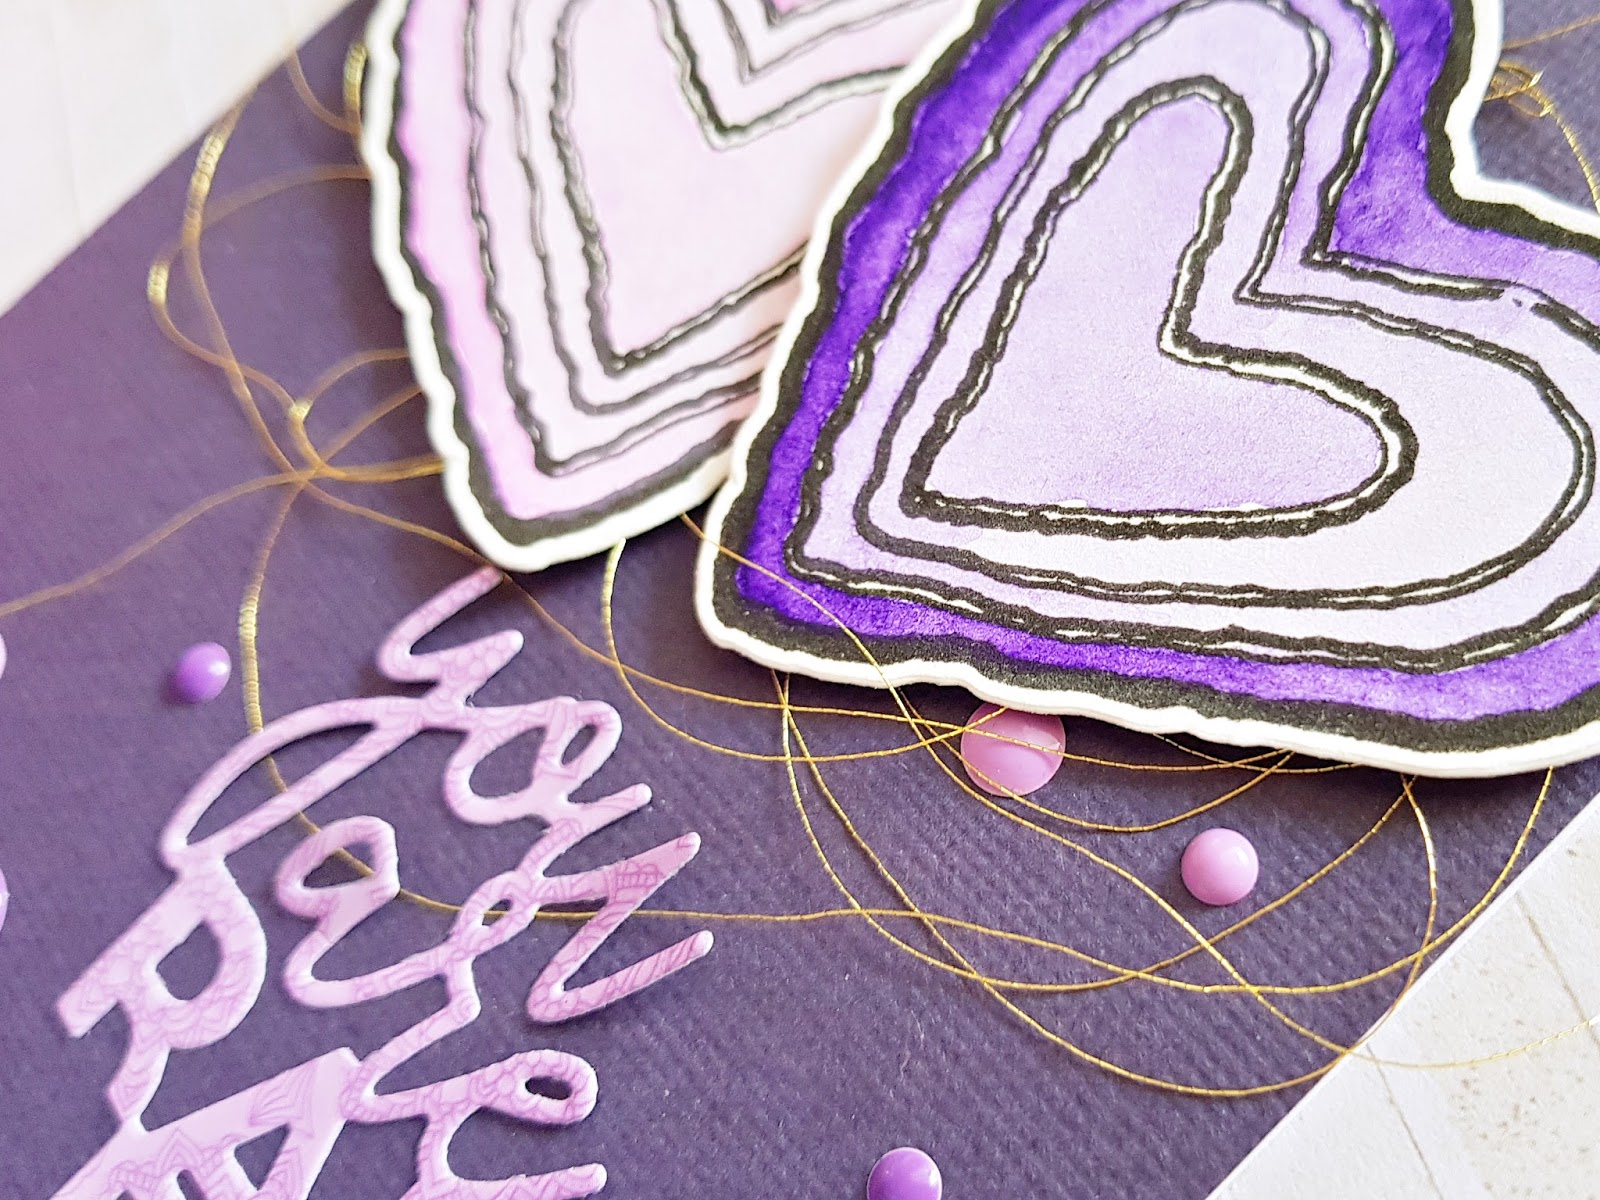
For my second card I made a top folding A2 card base and added the same size purple card stock panel on it. I stamped and die cut two hearts and added some watercolor to them. I also die cut the sentiment from purple patterned paper. I added some tangled thread behind my hearts which I adhered down with foam tape.


Last but not least I've added some purple enamel dots too!


I also wanted to use the big geode stamp and die, so I've made these two:


I love these colors! 

I've made two A2 size top folding card bases, then added an A2 size pool color patterned paper to one and the same size white card stock to another. I embossed the image with white WOW embossing powder. I then poked holes between every other line and hand stitched these with 3 different aqua color and one gold embroidery floss.


I heat embossed the sentiment on vellum with gold embossing powder. To finish off this card, I've added some lovely pearls.


My next card is pretty much the same. Here I stamped the image on the white card stock with aqua ink. Hand stitched the geode and again, added some gold and aqua paint splatters and a foiled sentiment.


What do you think? Which one is your favorite? I can't decide!


Thanks so much for stopping by today!


Have an amazing day!

X

Wednesday, May 16, 2018

Spellbinders blog hop featuring Debi Adams & Becca Feeken


Hello crafty friends,

Welcome to the May Spellbinders blog hop featuring the Perfect Match collection by Debi Adams and the Romancing the Swirl collection by Becca Feeken!

You should have arrived here from the super talented Enza Gudor's blog! She is also my scrappy bestie! <3

For today's project I used the Shapeabilities Boxed In Etched Dies from the Perfect Match collection by Debi Adams. 

This is an adorable mini box die that you can put small gifts in! I love it! I've decorated a few of them and they will come in handy when I want to give a little something to my friends!


It's very easy to use these dies, you have to cut the main body twice, then there's the flap piece and a semi circle. It's pretty self explanatory!


Then I added some ribbons, twine, flowers and filled my boxes with tiny presents for friends.


I hope you like them too!

Now for the fun part! Giveaway yay! There's two chances for you to win, here's how:

1. To celebrate this release, Spellbinders is giving away a $50 gift certificate to a lucky winner. Please leave a comment on the Spellbinders blog by Sunday, May 20th 11:59 pm EDT for a chance to win. The winner will be announced in the blog hop post on the Spellbinders blog the following day. Winner is responsible for shipping cost, duties and taxes.

2. You can also win a $25 gift certificate to the Spellbinders shop right here on my blog! To be eligible please leave a comment on this post by Sunday, May 20th 11:59 pm EDT. Easy peasy! I will announce the winner in this blog post shortly after the giveaway closes. The winner is responsible for shipping cost, duties and taxes, if applicable.


_________________________________________________________________________________


The winner is TLady! Congratulations! I've emailed you with info on how to pick up your prize! XXX


_________________________________________________________________________________


Your next stop is the wonderful Jennifer Gallagher! You can find the full blog hop list below:

Thanks for stopping by today! Happy hopping!
Have a wonderful day!

X

Friday, May 11, 2018

Pinch me - guesting at Concord and 9th!

Hey there crafty friends,

When Angie (one of the owners of Concord & 9th) dropped me a message asking if I'd be interested in guesting this month, I literally had the biggest smile on my face ever. I had fallen asleep on the couch earlier and when I woke up I found this message. I was sooo happy! Total fan girl moment!

I couldn't wait for my package full of awesomeness to arrive! And when it did, I got right onto it. This week we are showcasing the super cool Mix Tape stamp and dies (you can buy the bundle here).  Let me just tell you, this one spoke to me. Not only do mix tapes bring back teenage memories, they are also a perfect fit for my family. My boyfriend and his whole family is all about music. His two nieces are performing at Sziget festival in Budapest, Hungary this year. That is a huge deal! The younger one is only 16 years old. Proud moment here :). Anyway, back on topic...I kinda got carried away in my excitement and created a whole bunch of cards! Hope you like them!


First up, some masculine cards. Well mostly :). That cassette in the photo is actually one from my boyfriend's ex-band. I really loved their music, too bad they quit! 

The first two cards are pretty much the same just different color ways. I die cut the cassettes from black and white card stocks and interchanged the parts, if that makes sense. On one of them I stamped the little colorful stripes directly on the cassette, but obviously I could not do this on black card stock. So in that case I stamped on a separate paper, fussy cut the stripes out then adhered them to the black card stock. 


The Hello and Friend Mix are embossed. I used a really cool black glitter embossing powder. Unfortunately you can't really see it in these photos. But I swear in person it looks so cool! 


I used foam adhesive to add the cassettes to the A2 card base, as well as for some of those tiny die cut stars. Some black ink splatter and done!

At the same time I was die cutting those little stars, I did the same with the hearts. Two birds, one stone right? I didn't like them on my first two cards but I didn't want to throw them away. So I created a third card with a shaker cassette on it :). Since the shaker is filled with hearts, I used the other ribbon stamp, that is shaped as a heart. So clever! This one turned out girly because of the hearts so I went ahead and embellished it with some enamels dots.


Still carrying on with the masculine theme I also made two one layer cards. I'm all about dimension and layers but I actually like how these ones turned out. I normally only like flat cards if someone else makes them, not me, ha!


I used a few different blue and grey (and of course black) inks to stamp everything. I first stamped the cassettes, then the ribbons and as I still struggle with white space, I went ahead and used the small rectangle stamp (the one that fills up the stripes on the cassette) to create some light pattern in the background. 


Next up, girl cards! You know, had I designed cassettes back in the day, they would have looked like these hehe!

The feminine version of the die cut cassette cards! I picked out a few different pink patterned papers as well as some rose gold metallic paper and die cut all pieces. For one of the backgrounds I used white card stock but like I said, I can't deal with white space, so I splattered black and pink paint all over the panel. I heat embossed the ribbons and sentiments on both panels. And to make the cards even more girly and pretty, I die cut a few flowers from patterned papers, using a die from an earlier set, Just Because.  I added some Nuvo drops to these.


The second card is the same, but I added the acrylic XOXO piece that I got from a friend a few weeks ago. Love it!


Last but not least the two feminine versions of my one layer cards. Except these didn't end up being one layer cards haha! 

I used a variety of coral, grey and black inks and did the exact same thing as on the two masculine cards. To create the background pattern I stamped HB (for Happy Birthday) all over and filled up the white space with tiny dots. 


I added flowers and Nuvo drops, just like before. Because it totally makes sense to have flowers on the ribbons. Oh well, I've never been accused of being "normal" :).


Sorry for not including close-ups in this post, but I have so many photos, I didn't want the post be too overwhelming!

Should you have any questions on how I did something, what I used etc, just leave a comment below, I'm happy to help!

Please excuse any mistakes, it's 4.30am, I should go to bed - the birds are already chirping outside haha!

Thanks for stopping by today!
Have an awesome weekend you guys!

X