Sunday, April 25, 2021

In Focus: Spellbinders Stained Glass Bouquet Collection by Becca Feeken

Hello crafty friends,

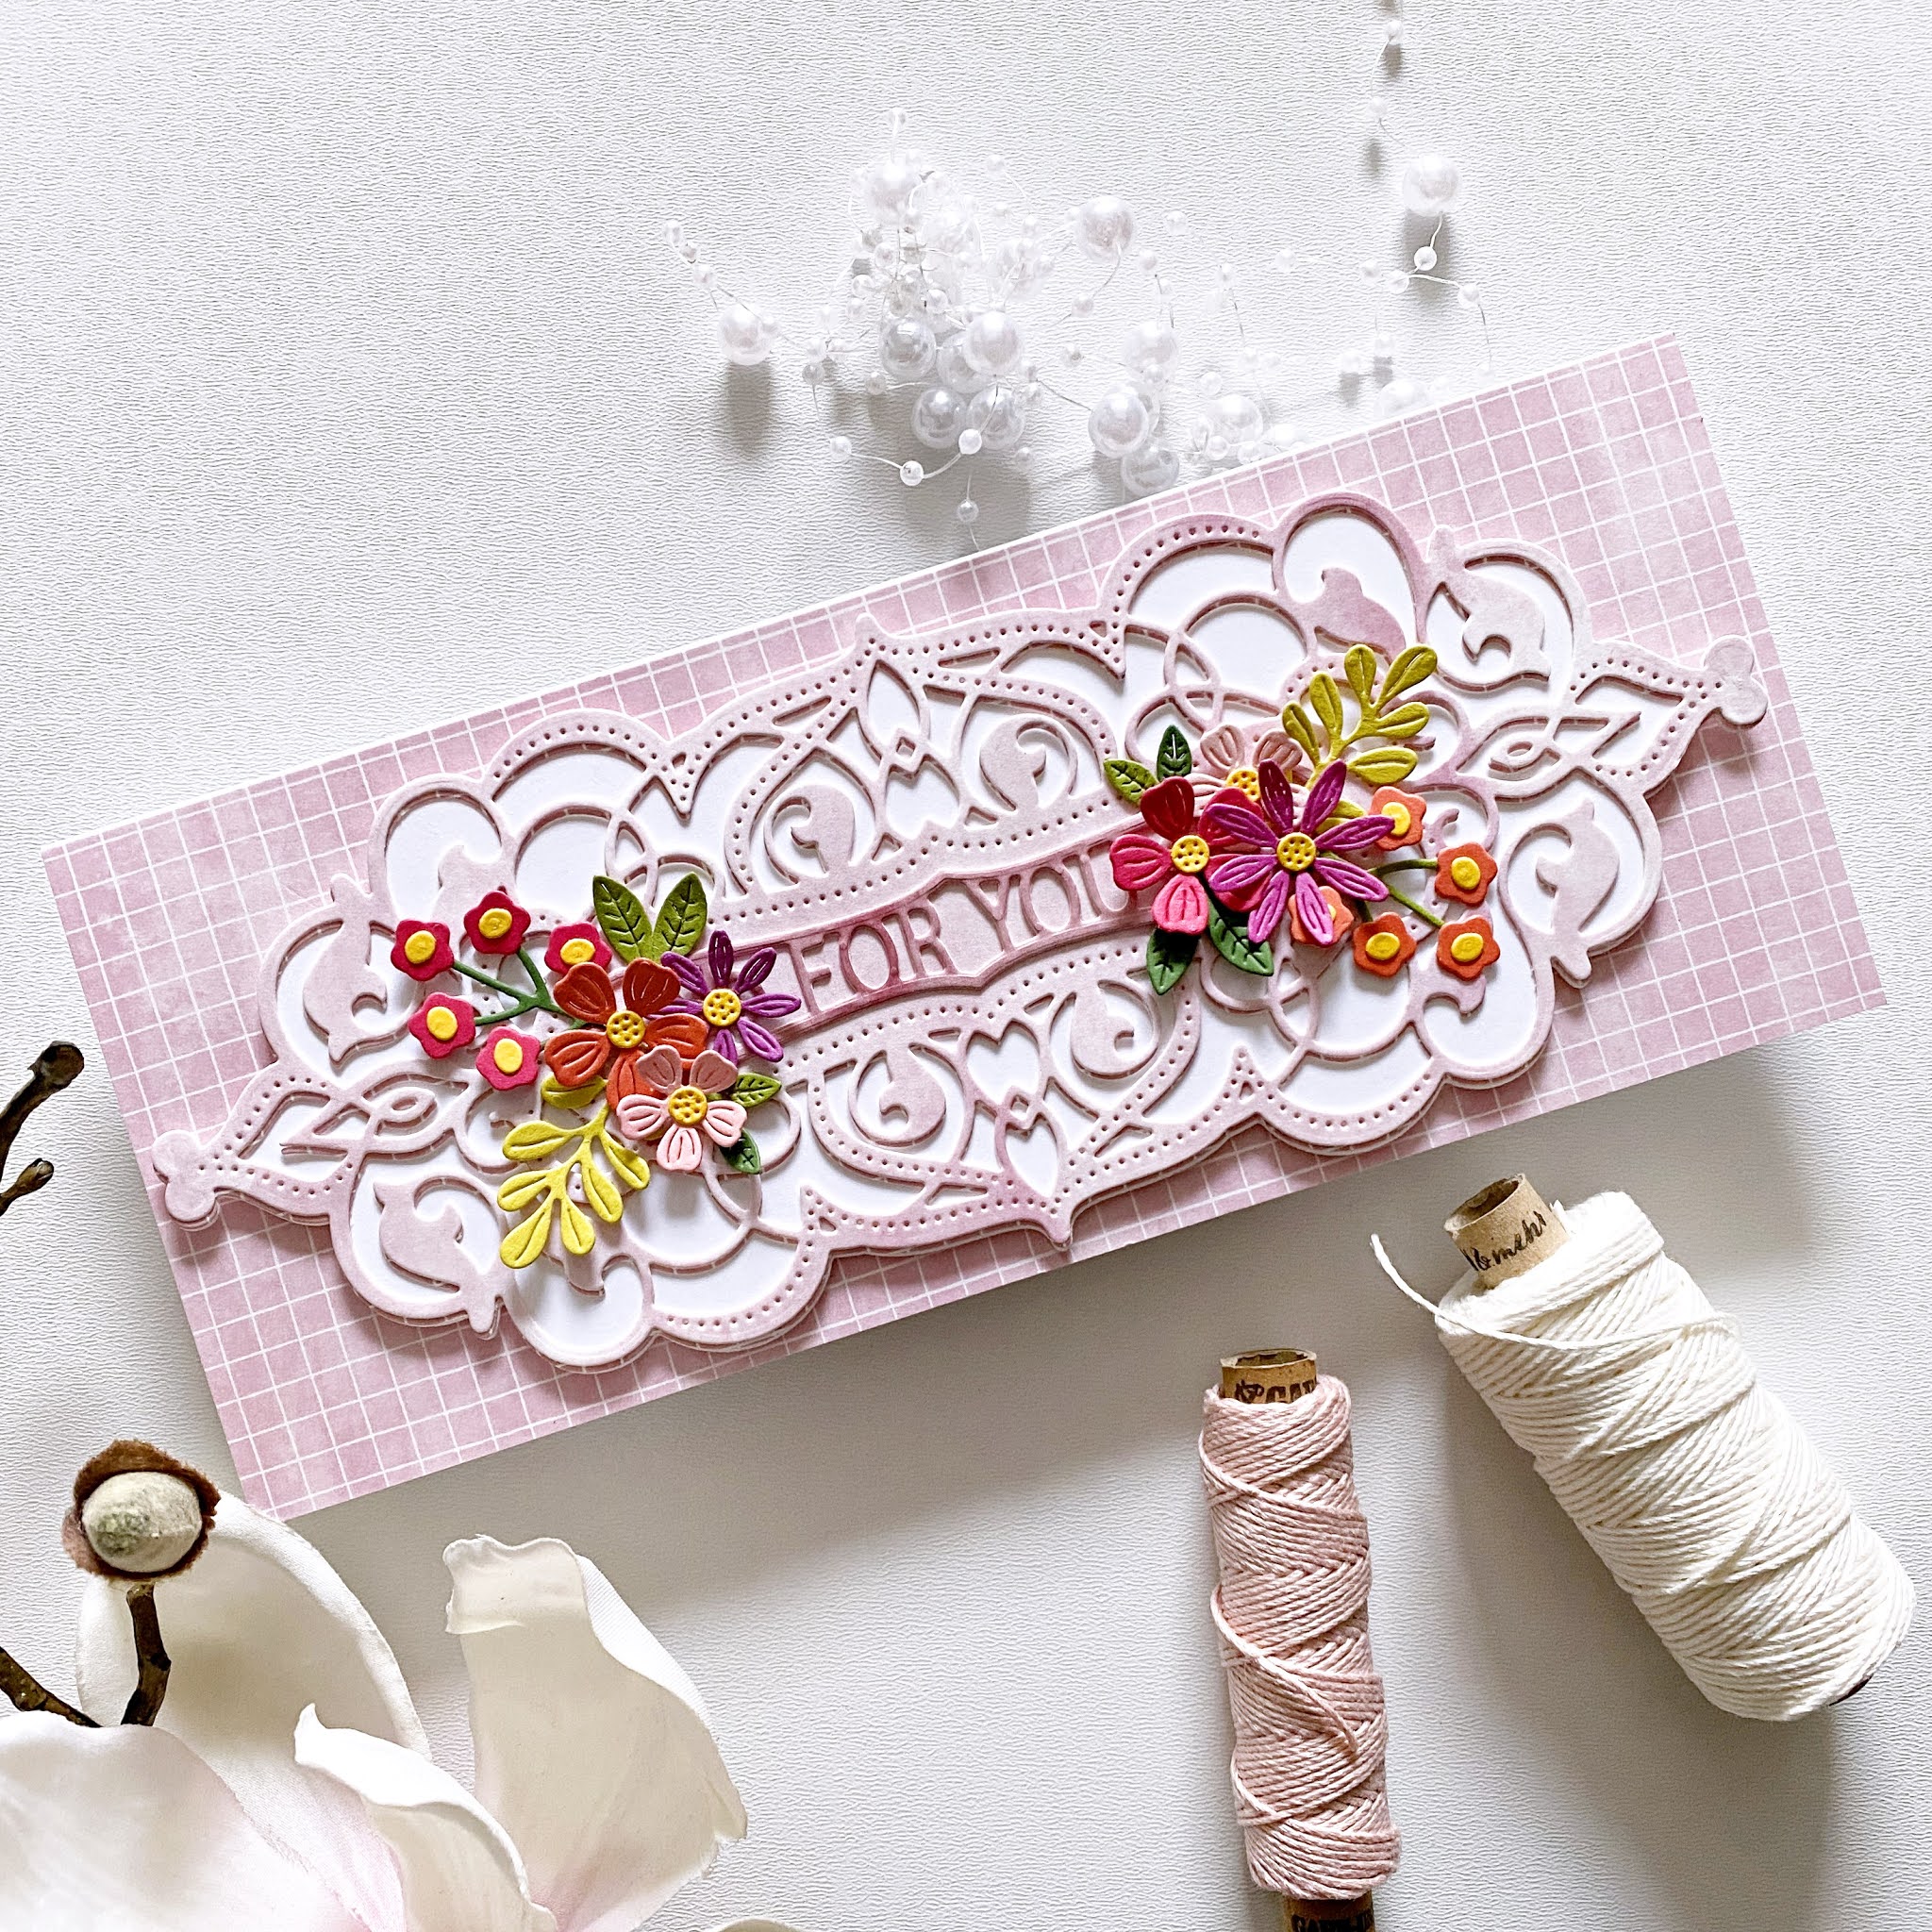
Today I'm stopping by to share two cards that I've created with the new, Stained Glass Bouquet Collection by Becca Feeken for Spellbinders. I've used two sets from this line and I'll link them in at the end of this post, should you be interested.

Here's the card duo I created this time: 


All details on how I've made these cards are in the process video:


Unfortunately a part of the footage was damaged and I wasn't able to recover it - so the end of the video is missing, but I was only showing how I created the simple yellow patterned card base for my second card, so nothing complicated or important. I apologise for this, in any case!

Products used:
I hope I could inspire you in some small way today! I'll be back soon with some new projects using fab new Spellbinders products so be sure to stop by my blog and YouTube! Happy crafting!

X

Tuesday, April 20, 2021

In Focus: Spellbinders Slimline Collection

Hi there crafty friends,

Today I'm back with some new cards with the beautiful new Slimline collection from Spellbinders! I've used two die sets from this line, you'll find them linked in at the end of this blog post.

Here's the card duo I created:


Instead of a step by step here, I have a process video for you:


Products used:
I hope I could inspire you in some small way today! I'll be back soon with some new projects using fab new Spellbinders products so be sure to stop by my blog and YouTube! Happy crafting!

X

Monday, April 12, 2021

Hello there - DT Layout for Paige Evans

Hey there lovelies,

I'm stopping by to share my newest layout with you that I've created for the Paige Evans Design Team. Most important news, Wonders is in the house yay!!! I'm so excited! I couldn't wait to create with this gorgeous new collection!

I don't know about you, but I like to sit with a new collection for a few days. Like literally, I put it next to me on the couch and go through it many times over the course of a few days. I like to soak it all in and see what speaks to me. While I wait, I usually take the papers that are good for fussy cutting, start Netflix and just start cutting away! One of those papers was the butterfly paper. I was planning to use something else first, but then these beauties were calling my name!


Once you fussy cut all butterflies (I've used them all on this page), the layout comes together super quick. I arranged them into a spiral around my photo (which I die cut using a basic stitched circle die then added a cardstock circle behind it and some foam tape for dimension). Some of them have two layers, because I had more than I needed but I didn't want to save them for another project. 


I then glued them all in place - adding just a little bit of liquid glue in the middle. Next, I stitched them down, then I bent up their wings.


I went through all the embellishments and picked out a few that went with my photo and also the colors of the butterflies. I added foam tape to all, then adhered them to the background. For my title I chose one of the chipboards. I looove chipboards!


Last but not least, I added my journaling and some white paint splatters. If you look closely, you'll see that the paint wasn't even dry when I took these photos hahaha!

You can watch the process video on my YouTube channel if you're interested:


That's it! I hope I could inspire you in some small way!

Thanks so much for stopping by! Have a beautiful day!

X

SUPPLY LIST: