Wednesday, November 4, 2020

Travel is the Only Thing You Buy That Makes You Richer - DT Layout for Paige Evans

Hey there guys,

I'm stopping by today to share my newest layout I've created for the Paige Evans Design Team. I've worked with the awesome Go the Scenic Route collection!

There were two things I wanted to use on this layout, the patterned paper with all the super cool travel related icons and the foam alpha stickers. My idea was to have a longer title so I could use lots and lots of colorful alphas, but it didn't quite turn out the way I imagined it.


I started out by fussy cutting lots of icons - obviously you could do this with a PixScan mat, but I have no idea where mine is, so I thought instead of spending time on finding it, I'd just watch a movie and fussy cut them :). This was actually the most time-consuming part of the whole layout; the rest is super quick and simple. Well, except the adhering of these pieces, of course, that takes some time too. 


What I wanted to do originally, is having the icons just like they are now, with a white circle in the middle, in which I was going to add my title. But I couldn't figure out a good place for my photos, so I scratched that. Also, my title didn't fit inside the circle. Oh dear. On to the next idea! This time I put my photos inside the circle, and I lined up my title with the circle - but the last word just wouldn't fit. Sheesh. I'm really stubborn though and I was not going to give up on that title! So eventually, instead of using the alphas for the last word, I just typed it up and added it between the first and last words of the title - I was thinking, this way one can actually tell where the title starts? I don't know, maybe it all makes no sense at all :D Before I glued down the typed-up word though, I stitched down the alphas using my sewing machine. 


Then I arranged all my fussy cut icons and adhered them down with foam tape for dimension, texture, and interest. I splattered some white acrylic paint on the background. I then added my photos, which has some tissue paper layered behind them, as always. Since my page is already super busy, I didn't add many embellishments, just a few die cuts for a bit of color, a puffy sticker, and a paper clip. Once everything was in place, I wrote my journaling - which is super short, but I didn't need to say more.


That's it! Very simple, but I love the colorful result.
 
I have a process video for this layout as well if you're interested!


Thank you so much for stopping by today! I hope I could inspire you in one way or another. Have a wonderful day and see you next time!

X

SUPPLIES:


Sunday, November 1, 2020

In the spotlight: Spellbinders Small and Large Die of the Month kits - November 2020

Hi there crafty peeps,


It's that time again! The Spellbinders November Club Kits are here! This month, it's all about Christmas so that you can start your holiday projects in time! I hope you like what I have in store for you today!

As a reminder, Spellbinders have several monthly kits, which are really great! You can subscribe to:

You can find all necessary information about these kits here. 

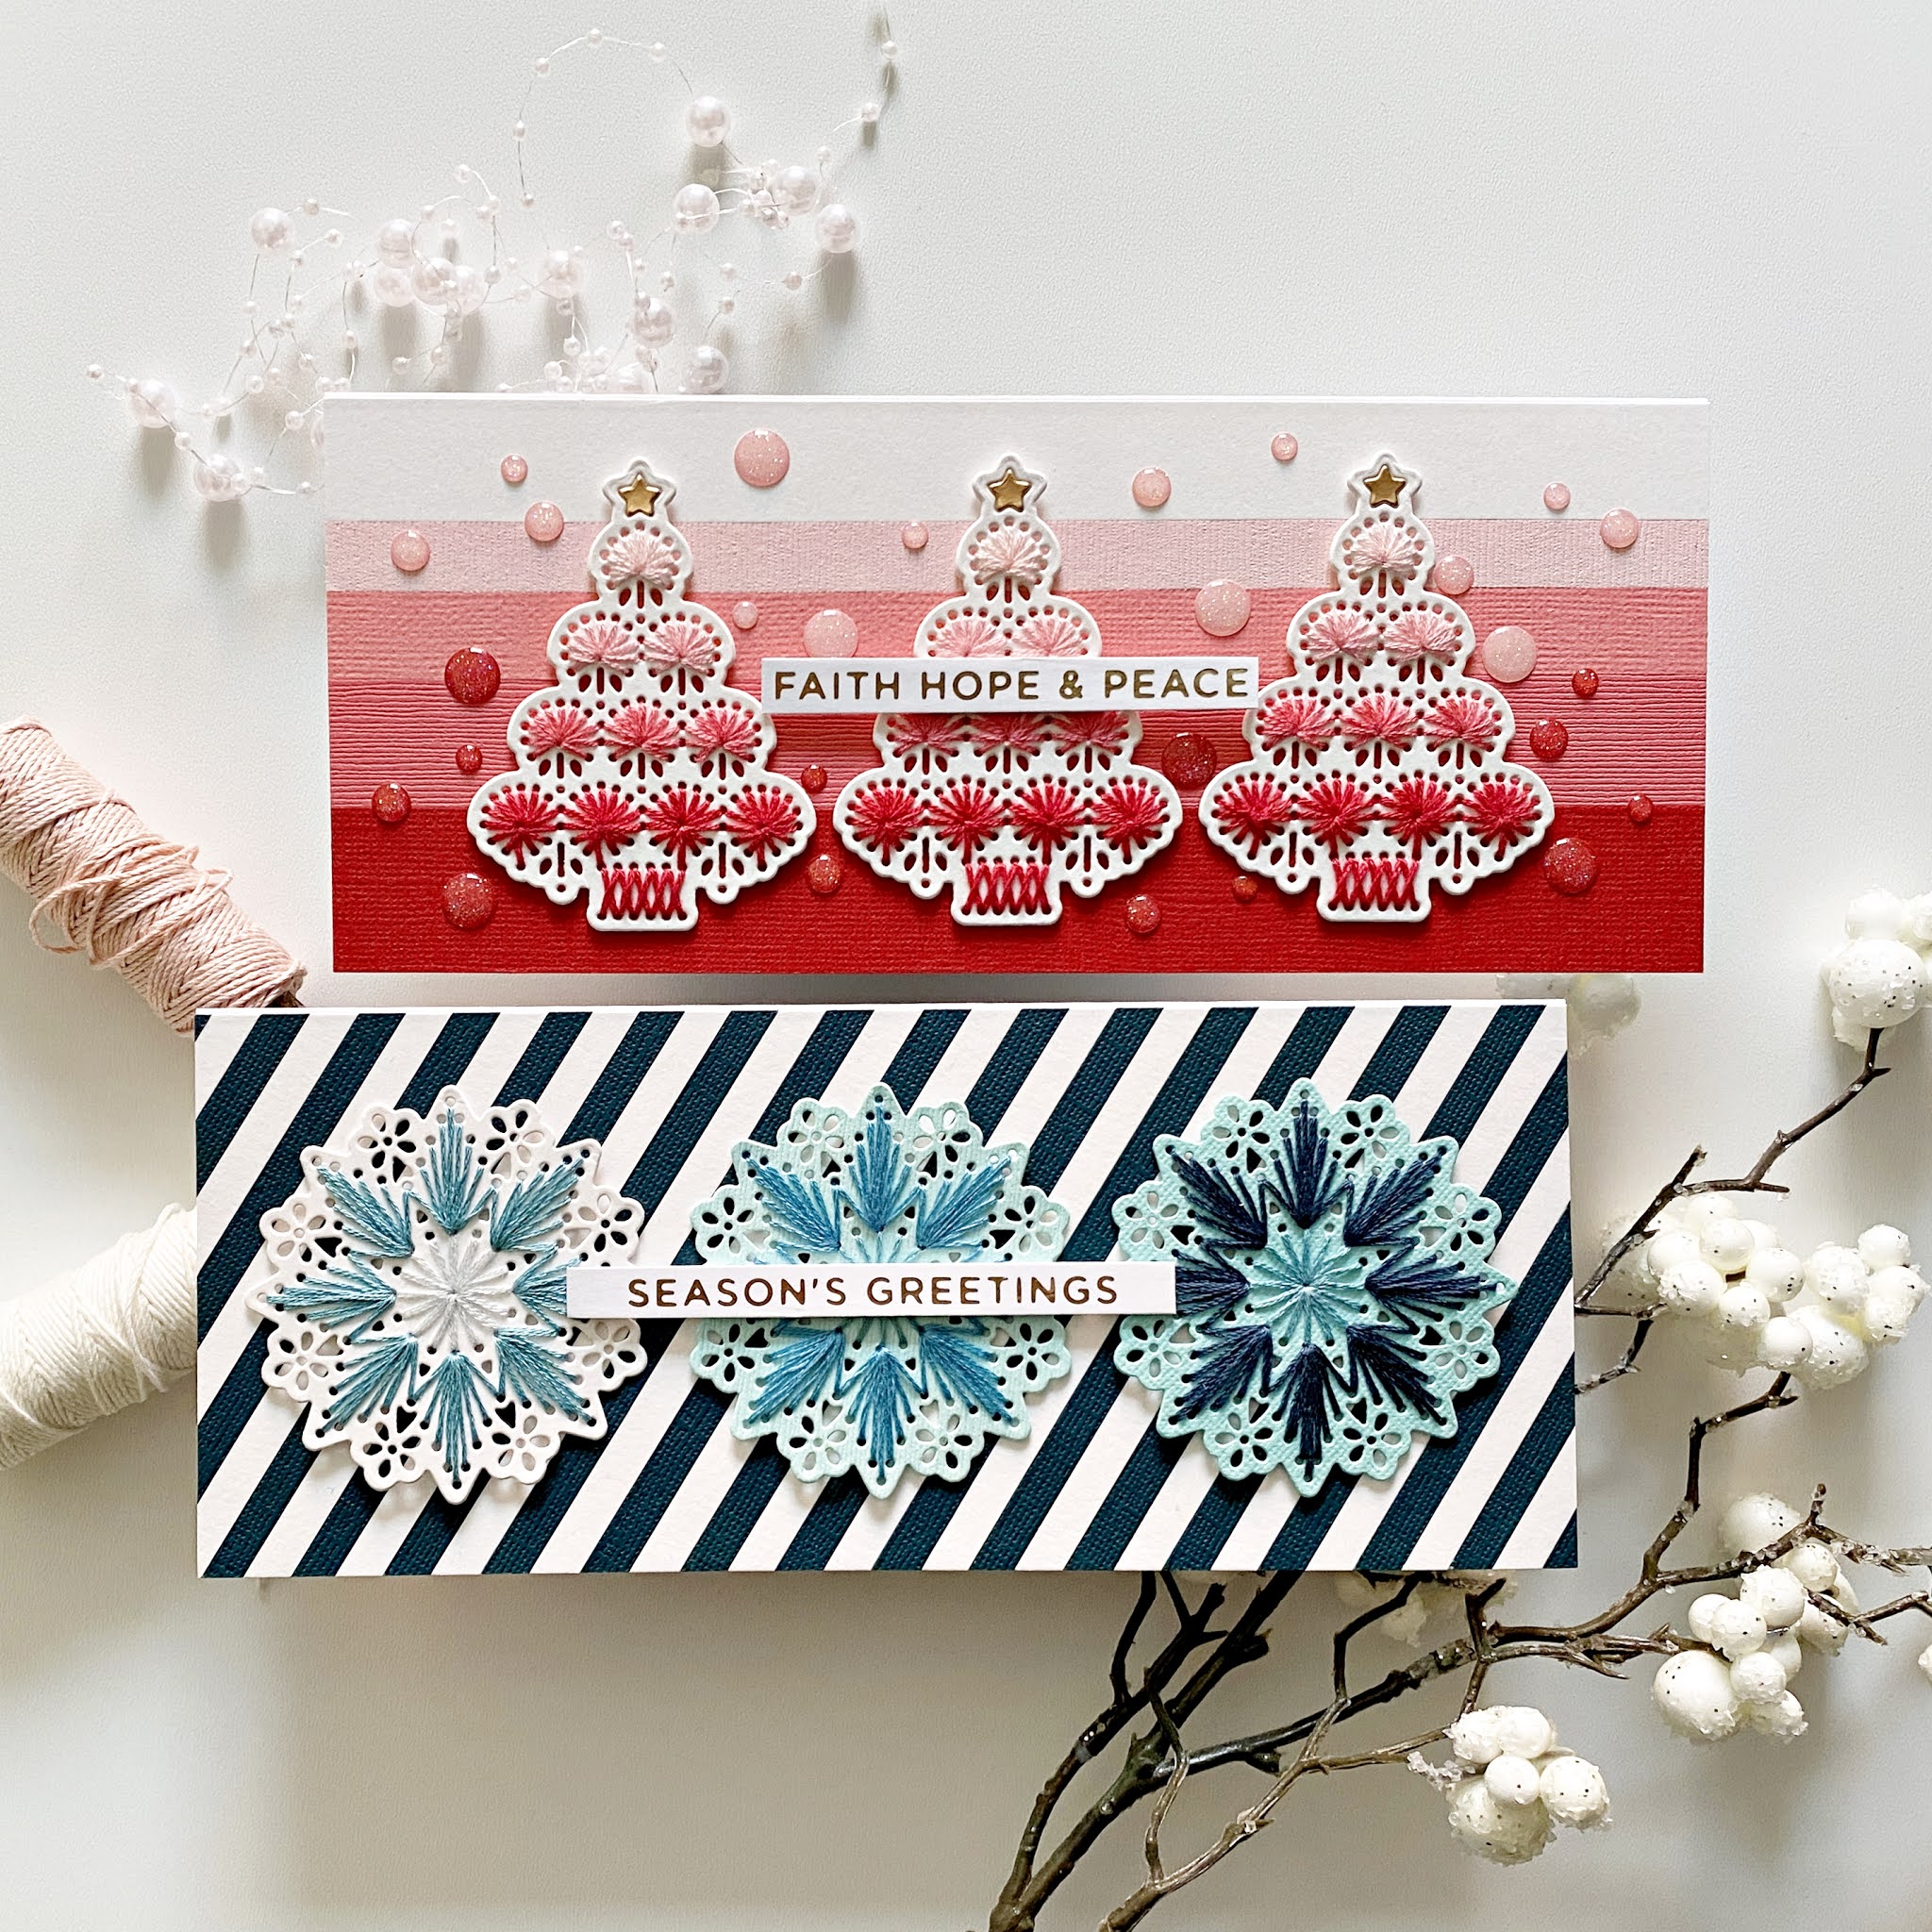
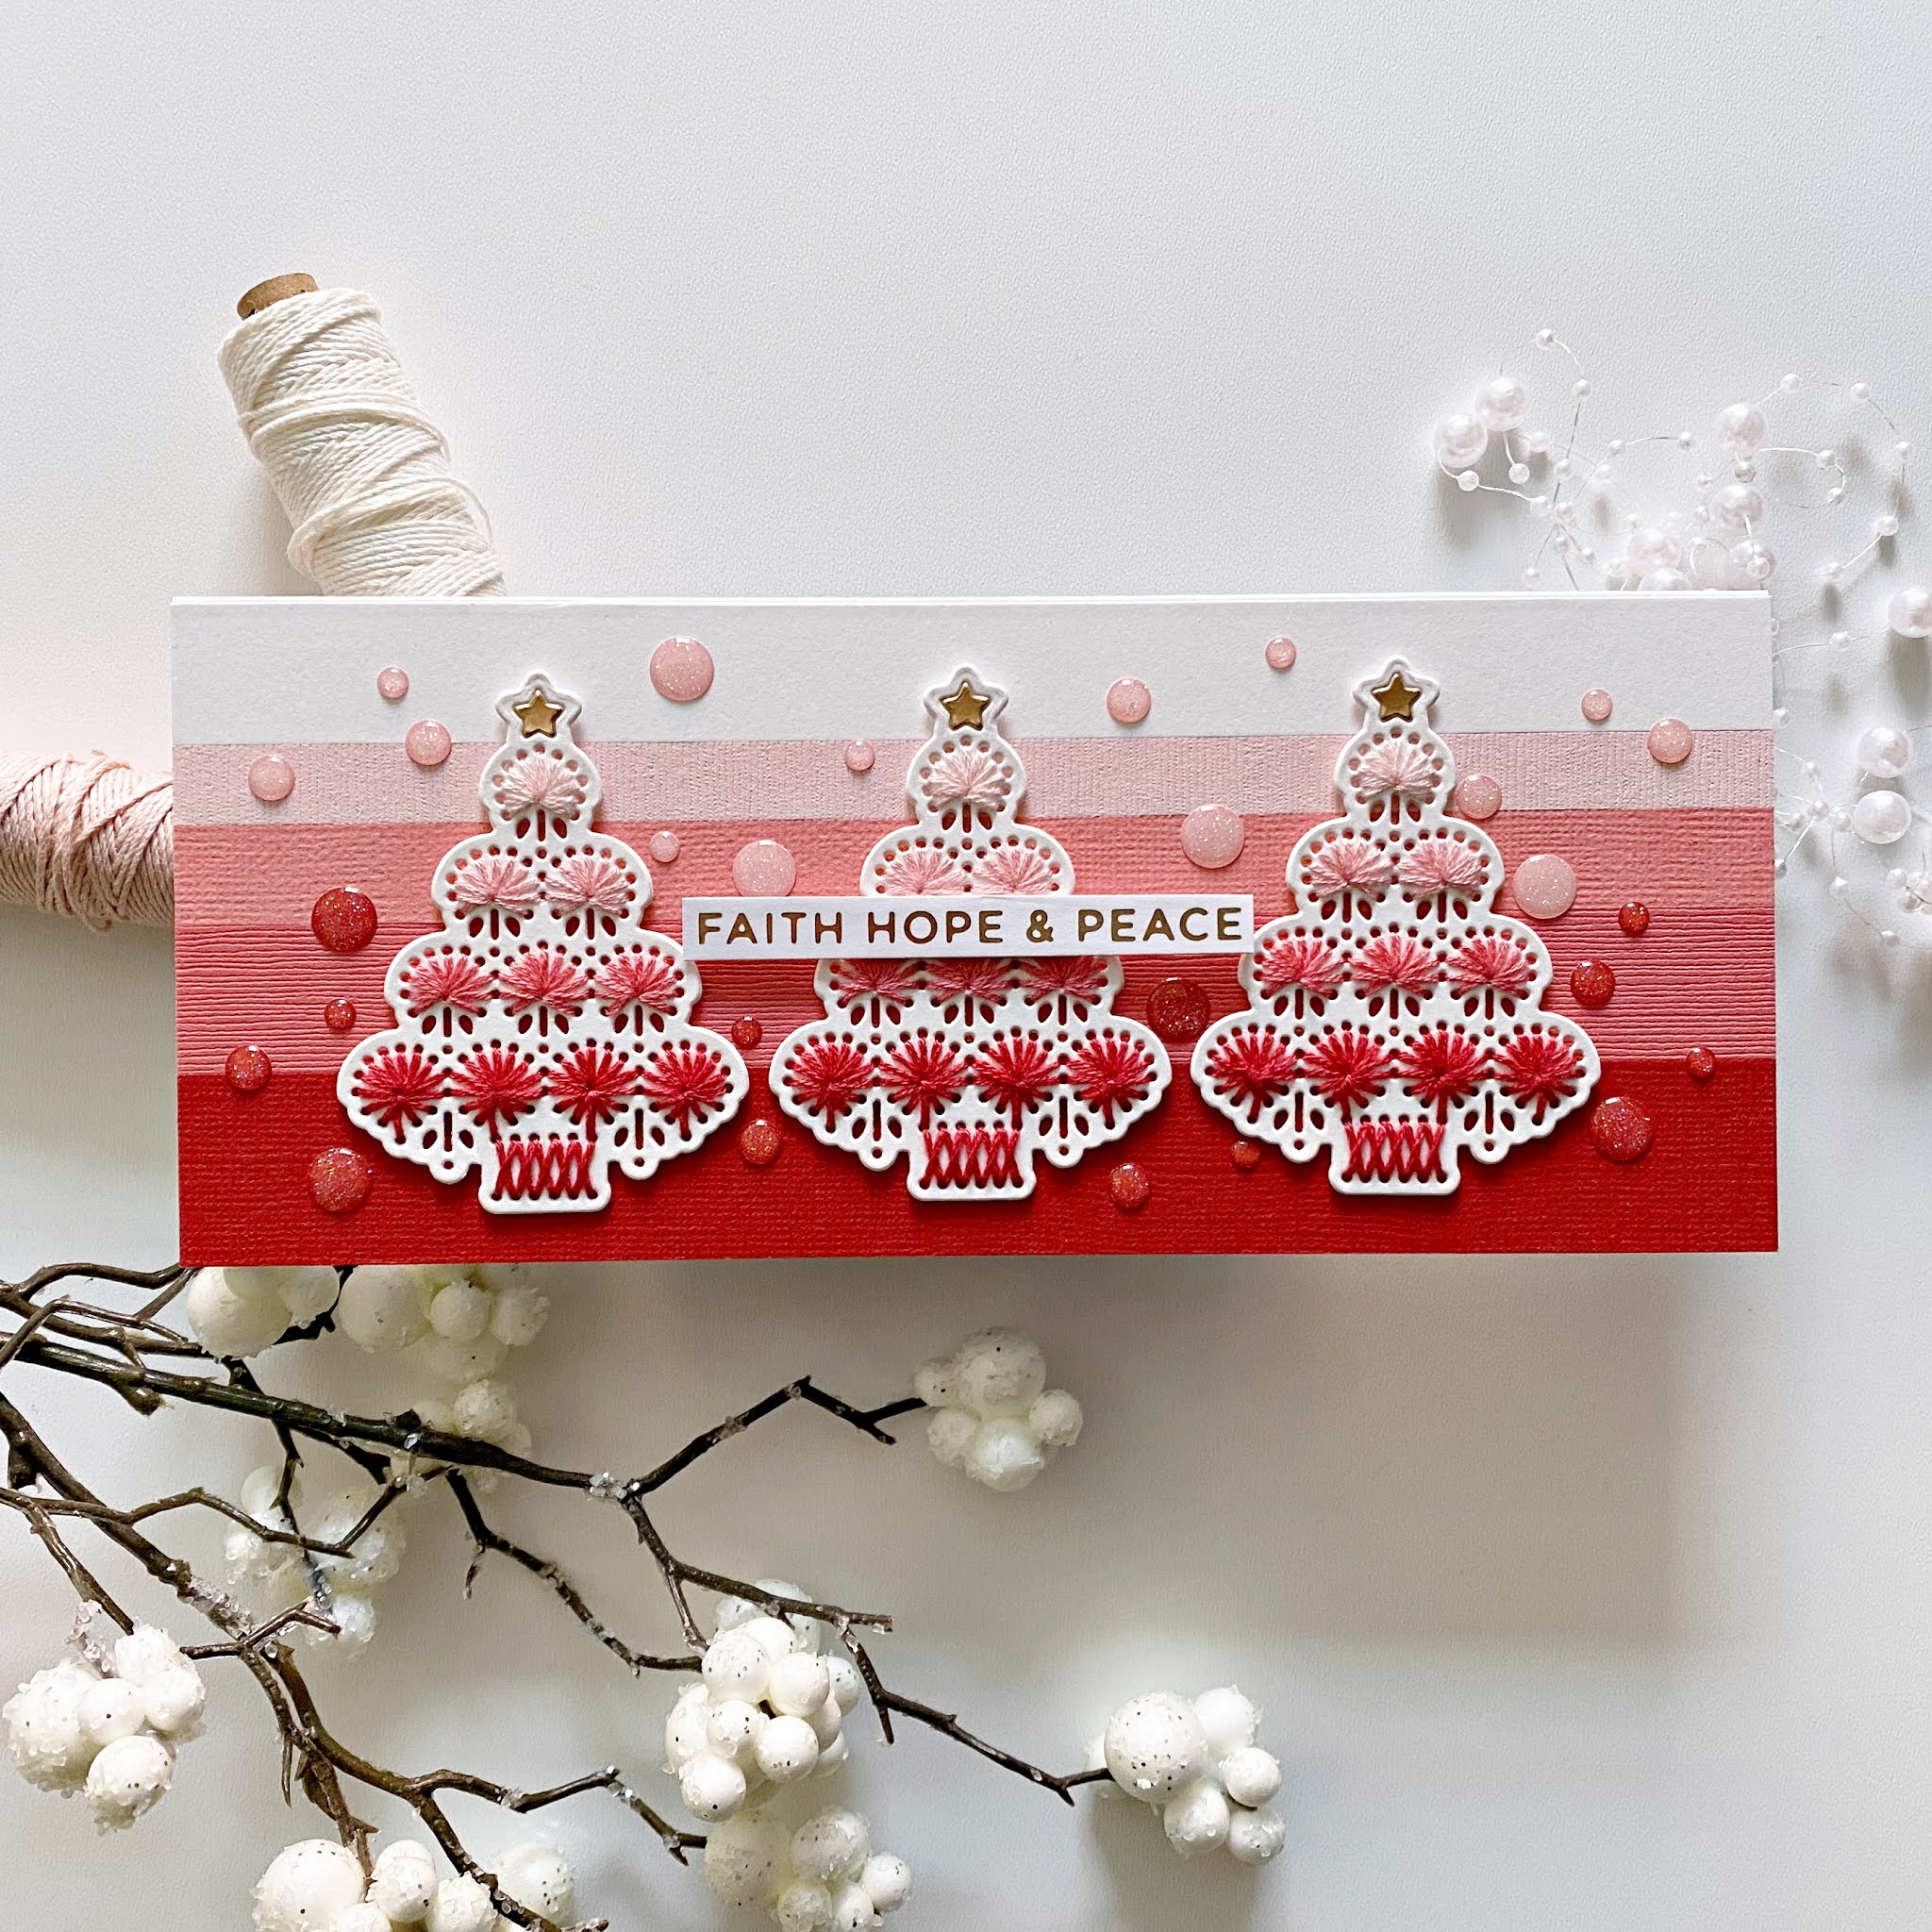
Let me start with the Large Die Kit. You'll get three stitching dies: a Christmas tree, a snowflake and a border, plus their outlines. This way you can create two different looks - I used the outline to create embellishments from the die cuts, but you could die cut these shapes directly into your card front and stitch there. I didn't even think of doing this, but I saw some cards with this technique and they were gorgeous!


I've actually made a process video for these 3 cards, so if you're interested in how I made them, please watch it. Just be gentle, I'm still learning the ropes hehe!

I don't have a video for the cards I've made with the Small Die Kit, so I'll explain how I've made them. First, I die cut every little piece from patterned papers and color card stock. I then put everything together so I could think about a card design.


I decided to go with slimline cards so I had enough space to put a snowman, a tree and the North Pole sign, all on one card. I made two different ones because the two snowmen wouldn't have fit onto one card, at least not in a way I would have liked.


As always, you'll find some inspiration in your Kit box, which is super helpful in figuring out which dies belong together - there's lots of small pieces! 


Once I was done with die cutting and gluing pieces together, it went quite fast. I created two 8.5x3.5" card bases, then I added some patterned paper backgrounds (papers are from the Pinkfresh Studio Oh Joy collection). 


I just hand cut my snow banks because I don't have any dies but if you do, by all means, use the dies. They create a nicer finish for sure. On the second card, I distressed the edges for added dimension and texture, then I glued everything else down. 


To finish off both cards, I added foiled sentiments, which I've created with the Holiday Sentiments Series 2 Glimmer Hot Plates and Crimson Stars Glimmer Hot Foil roll. I love this red foil for Christmas projects! I used foam tape to adhere the sentiments.

That's it for today! I hope I could inspire you in some small way!

Thank you for stopping by and have a wonderful day!

X

Sunday, October 25, 2020

Winter Scene cards with Concord & 9th Bundled Up

Hi lovelies,

It's been a long time since I've made a blog post just for fun! I have some time now and because I've made a process video for these cards, I thought I might as well share them here too!

I've recently started making process videos, so many of you might not even know about my You Tube channel! I actually have two, because I also created one for my small business, A Pocket Full of Happiness (where I sell stamp sets and baby swaddles that I designed, handmade cards, planner clips, rainbow charms; all kinds of happy things!). 

Check them out, and if you like what you see, be sure to subscribe! I'd love to see you there!

- YouTube Channel - Zsoka Marko

- YouTube Channel - A Pocket Full of Happiness

Anyway, I have a stack of stamp sets that I've bought but never got around to using, and sometimes I just need new inspiration! Sooo I went through this pile and I've found this super cute Concord & 9th set called Bundled Up. You can buy it as a stamp and die bundle, or just the stamp or die sets. I've used both the stamps and the dies on today's cards.


Supplies I've used to create these cards:
Thanks so much for stopping by today! Have a lovely weekend!
X