Hey there crafty friends,
I'm checking in with my very first monthly blog post for the Pinkfresh Studio Scrapbook Team! I'm so excited and honored to be here! I've been a fan of PFS products for a long time (well, ever since I first laid eye on them really!) and because patterned papers are my most favorite scrapbooking products, I'm ecstatic I will be able to use them more on the scrapbook team! Thanks so much Pinkfresh Studio for this opportunity!
I have two layouts for you today that I've created with the new and super gorgeous Simple & Sweet collection! I always love PFS color palettes, they are always so unique! This time the colors are so fresh and pretty, perfect for summer!
On my first layout I used my favorite paper from the collection, Good Things, as my main focus. I cut off the part where the stripes go another direction. I did this with two papers, and the second one I cut apart even more: I cut it into strips and added those strips on my other paper. I stitched them down in the middle and bent up the sides to add dimension.
I then assembled my background on a heavy weight card stock: I added a strip of the Happy Life paper at the top and a strip of the Simplicity paper at the bottom. For contrast I placed a couple of thin strips of coral card stock on the background too.
Next, I die cut 3 flowers from the Good Things paper. I then created two clusters around my photo, for which I used die cuts from the ephemera pack, epoxy stickers, puffy stickers, enamel dots and these die cut flowers.
I added my puffy sticker title, some black ink splatters, wrote my journaling and stamped my date. That's it!
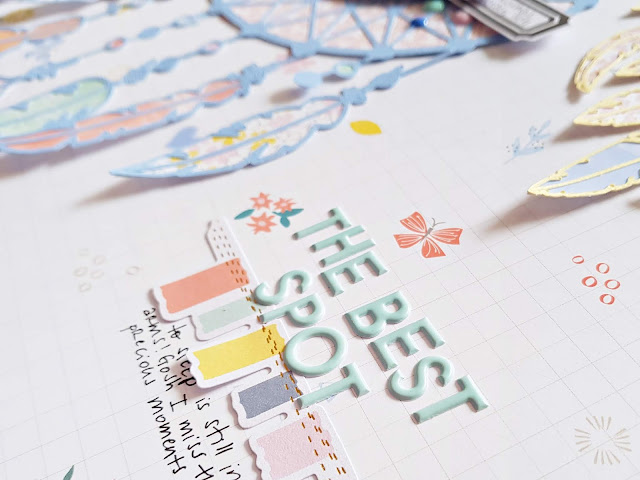
For my second layout I went with the Happy Life paper for background and decided to cut the cut files (the Dream Catcher cut file is from Paige Evans) from blue and yellow card stock. I then backed the cut files with various patterned papers from the Simple & Sweet collection, some from the 6x6 pad, but I used some of the 12x12 papers too.
Once done, I glued down the cut files onto my background and started embellishing. First I added my photo which I trimmed into a circle. I used foam adhesive for this so I could tuck other embellies behind my photo.
I created two clusters, using die cuts, epoxy stickers, puffy stickers, enamel dots as well as some flowers I fussy cut from one of the patterned papers.
For my title I went with the beautiful mint puffy alpha stickers. I added a die cut banner below it, as well as my journaling.
That's it for today! I hope I could inspire you in some small way!
Thanks for stopping by today! Have an amazing day!
X


