
I'm stopping by to share 3 cards I've made for the Paige Evans + Silhouette Design Team.
I've used the following cut files:
- Daisy Border Background (Design ID #251059)
- Bend Up Flower Petals (Design ID #251086)
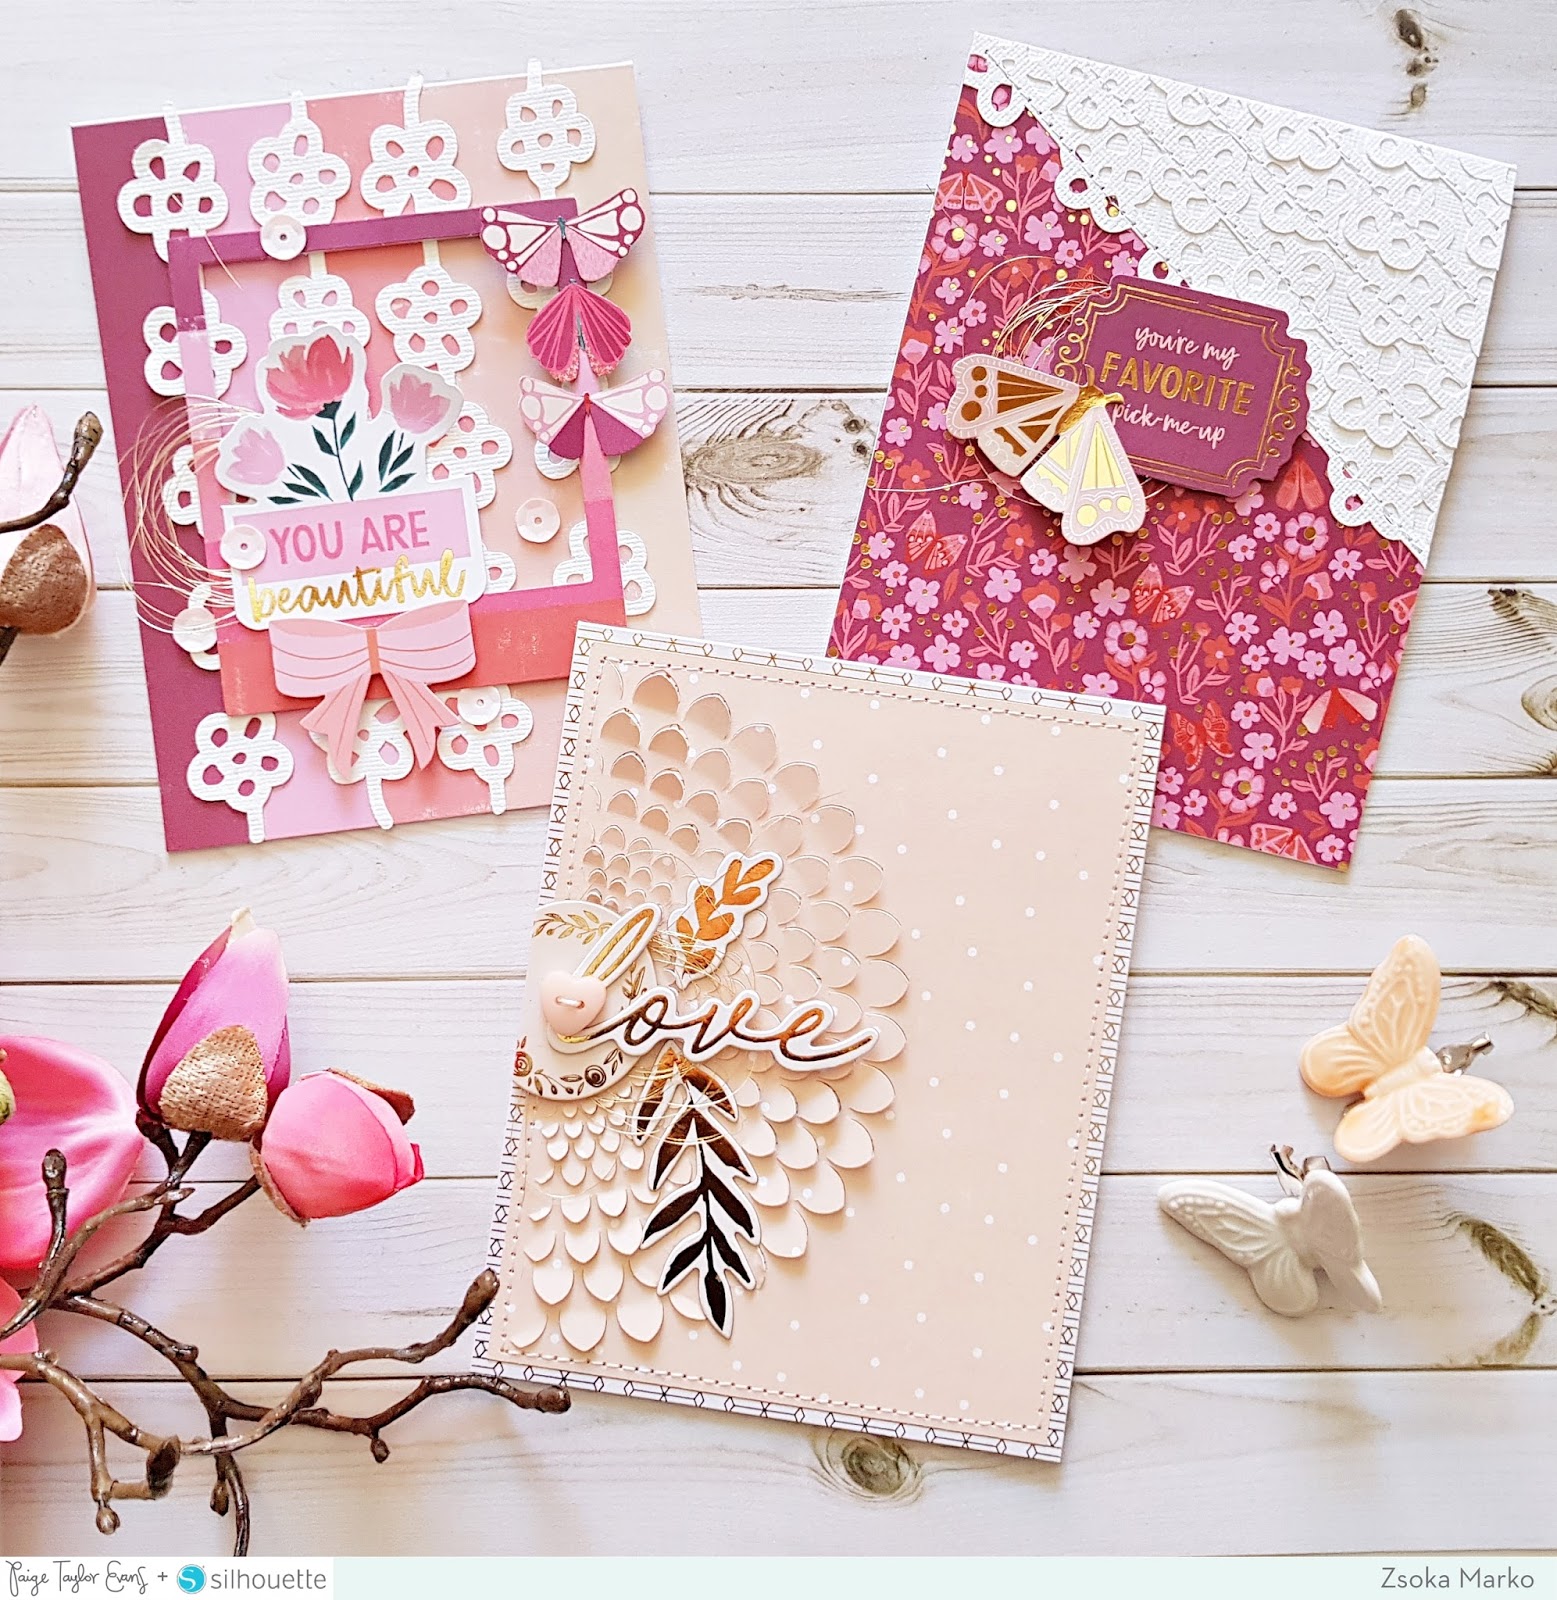
I pulled out some of my favourite papers from the gorgeous Pick-Me-Up collection - I just love these peach and berry tones! I started with the peach color card. I cropped the cut file so I only had a semi-circle left and sized it down to fit into a 4x5.25" rectangle. Then I sent it through my Silhouette Cameo. I cut a 4.25x5.5" piece from the white-gold patterned paper, which you can find in the 6x6" paper pad. I adhered the gold foil paper onto my A2 size top folding card base, then I added the cut file panel on top. I machine stitched around the edges.

I wasn't sure how to decorate this card, because the cuts are so tiny! In the end I kept it very simple so that the cut file could shine. I just added a few gold chipboard pieces, some gold thread and a heart button. It sounds simple, and when you want to re-create it, it doesn't take long at all, but I'll tell you I didn't finish this card in one sitting, because I had no idea how to finish it, ha! I love how it turned out though.

For my next card, I cut a lot of these daisy borders from white card stock. I sized them down so they look good on a card. Originally I wanted to create a white on white background, that looks like lace, but then ended up using patterned paper anyway. I can't deny my nature it seems :D.

Again, I cut a 4.25x5.5" piece of patterned paper, then made a diagonal cut. I adhered this onto my top folding card base (same size). I layered some of the daisy borders on the top white part and stitched them down using my sewing machine. To finish off my card, I added some gold thread, a die cut sentiment from the ephemera pack (I popped this up for some dimension), and a die cut butterfly. Technically it might be a moth but since I bent up its wings, which I believe moths are not able to do, it is now a butterfly haha!

Now for my third card. I had a lot of the daisy borders left and I was not going to throw them away...So I created a third card. For this, I used the pink ombre striped paper, also from the 6x6 pad. I cut out one of the darker pink stripes because I only needed 5 stripes and I wanted to keep both the darkest and the lightest colors. So I just reassembled the paper on my A2 size top folding card base. By the way, the five strips are almost exactly this size, I only had to cheat a little bit and that is hidden under one of the flower strips!

I added a die cut frame using foam adhesive, as well as a couple of other pieces from the ephemera pack. I fussy cut 3 butterfly-moths (haha!) and attached these to the frame as well. I tucked some gold thread under my die cuts and added a few pink sequins from the haberdashery pack. Now that I'm looking at this card, I'm wondering why I didn't add some gold ink splatters, but well. What's done is done!

I hope you like these cards and are inspired to create your own!
Thanks for stopping by today and have a wonderful day!
X
SUPPLIES: Pick-Me-Up collection: Paper 6, Paper 14, Chipboard Stickers, Haberdashery Multi-Pack, 6x6 Paper Pad


