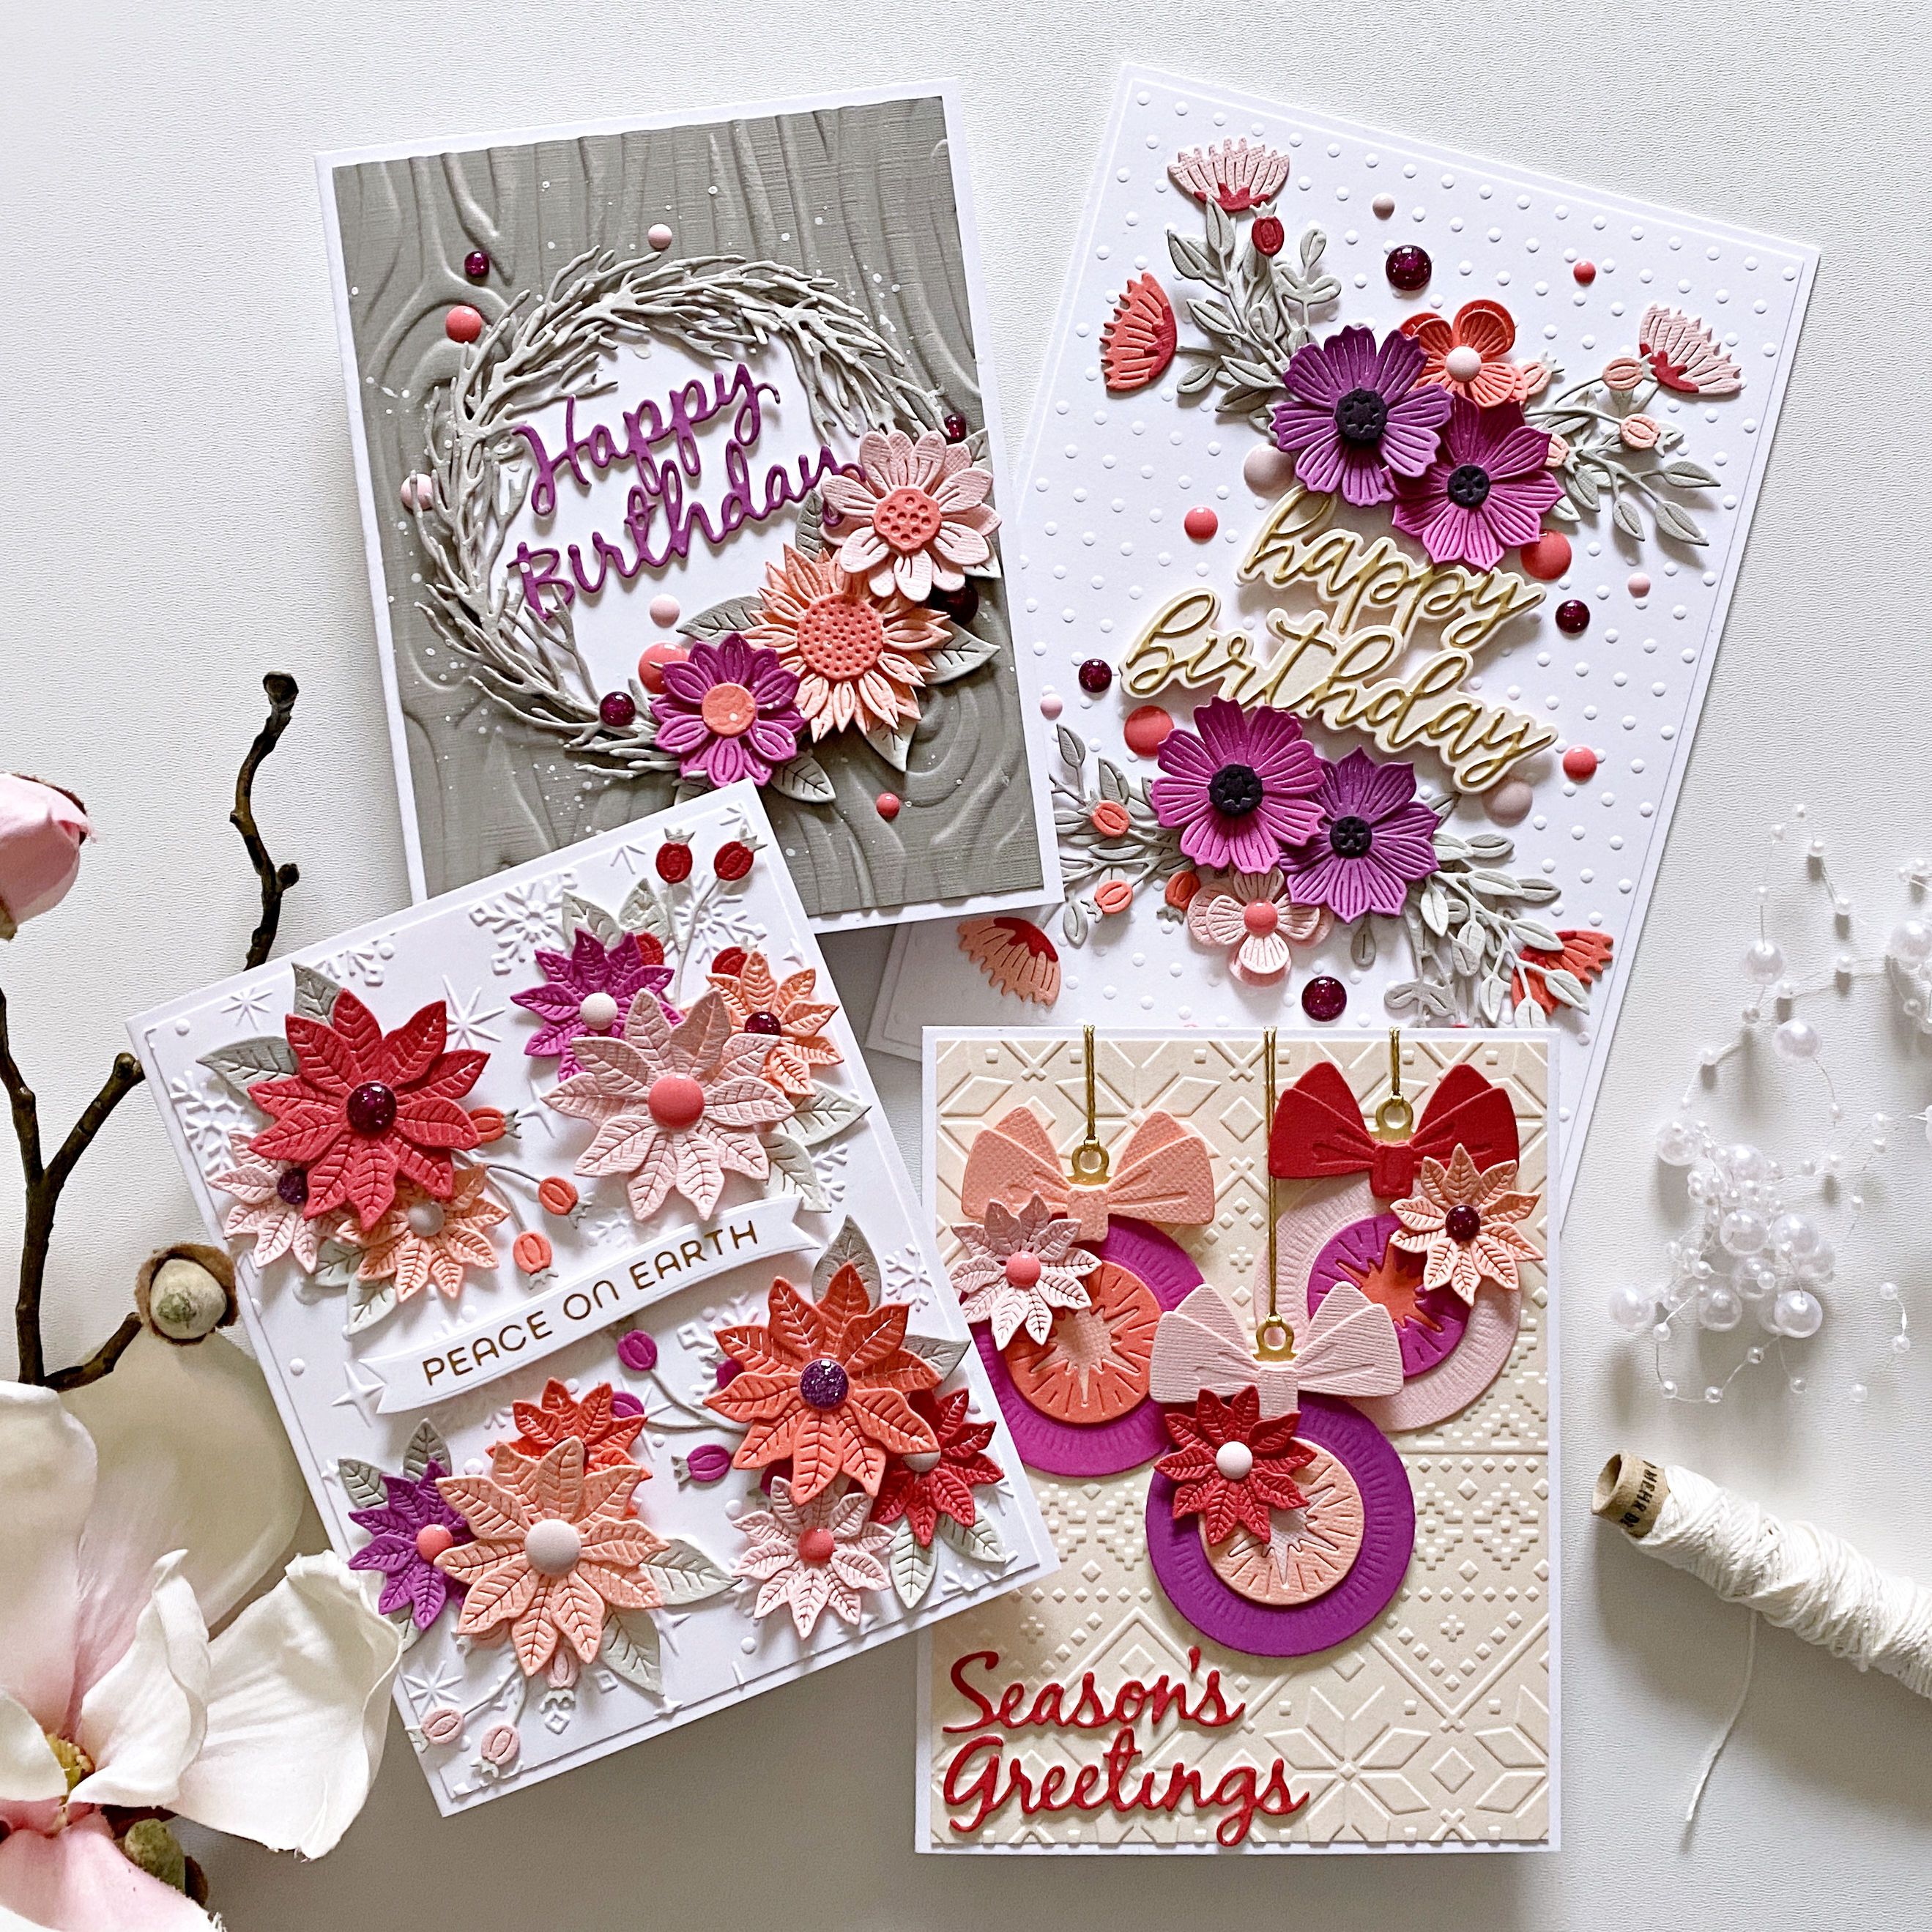
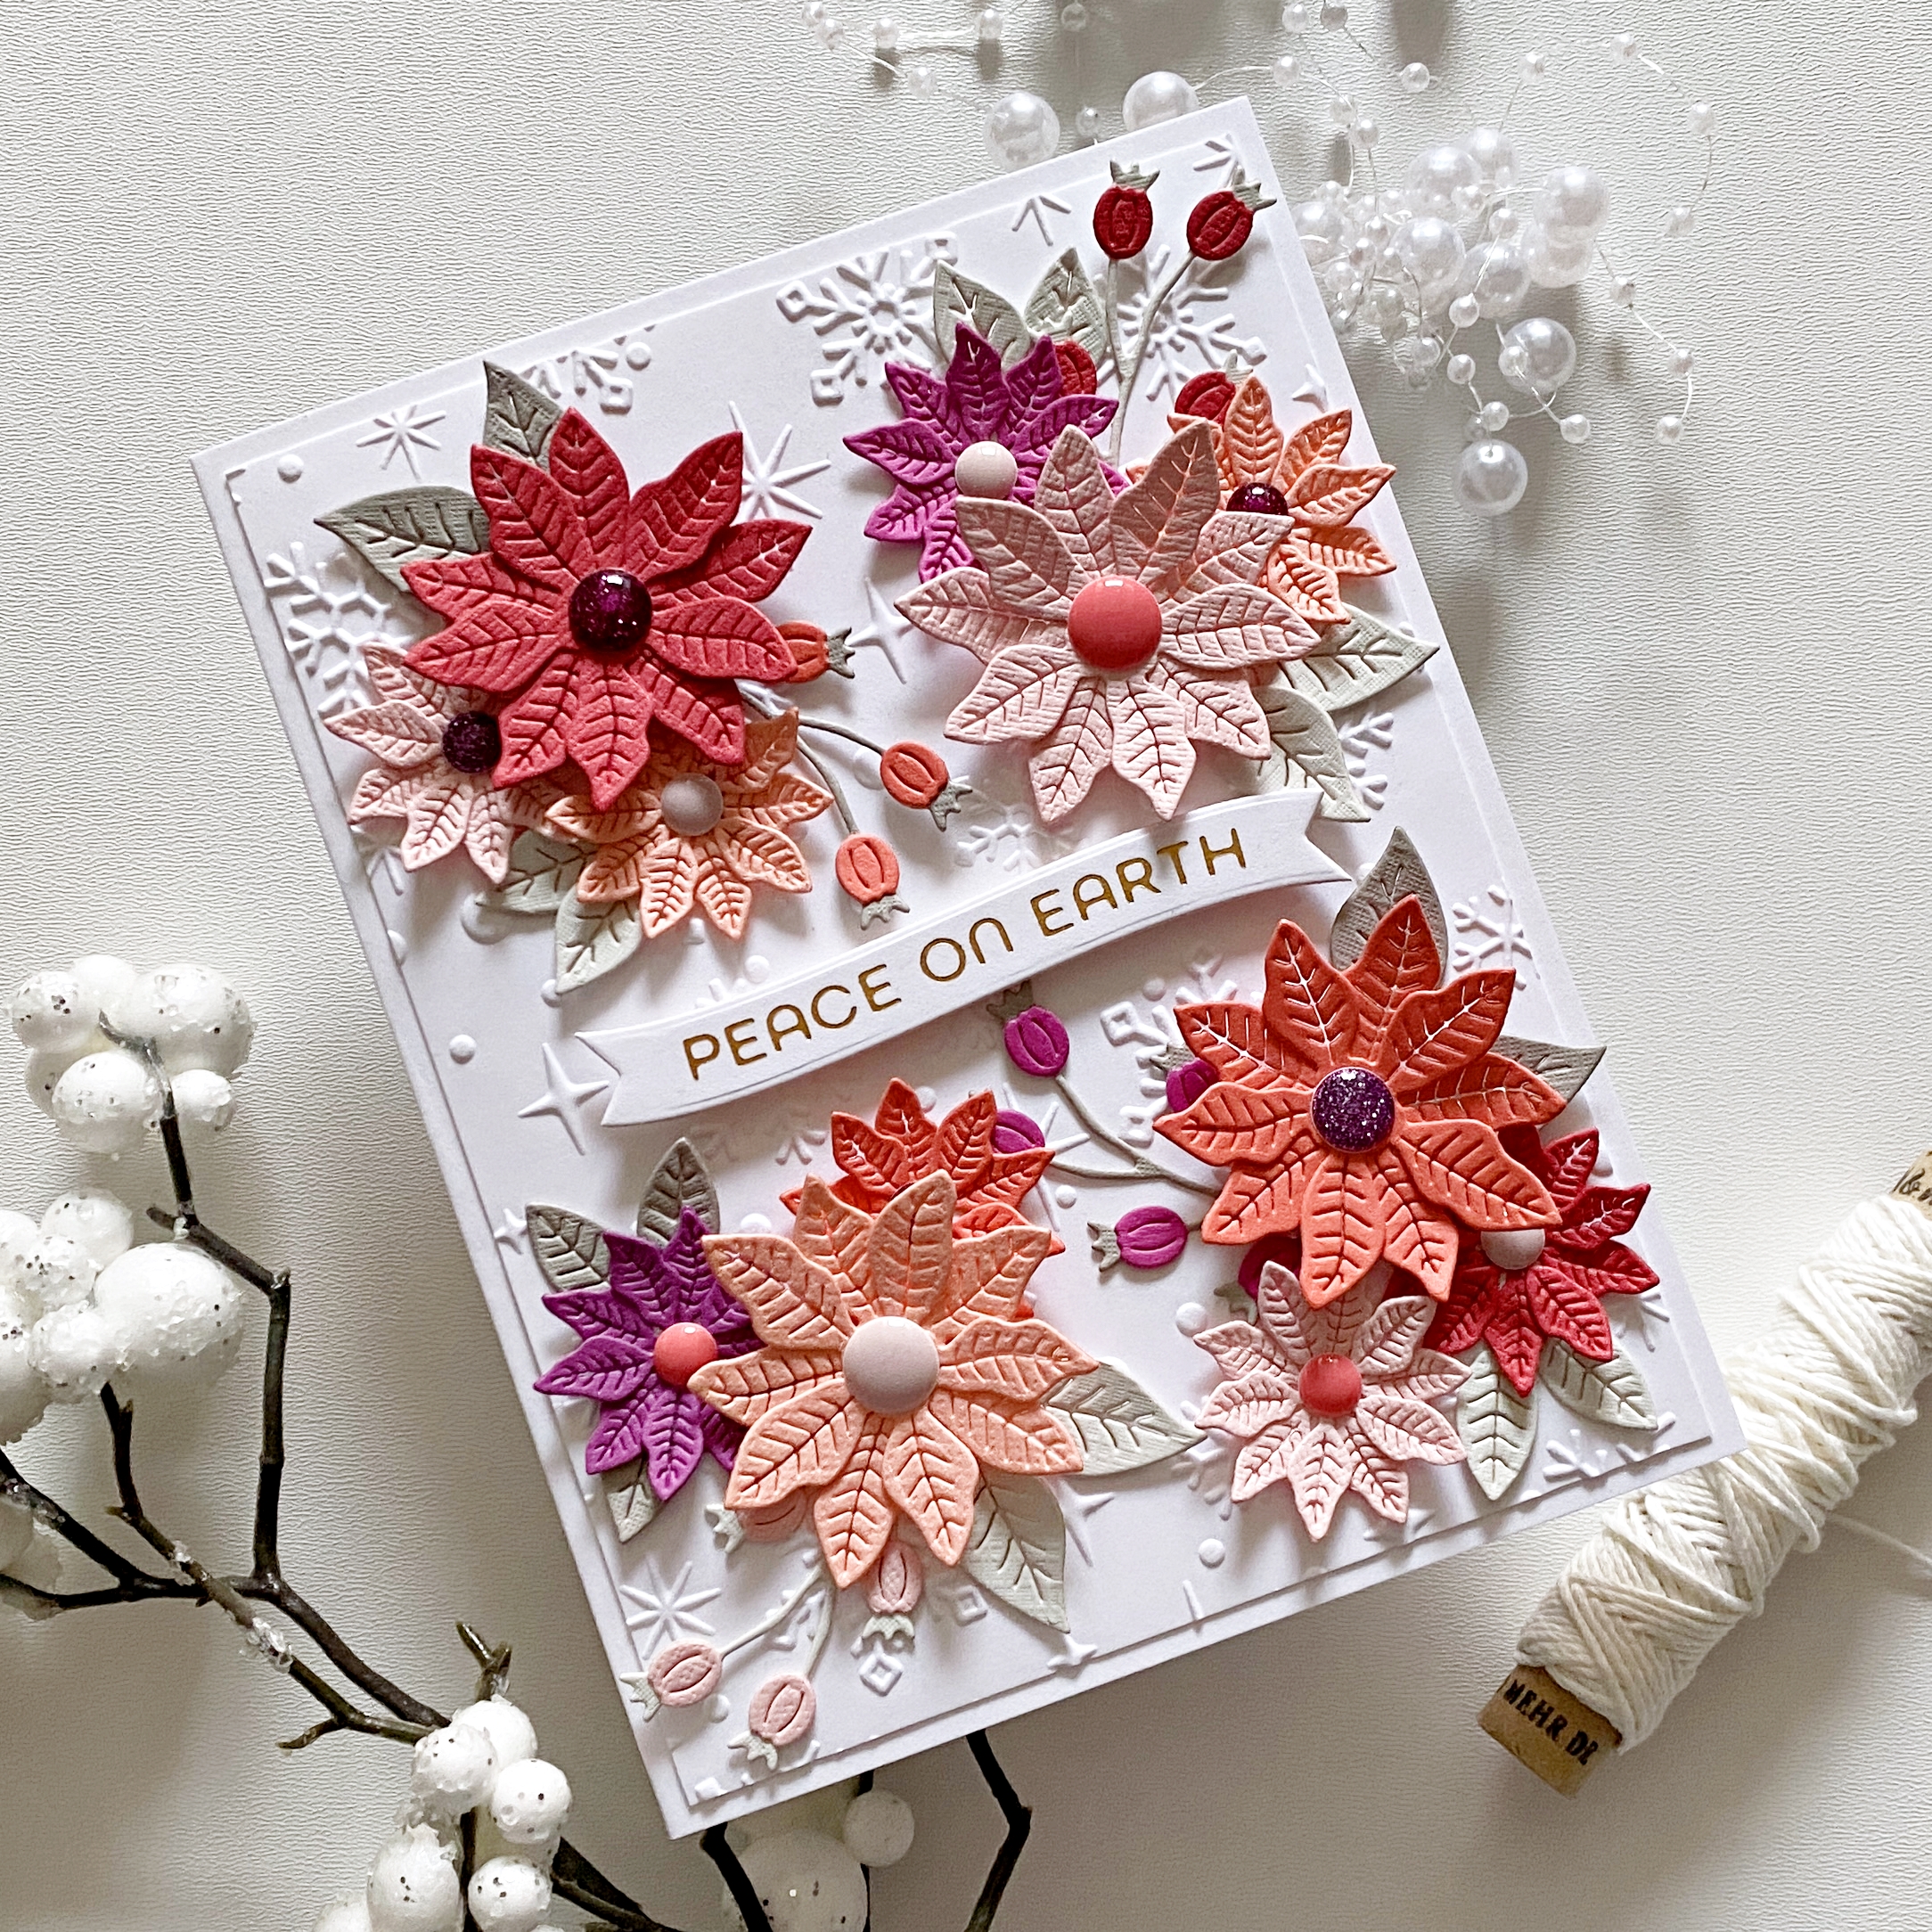
It's been a while since I joined one of these blog hops - 2.5 years if I'm not mistaken! Wow, time really does fly :(
If you followed the hop, you must have arrived from Tina Smith's blog. I'm attaching the full list of participants at the end of this post for your convenience.
I will not go into step by step tutorials here, since I made process videos for all of today's projects - I'll just attach some photos! I'll link the video down below. You can also subscribe to my YouTube Channel and press the bell icon so you never miss a new video! You'll find all the supplies I've used linked in the description box of the video too.
I made some extra projects as well, that are not Christmas themed...because...why not? :D
You can check out the process video here or on my YouTube Channel:
Now for the fun part! To celebrate this blog hop, Spellbinders is giving away a $25 gift certificate to 3 lucky blog readers! Winners will be selected from the comments on the Spellbinders blog. Giveaway closes on Sunday, November 19th, 11:59pm MST. The winner will be announced in the blog hop post the following Wednesday. The winner is responsible for shipping cost, duties and taxes. Please note, that gift certificates cannot be applied to Club Subscriptions, however, they can be applied to shop past Club products, Club extras and regular releases.
It's been a while since I joined one of these blog hops but luckily this month I had a little extra time and I managed to create a card! An interactive one at that :). If you know my work, you know I hardly ever make interactive cards, so this was a fun change of pace, even if I made plenty of mistakes along the way. Maybe you'll learn from them hehe!
If you followed the hop, you must have arrived from Henriëtte van Mierlo's blog. I'm attaching the full list of participants at the end of this post for your convenience.
I've used the Large Die Kit on this card, because I couldn't get enough of these adorable critters! I've made a process video so I won't go into details here. You can stop by my YouTube Channel, if you're interested to see, how this card came together but I'll also link in the video down below.
You can check out the process video here or on my YouTube Channel:
Now for the fun part! To celebrate this release, Spellbinders is giving away a $50 gift certificate to 3 lucky blog readers! Winners will be selected from the comments on the Spellbinders blog. Giveaway closes on Sunday, March 14th, 11:59pm MST. The winner will be announced in the blog post the following Tuesday. The winner is responsible for shipping cost, duties and taxes. Please note, that gift certificates cannot be applied to Club Subscriptions, however, they can be applied to shop past Club products, Club extras and regular releases.
It's been a long while since I joined one of these blog hops but luckily this month I had a little extra time and I managed to create a set of cards! If you had followed the hop, you must have arrived from the talented Joy Baldwin's page! I'm attaching the full list of participants at the end of this post for your convenience.
I've used the Large Die Kit on these cards. I have a process video too, if you're interested! I'll link it in at the bottom of this post, too.
Both cards are top folding, A2 size (4.25x5.5"). I chose some pinks, white, gold and warm grays for my color scheme today. The grays almost look brown here!
I die cut two circles, one with the tree design, one with the snowflake. I actually die cut both twice, then layered them up, so they were strong enough to be hand stitched. These are very easy to hand stitch without any tutorial, the pattern kind of guides you really.
For my first card, I cut a few thin strips of card stock in the colors I chose. I also cut an A2 panel from the darkest gray and die cut the border at the bottom. I stitched this too, but not the complete pattern, because I knew I would have a paper strip overlapping at the top. I then glued down the strips, and if you look closely, you'll notice I made a mistake :D. I even laid out the strips before, so I knew in what order I wanted to glue them down and yet, I still managed to skip a pink one in the middle. Oh well, perfection is overrated, right?!
I added this panel to my card base, then started working on the rest of the elements. I die cut a gray circle that's slightly larger than the stitched white one, just so the design stands out more. I added foam tape to the back of the stitched circle and glued it onto the gray one, then attached this piece to my card front. For sentiment I've used a gold foiled holiday sentiment from my stash - I always foil a lot of these sentiments, so I can easily grab one when I need it.
Last but not least I added a bow, that was actually part of a Lindt chocolate packaging that I had been hoarding for awhile! I'm always glad when I can give things a new life!
For my second card, I first created a template for the background design from some scrap card stock, then I fussy cut out each shape from color card stock. I pieced them back together on the card base and first glued them down in the middle, then also stitched them down. I bent up the edges to add dimension and texture.
I would have loved to add a gold circle behind my stitched design so the gold could have peeked through the little holes, but I don't trust any of my glues to stick to the slick surface of the gold card stock :(. I never use metallic/mirror papers for any layer but the top for this reason. What I could do was, I die cut a circle from white card stock, then one from gold and I used the smaller circle die to cut out the middle part of the gold card stock. I then glued the gold frame onto my white die cut, and added the stitched circle on top, using foam adhesive. Hope that makes sense? This way I at least had a gold frame!
To finish off this card, I added a gold foiled sentiment and a few crystals in matching colors.
Here's the video, should you want to watch how these cards came together:
Now for the fun part! To celebrate this release, Spellbinders is giving away a $50 gift certificate to 5 lucky blog readers! Winners will be selected from the comments on the Spellbinders blog. Giveaway closes on Sunday, November 15th, 11:59pm EDT. The winner will be announced in the blog post the following Tuesday. The winner is responsible for shipping cost, duties and taxes. Please note, that gift certificates cannot be applied to Club Subscriptions, however, they can be applied to shop past Club products, Club extras and regular releases.
I'm stopping by today to share a new layout with you that I've created for the Paige Evans Design Team!
As you know, Paige's new collection, Go the Scenic Route, was released recently, so I'll be using this wonderful new collection! It's perfect because we just got back from holiday, so I have a million new travel themed (and other) photos!
When I saw this orange/pink paper, I immediately thought of the sunsets at the beach that we often had to go see because they were just too beautiful. Unfortunately, my Selphy doesn't print vivid colors (like not even close to the real colors) but I think this photo still fits that background paper just fine. I generally stay away from scrapping photos like this because normally I don't find collections/papers that go well with them. I'm glad it worked out this time!
I cut the Endless Summer cut file (Design ID: 327560) from white card stock, then backed the waves with different blue tones of a single paper, plus I added a dark blue patterned paper at the bottom, behind the letters. I backed the sun with an orange patterned paper but didn't back the rays because I wanted the background to shine through.
I then fussy cut out all the letters from a variety of pink/red patterned papers, glued them on the white fall out pieces from the original cut file to make them hold up better and added them back into place using foam adhesive.
I chose a few embellies to decorate my page: chipboards and die cuts. Aaaaaaand something super cool! My friend Sandra posted a few buttons on Instagram that she made with the new We R Memory Keepers Button Press that I'm dying to have - and one of them was using Paige's paper from this collection. So, I asked her if I could have some of those buttons and in 2 days they were in my mailbox wooohooo. At that point I had several layouts ready, so I checked which one I could use the button for. I thought the middle of this large chipboard flower was the perfect spot for it :)
I wrote my journaling using a white gel pen, then I splattered some white acrylic paint all over my page (obviously covering my photo with a tissue paper).
It's a very simple page but I think the stunning background paper adds so much to it! What do you guys think?
I'm back today with a new layout I've created for the Paige Evans Design Team! I've used the Horizon collection again, and remember my challenge for myself was to not go with a rainbow color scheme. Today I'm sharing an orange/coral/pink/purple combo! I'm so in love with these colors!
This layout is actually a lift of an older layout of mine (I just checked the date, and I can barely believe it is from 2 years ago OMG), which was similar in colors actually, except it had teal instead of purple! Check it out:
This was one of my most favorite layouts ever, so I thought I'd give it another go. And my best friend wants it so...Haha!
I die cut loads of leaves using some dies (again, you can totally go with cut files if that's easier for you, I just had a lot of small scraps and it was quicker this way!) in each color. Once done, I looked for a paper I could use for background and I found this gorgeous purple ombre paper in the Whimsical collection.
I roughly arranged the leaves on the background so I knew how many I needed. I started gluing down the bigger ones. I'll be honest, I just eyeballed all of it, but if you don't feel confident in doing that, just use temporary adhesive first. I'm OK with imperfection! Once the big leaves were adhered, I added the smaller ones in between too.
I adhered some foam tape to the back of my photo and placed it in the middle of the flower. Then I started embellishing. I pulled out everything that matched my color scheme. Some are totally random but I don't mind. I went with a tone on tone look and used chipboards, stickers, die cuts, epoxy stickers and some sentiments from one of the Whimsical patterned papers. Actually they were probably on the manufacturer's strip at the bottom of the purple background paper because I did not go through Whimsical at all trying to find embellies. I glued everything down, for some I used liquid adhesive, for others foam tape, to add dimension. Oh here's something I was pretty happy about! There's a paper in Horizon with different colored frames, which I used on my next layout so I had it on my desk. There were frames in all the colors I used here and all of them had a phrase on them that fit my photo perfectly! I love love love happy accidents likes this! So I cut out the phrases and created a strip at the bottom of my layout.
To finish off my page I added some white ink splatters and wrote my journaling with a white gel pen. That's it!
Aaaaand because I had a bunch of leaves left and I don't throw away anything...I thought I might as well make a quick and easy card using them!
I created a top folding A2 size card base and added a white, embossed panel on top. Then I created a big flower and cut off the access on the left side.
Again, total luck, I found this beautiful journaling spot in the ephemera pack! I added foam tape to it and glued it down in the middle. For sentiment I used a sticker which I also popped up. To finish off this card I tied a twine bow at the top and added gold paint splatters. Seriously the quickest card I've ever made, I even feel guilty about it hahaha! I mean everything was already die cut, the design was there on the layout, so it really didn't take long to put it all together!
I hope I could inspire you with my layout and card today! If you give these a try, tag me on Instagram (@zsoka_marko).
I'm stopping by to share a bonus layout I've made for the Paige Evans Design Team! Bonus because in the meantime I received the Horizon collection and of course I HAD TO dive into it right away...But I already had this blog post done, so there you go hehe!
For today's page I chose the gorgeous Floral Frame cut file (Design ID: 287518) and the Whimsical collection. One of the things I love about Paige's collections is that you can create so many different color combos with them! You can go monochromatic, you can go with the full rainbow or just pick a couple of colors - which is what I did here. I went with oranges, pinks and light blue.
Accidentally the colors of my photo actually totally fit haha! The quality of the photo is horrible, it was taken with my very first digital camera, a 4MP Olympus Mju which I bought because it came in pretty colors hahaha! I still have it! And then my big printer's colors are terrible too, even though I use the original cartridges with the most expensive Canon paper. Can't stand it. Anywho, long story short, I will scrap bad quality photos too if they are the only ones I have of certain memories. And this one here was taken on one of our favorite holidays back in the day!
I cut the cut file from white card stock and backed some of the flowers with different patterned papers. I added the photo in the middle and stitched around the circle to make sure it stays in place. I don't trust any glue on glossy things! I then added foam tape to the back of the cut file and adhered it to my background paper.
To add more interest to my page, I layered some die cut and chipboard flowers here and there. A couple of sentiment strips, a butterfly, my title and date finish off this page.
Hello and welcome to the Pinkfresh Studio January 2019 Release Blog Hop!
You should have arrived here from the amazing Yoonsun's blog. I'm sure she's shared some gorgeous inspirations with you!
Today I'm sharing quite a few cards, so hang in there :D. This probably happened because we were on holiday and for like 11 days I could not craft at all, so when we got home and my package was there, I couldn't stop creating! That and the fact that this release is jam packed with gorgeous products!
All my cards are mounted on A2 size (4.25x5.5") top folding card bases (portrait or landscape format). Here I added a piece of teal card stock on top, on which I white embossed the title. I probably shouldn't have done this because the letters are tiny and the embossing didn't work out so well. Especially because I used textured card stock. Just so you know what it says: "So fill your heart with what's important and be done with all the rest." In person it's easier to read!
I then stamped the image in gray ink and colored in everything I could. I die cut the image using the coordinating die. I added some foam adhesive to the back and pressed it down on the metallic teal thread I placed in that corner. To finish this off I drew white faux stitches and added a few gems.
I created two more cards with the same stamp and die set. This time I did not want to color, instead I took some aqua striped vellum, matching embossing powder and embossed the image on the vellum. I die cut them and then decided to die cut the shapes from white card stock too because I didn't like the different colors peaking through the vellum.
I added a few strips of color card stock to each card base, then stamped the sentiments in navy. I popped up the die cuts and used some tangled thread and some twine to add a bit of texture and interest. Last but not least a few gems were placed here and there.
Next up is one of my favorites from this release: the Embroidered Blossoms stamps and coordinating dies. On the back of the packaging of each set you'll always find a couple of examples what you can use the products for. Just to give you an idea if you don't know where to start. Which is what I did this time because the 3 samples are the most gorgeous arrangements and the color combos are fabulous! I picked one and started stamping the images just like on the sample.
But then I couldn't stop there and kept adding more blooms towards the top. Gosh isn't this color combo just fab?! I never would have come up with it on my own!
I glued a couple of strips of cornflower colored card stock at the bottom. I white embossed my sentiment on one of them. This sentiment is from the Scripted Bold Sentiments 2 stamp set. Some twine and Nuvo drops finish off this card.
For my next card I used the Oval Foliage die to create my focal point. Isn't this die so clever?! Using the coordinating Oval Foliage stamp set I stamped a pink oval and a light blue sentiment. I then realized I simply can't handle that much white surface hehe, so I stamped blooms in the same color combo as above, using the same Embroidered Blossoms stamps. I cut this panel slightly smaller than A2 so I could back it with an A2 size colored card stock. I also tuck a piece of pink card stock between the layers, for which I used a border punch.
I made another card with the Embroidered Blossoms stamps and coordinating dies. Here I stamped a bunch of blossoms in pinks, purples and yellows, a few leaves in black and some more leaves I embossed in chartreuse color. I die cut everything and created two flower clusters in opposite corners. Before gluing them down, I used a corner chomper in the bottom right corner. I generally prefer straight corners but I thought I'd try something different. I didn't dare to chomp off the bottom left corner as well because I don't think I would have liked that look. I like this asymmetrical look though.
I glued down the flowers and leaves, stamped my sentiment (from the Heart and Soul stamp set) and added some black ink splatters. Done!
Next up is another favorite that took me by surprise, the Adore Alpha stamp and coordinating die set! I do love alpha stamps and dies in general but when I first saw this one, I didn't notice the teeny tiny detail stamps that make all the difference! Check out this awesomeness:
With the dies you get 2 for 1 cuts, because it cuts the letter AND a thin outline so you can make two cards right away. Which was my plan too but then I decided to add back the outlines (card on the left); so I just die cut Valentine two times from white card stock. On my first card I used the stamp set too, to add color to the letters. Then I white embossed those little decorative elements. Isn't that super cute? I'm so in love! I glued an A2 size piece of patterned paper (Simple & Sweet collection) on the card base and layered a pink heart on it. I popped up the letters using foam adhesive. I stamped my sentiment in black, on white card stock (this sentiment is from the Word Series: Happy stamp set from last year).
For my second card I backed the white outlines with different colored card stock. I glued them down on the card base, stamped my sentiment (from the Word Series: Dream stamp set from last year), added some twine and black ink splatters. Done!
On my next card I didn't use the outline. I stamped and die cut the letters, then embossed the little florals on them. I layered some colored card stock and patterned paper on the card base, with foam adhesive between two layers. I also popped up the letters. I added some twine and stamped my sentiment, It's your day, from the Scripted Bold Sentiments 1 set.
Almost there guys, almost there! :) On my last 3 cards I used the super sweet Make a Wish stamp set and coordinating dies. Each design is similar, with different color combos.
First one here will be for my little niece if I don't forget I have this card by August haha! I stamped and die cut loads of flowers and leaves in a few different colors. As well as cakes, cakes stands, the whole nine yard! I glued a purple heart on my card front and added the little images. For some of the flowers I used foam dots but mostly I just adhered everything down using liquid glue.
I stamped a sentiment in purple and created a lilac ribbon bow at the bottom. A few purple enamel dots and you're good to go!
Next card is pretty much the same, except I used a scrap piece of patterned paper (Simple & Sweet collection) and I put everything off center. Here I added a third cluster of flowers too.
These two cards will be for my best friend's twins in May, again, if I don't forget! :D
Next is a boy card, yay! Well, I'm not very sure about the flowers but hey, boys could love them too right? Same concept as before, except here I'm using a rectangle instead of a heart.
You've made it, yay!!!
Now for the fun part....Giveaways!
GIVEAWAYS:
Pinkfresh Studio will be giving away the entire January release on the PFS blog and Instagram. But that's not all! At each stop in the hop you can also win a $25 gift card yay! So comment away! The winners will be picked randomly from the comments and they will be announced on Sunday, January 20th on the Pinkfresh Studio Giveaway page. Please remember to check that page and claim your prize within 2 weeks!
SHOPPING PROMO:
There are TWO fabulous promotions during this release!
1. A free Dainty Love Balloon die with your purchase of $25+. You don't need a code, it will be added automatically to any order that hits the $25 threshold. I'm jealous. I don't have this one.
2. Free/discounted shipping from Jan 14-17, 2019 on orders $50+. You need to use the code JANFREESHIPWITH50. Shipping is free in the USA and $5.50 off for international friends.
I hope you enjoyed the hop and love the new stamps and dies!
I'm the last stop in this blog hop, so from here you'll go back to the Pinkfresh Studio blog. I'm attaching the full blog hop list below for your convenience.