Showing posts with label Chasing Dreams. Show all posts

Friday, January 5, 2018

Sweet - DT layout for Just Nick

Hi there friends,

I'm back today with a new layout for Just Nick! I'm happy to be doing layouts because I've been working on some other projects for awhile and was missing layouts!

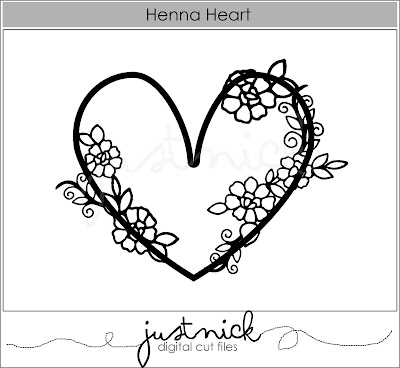
I've used the beautiful Henna Heart cut file on this one. I was thinking Valentine's day is coming soon so a heart layout would be a good choice. I adore this cut file! I love the non-traditional heart shape and all the flowers!


I used a mixture of Maggie Holmes' Gather and Chasing dreams collection with a bit of My Mind's Eye On Trend 2.


I started out by designing my layout in Silhouette Studio, then cut my partial hearts from textured white card stock.


I chose some patterned papers that I thought had looked good together and started backing my cut files. I adhered them to the background, except for the bottom one. There I tuck my photo behind the heart first, put 3d foam adhesive on the left side of the heart and then I glued it all down. I also layered some tags, die cuts and tissue paper behind the photo.


Once done, I went through all the embellies in these collections and picked out the ones I thought were a good fit: stickers, chipboards, tags, buttons and diecuts! The beautiful gold mirrored piece I used for my title is from My Mind's Eye. I wrote my journaling on one of the die cuts and stamped the date using a roller stamp.


I hope you like today's inspiration.
Thank you for stopping by!

Till next time,

X


Friday, November 24, 2017

Thankful - DT cards for Just Nick

Hi there friends,

This week we are focusing on Thanksgiving at Just Nick! Since we do not celebrate it here in Europe, I thought I could create a bunch of Thank You cards instead of a layout! These always come in handy anyway right?

I selected a few cut files with this theme as well as some florals and butterflies, because well, I love them...When I was little my parents' botanist friend thought I'd become one too (botanist that is), I was so interested in flowers. I even got a book from her called Zsofi's garden - it was the most similar name to mine that she could find :). At some point I did want to become a florist, but in the end that did not happen.

The cut files I chose for my cards are the following:


I cut out all shapes from textured white card stock. On my first card I backed the oval wreath with some patterned paper from the Maggie Holmes Chasing Dreams collection (all supplies I used for these cards are from this collection). I then added some foam to the back so it pops off the card. I created a 4x6" card base with two different patterned papers, then glued the wreath on top. I added Grateful and completed my sentiment with For you using the gold puffy alpha stickers. I fussy cut two butterflies from one of the papers and glued them down on top of the wreath. I also used a third butterfly; this one is a chipboard piece.


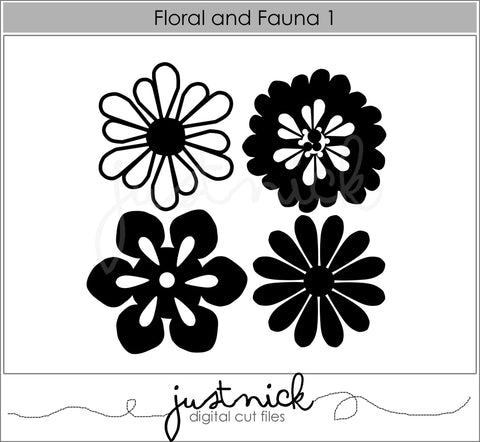
I created another 4x6" card base using patterned papers. I backed a few of the flowers from the Floral and Fauna cut file set. Some I didn't back. I layered these on top of each other randomly, to give my card an airy feel. I glued Thanks in the middle of my card and completed the sentiment using stickers. As a finishing touch I added a few enamel dots. 


My third card design is also on a 4x6" base. I cut part of the Delicate butterflies cut file and backed these with patterned paper. I glued Thankful at the bottom and hand stitched around the letters to give them more definition and texture. I added two stickers to finish off my card.


That's it for today! I hope you like my cards!

Thanks so much for stopping by!

X


Sunday, November 5, 2017

Happy Heart - DT layout for Just Nick

Hello crafty friends,
I'm back today with a new layout for Just Nick. This week we are focusing on leaf cut files and I chose this one:
https://justnick.myshopify.com/collections/all/products/leaves

I've used this set many times before, but it is still a favourite! I used one of these four lovely leaves, multiplied them and formed a flower shape.


I love to create for Just Nick, because I can use any supplies my heart desires! And I'm mostly trying to choose an older collection I still have a lot of, which is the case with the one I used for this layout, Chasing Dreams from Maggie Holmes. This is still my favourite collection from Maggie Holmes to this date! The colors are beautiful and there are so many patterned papers in the collection that I can use for backgrounds!


I cut the leaves from textured white card stock, in different sizes. I backed them with various patterned papers, making sure I have a balanced look. If I have stand alone shapes like these flowers (so no background cut files) I always adhere only a part of them to the patterned paper because I love love love the curve the cut file has after peeling it off the mat. This adds dimension and interest to the layout too. I played around with different arrangements and finally settled on this one. No rhyme or reason, I just liked this the most.


Once I had the design I wanted, I glued everything down. I didn't add a whole lot of embellishments, a few buttons and chipboard shapes to the middle of my flowers as well as some stickers around my photo.


I wrote some journaling and stamped my date. As almost always, I finished off the layout by adding some black ink spatters.


It's simple but I like how it turned out. These colours just make me happy!

I hope I could inspire you in some small way today!

Until next time,

X


Wednesday, July 5, 2017

Too old for snapchat? - DT layout for Just Nick

Hi there,
 
I'm back with you today to share my very first layout for Just Nick! I'm so excited to be here, thank you Nicole for the opportunity!
 
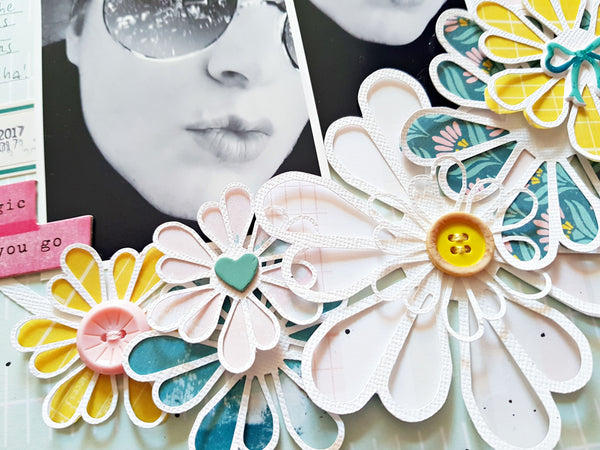
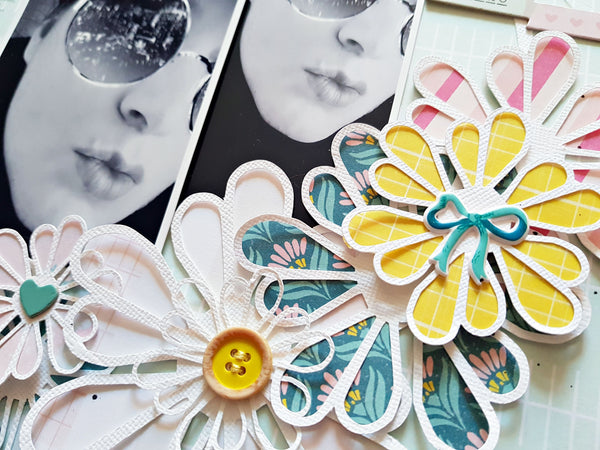
I picked one of the pretty flowers from the Floral and Fauna cut file set.
 
 
First I cut out a simple ring, then I cut several of the flowers, in different sizes. I backed my flowers with different papers from the gorgeous Maggie Holmes Chasing Dreams collection.
 
 
I created a bigger and a smaller cluster of flowers opposite each other on the ring. I added a few different bits and pieces to the middle of them: buttons, chipboard and puffy stickers.


I printed my photo in a couple of different sizes, I wasn't sure which one to add. I didn't like the shape of the photo for this background so I added the same photo in two different sizes.


Other than the flowers I didn't add a lot of embellishments because I wanted the flowers to shine! A couple of chipboards, stickers, title (which I stitched down so it doesn't go anywhere!), date and journaling plus some black paint splatters and done!
 
I hope you like my project! Thanks for stopping by today. See you next time X